


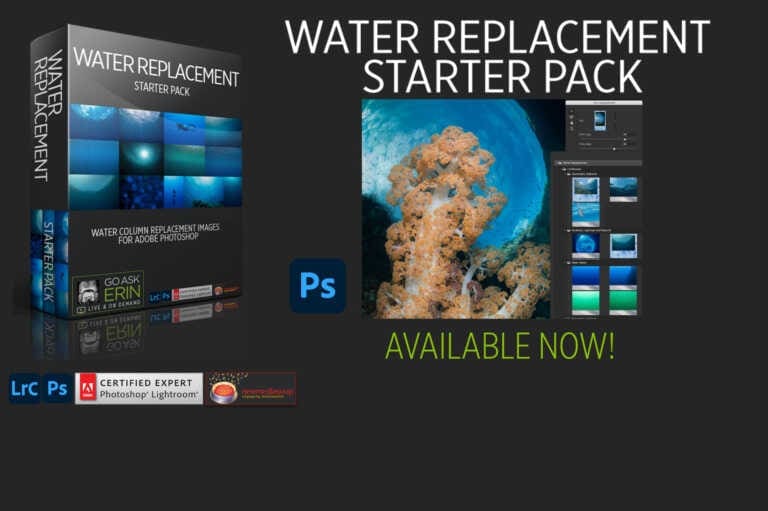
Go Ask Erin Water Replacement Starter Pack – Now Available
The Go Ask Erin Water Replacement Starter Pack provides more than 50 underwater backgrounds and 45 minutes of detailed tutorial video to help jumpstart your mastery of Photoshop’s amazing Sky (aka Water) Replacement feature. Available Now!

Don’t Wreck Your Image
Do’s and Don’ts of Editing Wreck Photos Whether moody or magnificent, wreck shots can be a real challenge to edit. Typically taken in less-than-optimal conditions, most wreck photos need help in post to achieve maximum impact. Lightroom and Photoshop offer an impressive array of tools to tease out texture and contrast, but missing the target…
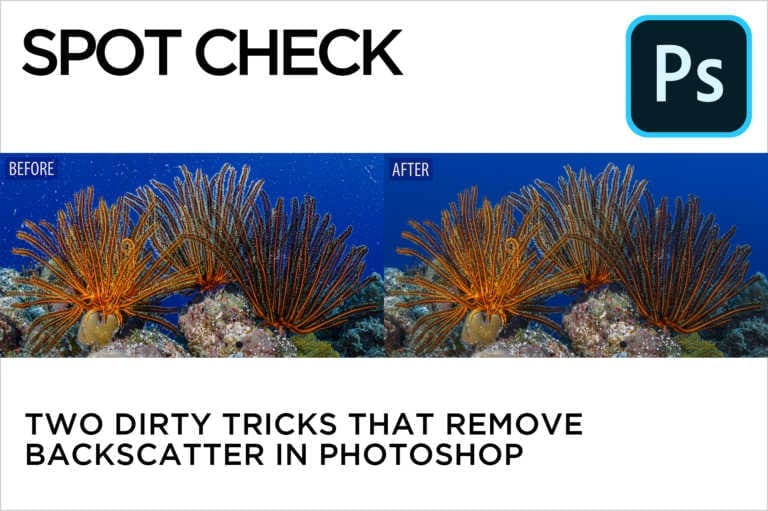
Spot Check
Two Dirty Tricks that Remove Backscatter in Photoshop Ugh. Backscatter. It’s the nemesis of every underwater photographer. Many have tried, but no one’s been able to conjure the sorcery that would banish it easily in post. Using Lightroom’s clunky Spot Removal tool for any serious goo removal is anything but magic. Luckily, if you have…
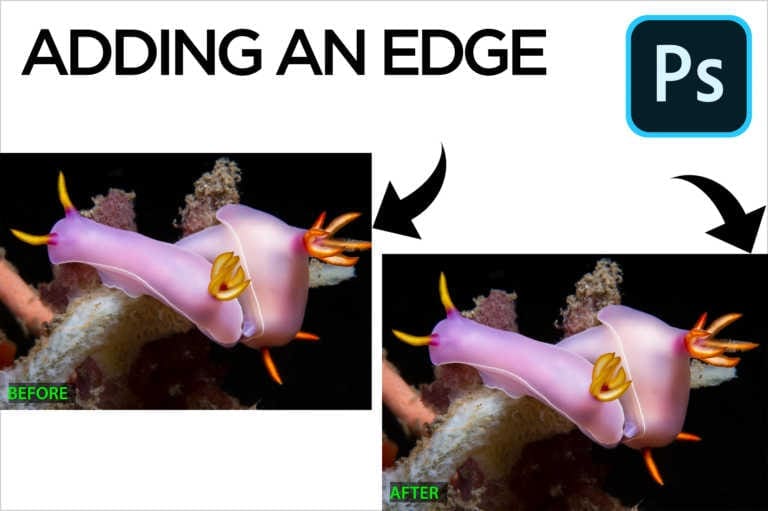
Adding an Edge
Using Photoshop’s Crop Tool in tandem with Content Aware Fill, you can tack on canvas area and add a little breathing room to an otherwise cramped composition. In some cases, you might even be able to restore part of a subject got cut off by the edge of the frame. Before starting this technique, finish…

More Shooting, Less Troubleshooting – How to Prepare your Digital Tools for Travel
There’s nothing worse than discovering you’re missing a critical piece of gear on a long-awaited dive adventure. Most underwater photographers stress out before a trip, checking and re-checking their camera and dive equipment to make sure all the required bits and pieces are packed and in working order, but they often forget to prepare their…
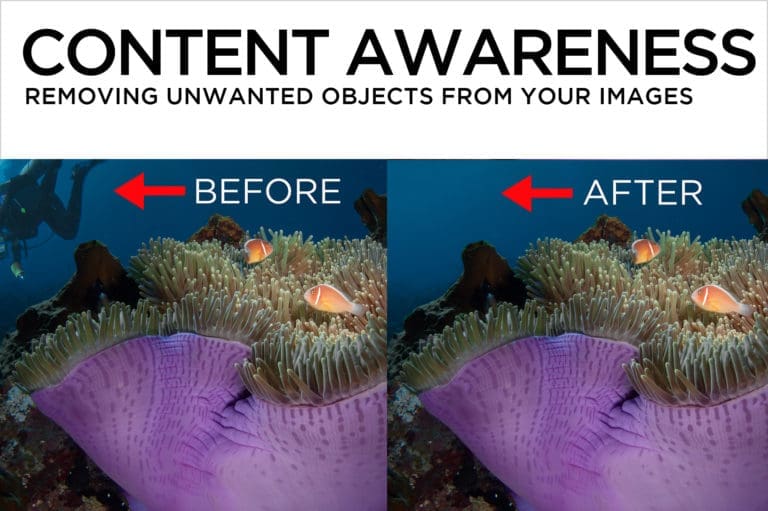
Content Awareness – Removing Unwanted Objects From Your Images
Content Aware Fill is a quasi-magical Photoshop process that removes bubbles, backscatter and bozos from your pictures. When it works as intended, Content Aware Fill is a beginner-level technique that renders stunning results in the blink of an eye. When it’s not quite on the money, a slightly more advanced knowledge of Photoshop’s other super…
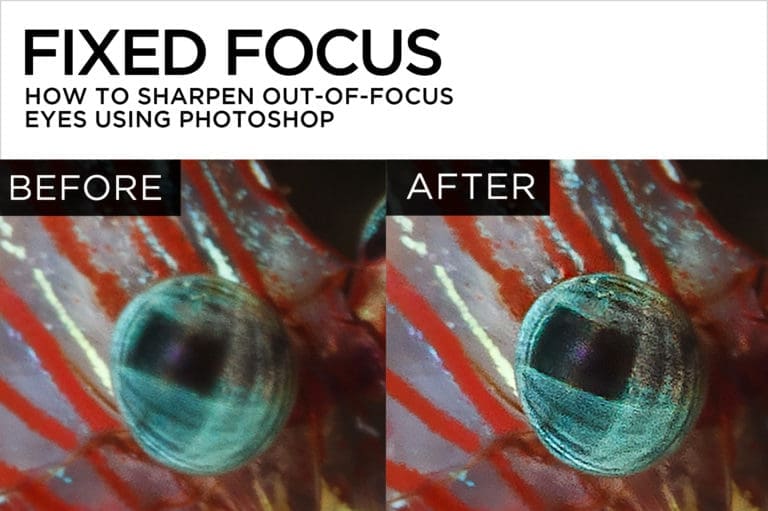
Fixed Focus – How to Sharpen Out-of-Focus Eyes Using Photoshop
Of all the miracles Photoshop can perform, fixing soft focus isn’t one of them. There’s simply no existing post-production voodoo that can restore acceptable photographic sharpness to large out-of-focus areas. That said, if a small detail of your image – an eye, for example – is only slightly soft, an artful combination of Liquify, Smart…

The Right Stuff – Best Tools for Getting Spots Out of Your Shots
I wish I had a magic bullet for backscatter removal, but the truth of the matter is that to get spots out of your shots, you’ve got to master more than one technique. The Lightroom Spot Removal Tool In Lightroom, you’re limited to a single, rather clumsy Spot Removal tool. Click once on a piece…
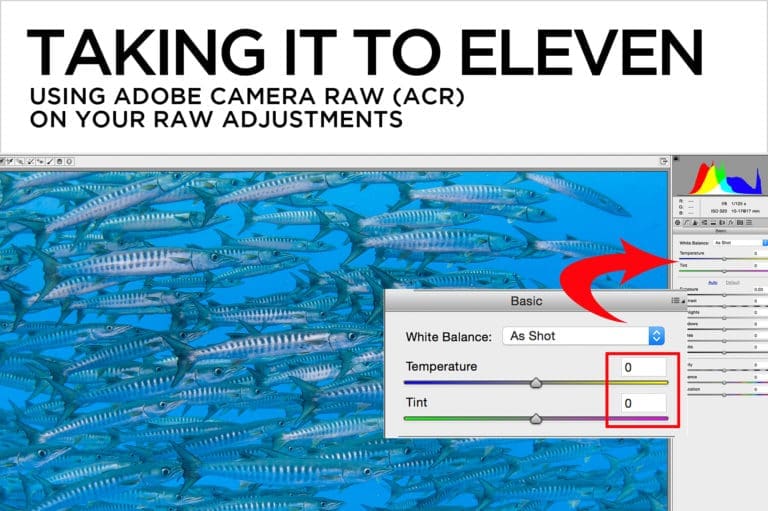
Take Your RAW Adjustments to Eleven
Why take your RAW adjustments to eleven? Because it’s one louder than ten, as Spinal Tap’s Nigel Tufnel so aptly puts it. The expression “taking it to eleven” refers to the act of taking something to an extreme, and although I usually don’t recommend taking post-processing to an extreme, there are times when a little…
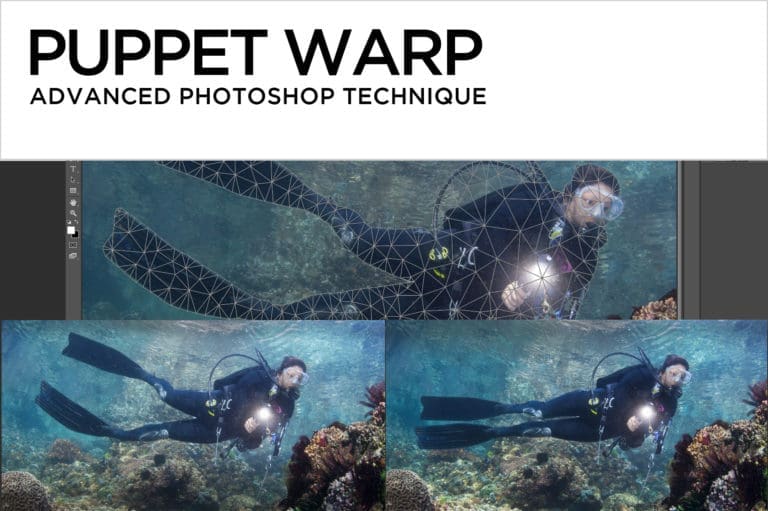
Puppet Warp
Let’s take a look at an advanced technique in Photoshop that purists would consider a cheat, but is a fantastic tool for those not so worried about bending reality. It’s called Puppet Warp. The goal in this example is to change the fin position of a model, but it’s great for all kinds of adjustments,…
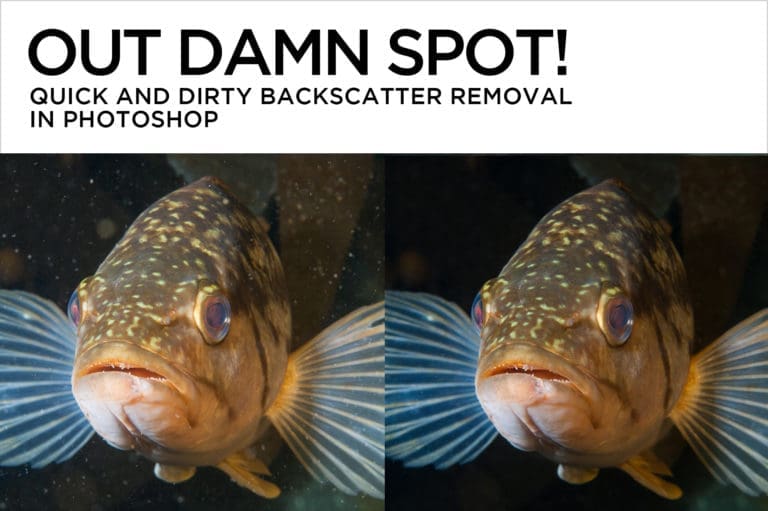
Out Damn Spot!
Quick and Dirty Backscatter Removal in Photoshop There are as many ways to remove backscatter as there are to shoot it, but the technique I’m about to show you is one of my favorites for a quick and relatively easy fix. I learned it first from Photoshop guru Eddie Tapp, and although a few versions…
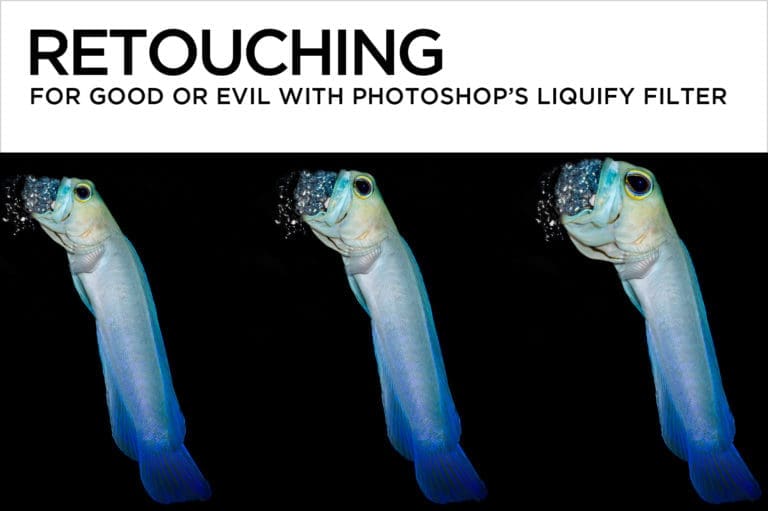
Retouching for Good or Evil with Photoshop’s Liquify Filter
The fashion industry has long laid claim to Photoshop’s Liquify filter as its staple of image manipulation, but like many tools in post, it can be used for either good or evil. While it’s true there’s no end to the fun that can be had adjusting your buddy’s face or physique in post, the Liquify…

Keep Sharks Looking Sharp in Post
Sharks are a favorite photographic subject of mine. Over the years, I’ve developed a few post-production techniques that help to mitigate common problems and emphasize desirable details in shark images. Desaturate with an Adjustment Brush to remove unwanted cyan color on your shark. In the Develop module of Lightroom, click on the Adjustment…
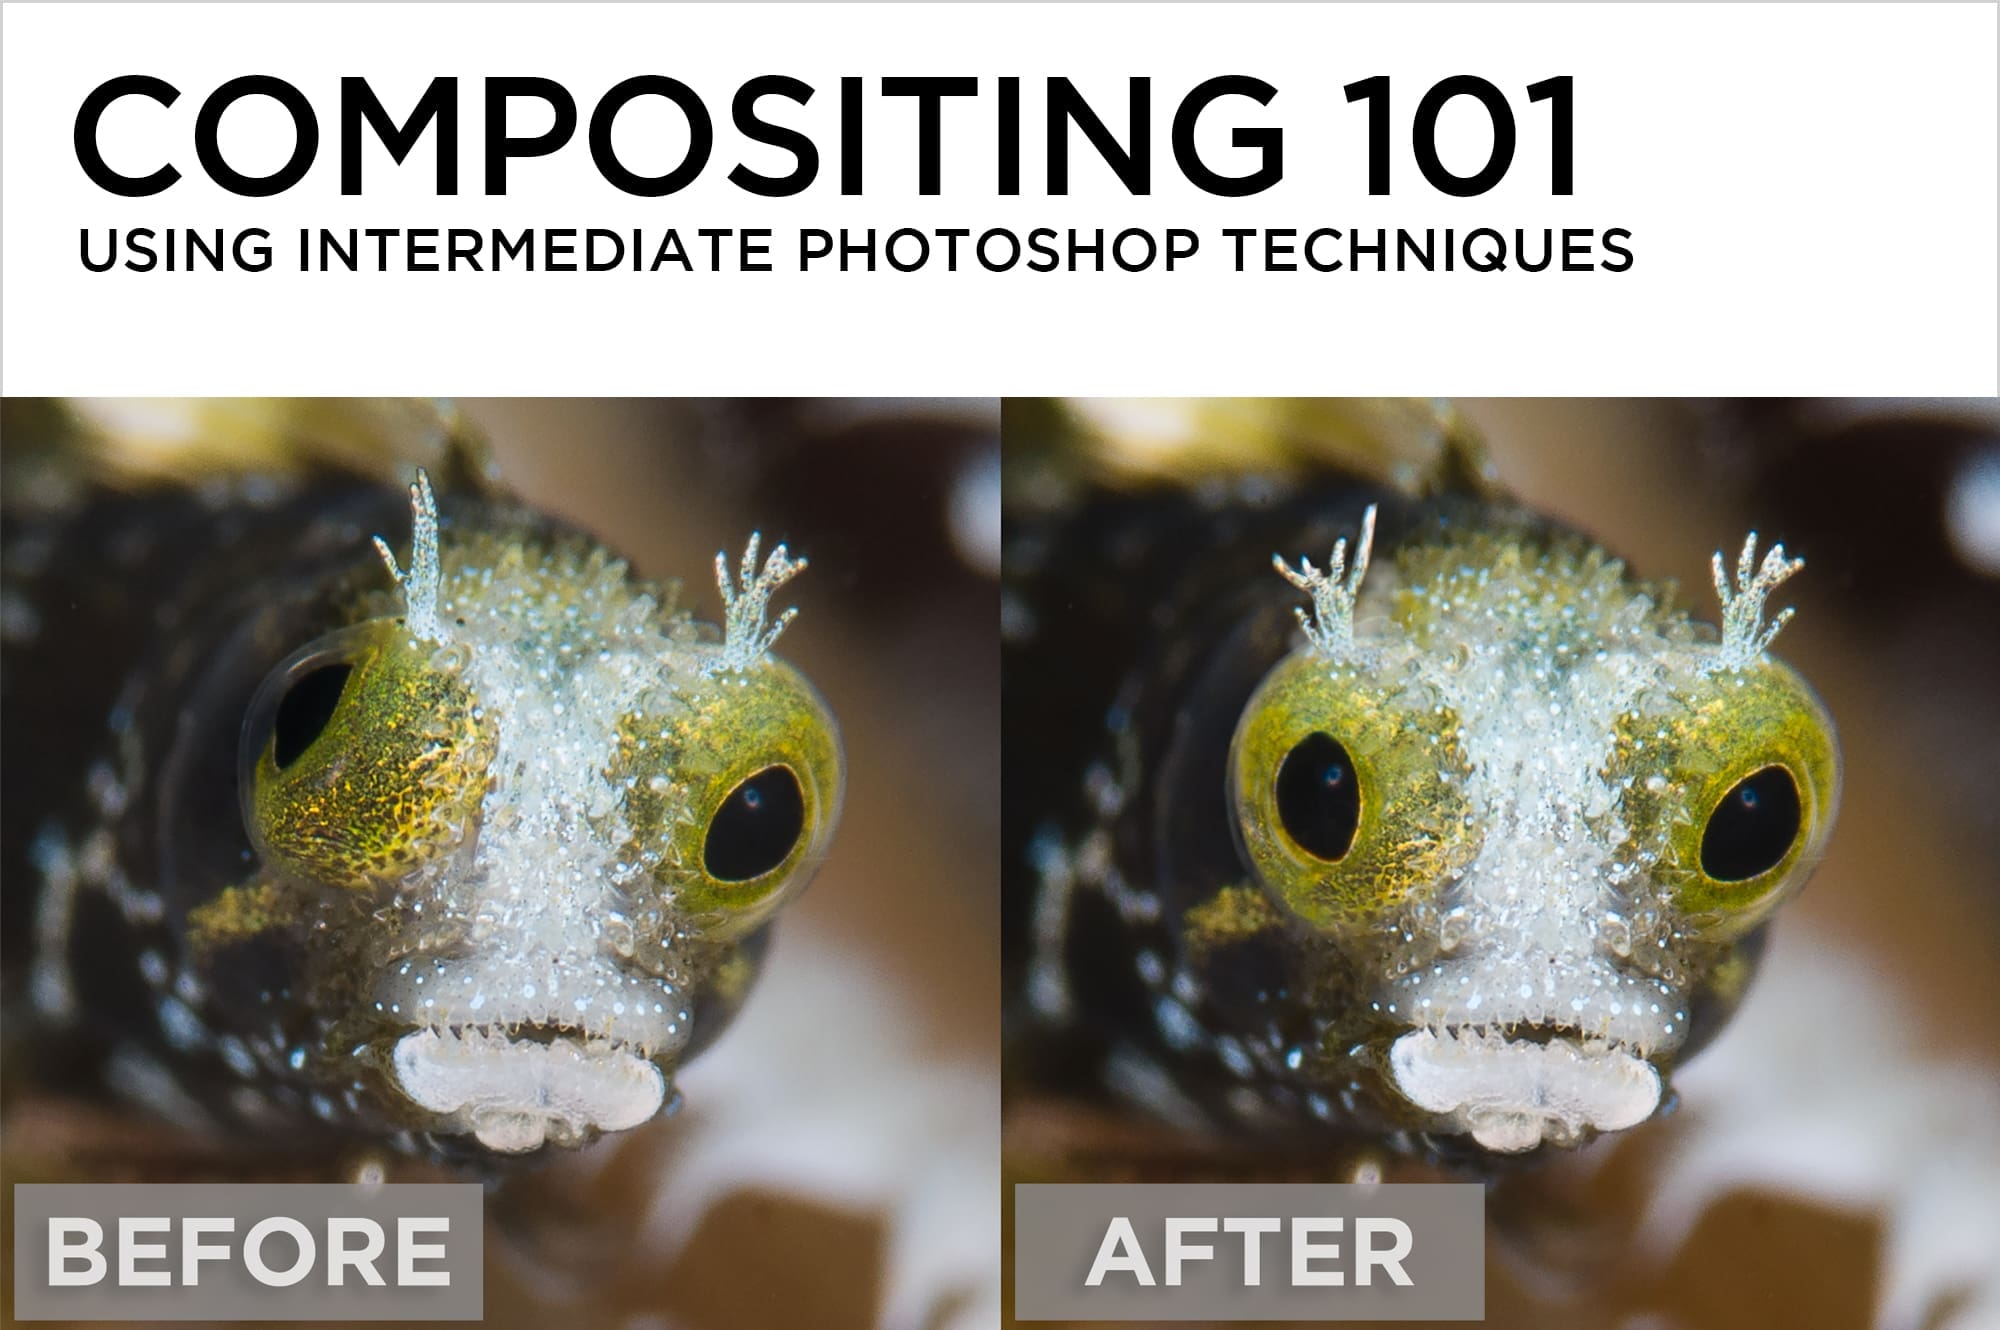
Compositing 101
I know, I know – compositing is cheating. A composited image uses elements from one part of a picture in another part, or combines multiple photos to create a single image. The reality is that if you’re not breaking someone else’s rules, or intending to deceive for personal or financial gain, then compositing is a…

