Compositing 101 – A Mad Skill You Can’t Live Without
$19
Special Covid-19 Pricing.
Already purchased? View Purchases.
ON DEMAND PRODUCT
Description
CLASS DETAILS
Runtime: 1 hour 36 minutes | Up to 1440p (2K) Resolution | Speed Control (.5 – 2x) | Interactive Chapter Markers | Bonus Downloadable Practice Files and Resources Included
CLASS OVERVIEW
It’s true – compositing can be used for good or evil, but besides providing the obvious (and somewhat controversial) advantage of being able to combine separate elements from within a single image or from multiple images, compositing has many other uses. Being able to selectively blend pixels for backscatter removal, tone, sharpness, and color launches your editing into an entirely new realm.
CHAPTERS
00:00:08 – Erin’s Rant About Cheating
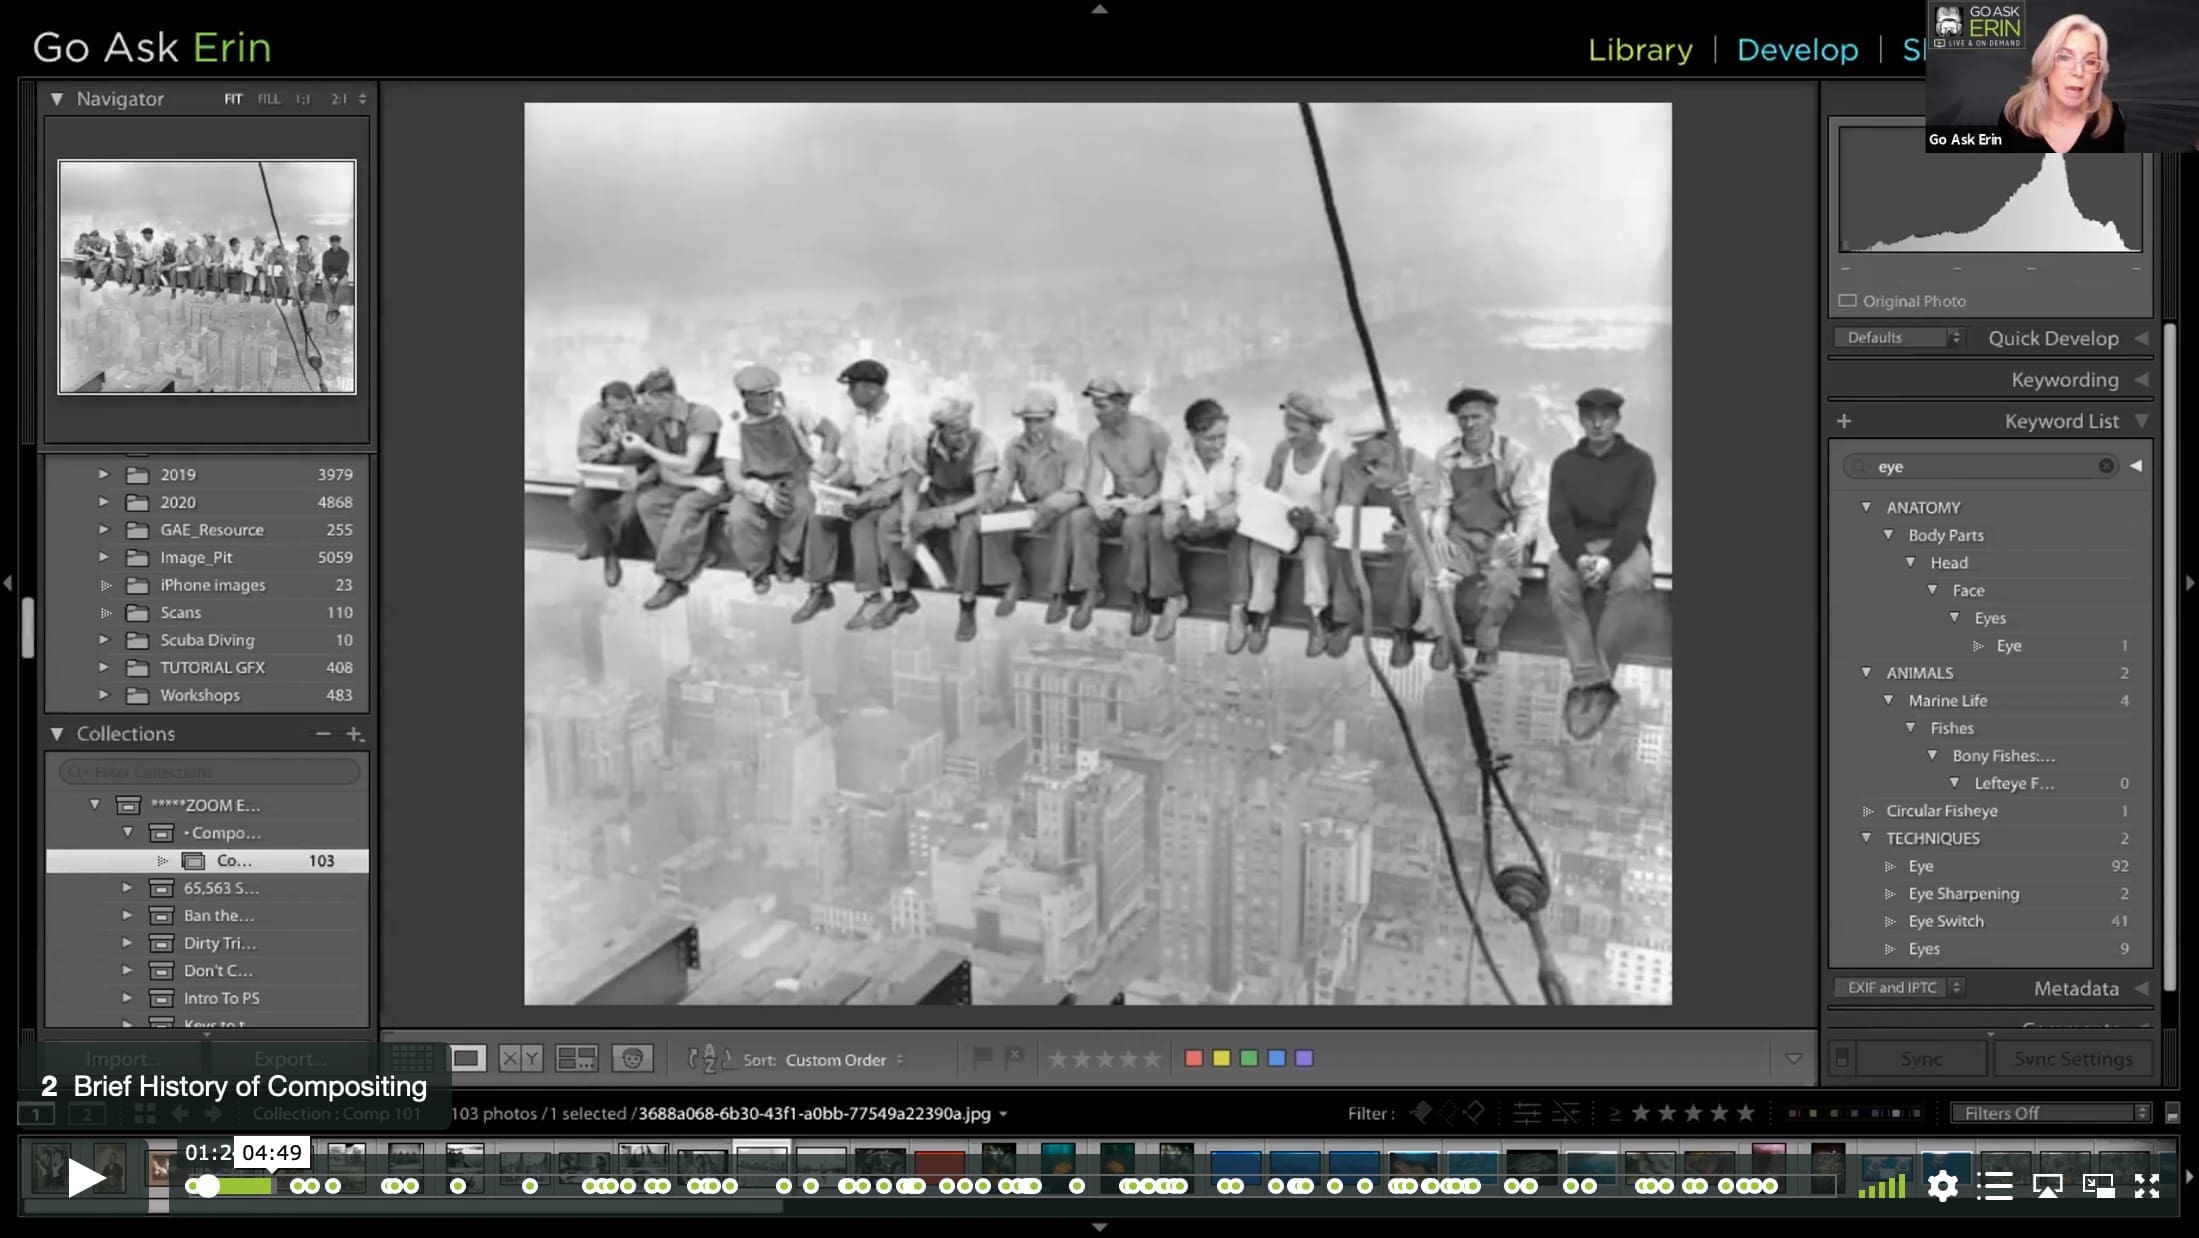
00:01:01 – Brief History of Compositing
00:06:16 – The Tools of Compositing
00:07:05 – Groups in the Layers Panel
00:08:18 – Layers and Layer Masks
00:11:37 – Partial Opacity on a Layer Mask
00:11:59 – Layer Mask View
00:12:55 – The Move Tool
00:15:39 – The Transform Tool
00:19:53 – Blending Modes
00:23:22 – Eyeball Switch
00:24:05 – Opening an Image Into Photoshop
00:24:10 – Copy the Background Layer
00:24:37 – The Lasso Selection Tool
00:25:35 – Stealing Pixels from the “Good” Eye
00:27:01 – Toggle a Single Layer’s Visibility
00:27:40 – Using Transform To Flip Pixels
00:29:33 – Change the Opacity of a Layer
00:30:13 – Aligning Pixels with Transform
00:30:37 – Show or Hide Transform Reference Point
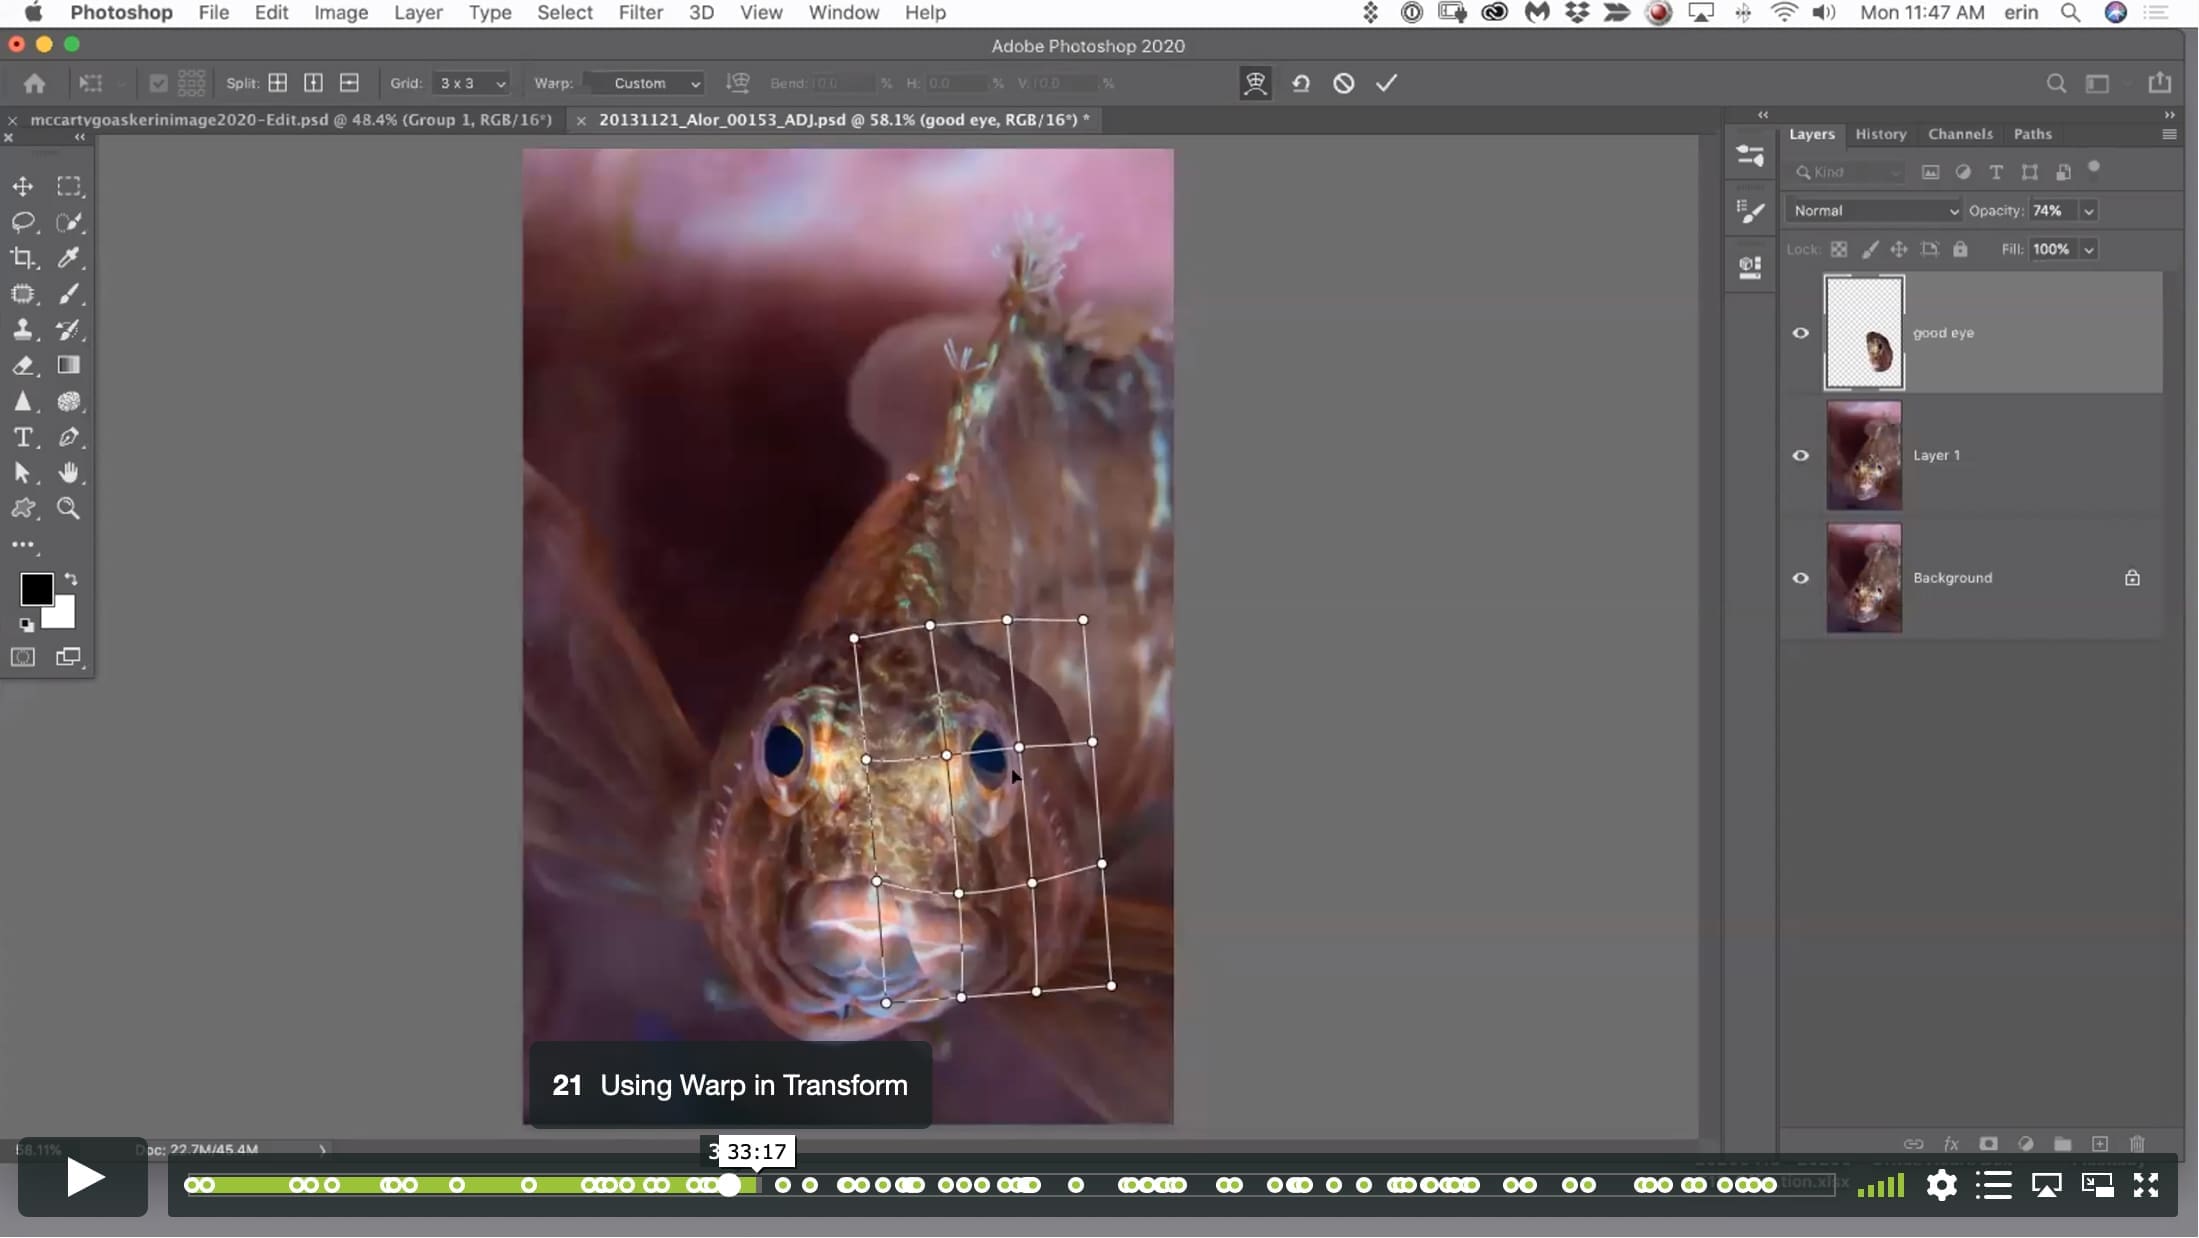
00:31:35 – Using Warp in Transform
00:34:44 – Working with a Layer Mask
00:36:20 – How to Activate Layer Components
00:38:22 – Painting with Partial Opacity
00:38:33 – Controlling Brush Opacity
00:39:24 – Eliminate Repeated Elements
00:40:36 – Saving Work in Photoshop
00:41:47 – Exaggerating an Element
00:42:22 – Put the Element Into Its Own Layer
00:42:35 – Resizing an Element with Transform
00:44:20 – Blending Composites with a Layer Mask
00:45:23 – Keyboard Shortcut for Brush Resizing
00:46:24 – Merging Up
00:47:47 – Archiving Light Rays for Composites
00:48:29 – Compositing For Sharpness
00:48:57 – Jump to Lightroom
00:49:03 – Copy the Background Layer
00:49:07 – Select Sharp Pixels with the Move Tool
00:49:15 – Copy Selection to Its Own Layer
00:49:19 – The Move Tool
00:49:26 – Transform and Warp
00:51:56 – Adding a Black Layer Mask
00:54:53 – Using Multiple Images in a Composite
00:55:12 – Opening Multiple Images as Layers
00:56:02 – Make Selections of Each Element
00:56:09 – Delete Unnecessary Layers
00:56:56 – Crop without the Crop Tool
00:57:05 – Select All Pixels in a Layer
00:57:38 – Deselect Marching Ants
00:57:59 – Using Color Range to Make a Selection
01:00:37 – Inverting a Selection
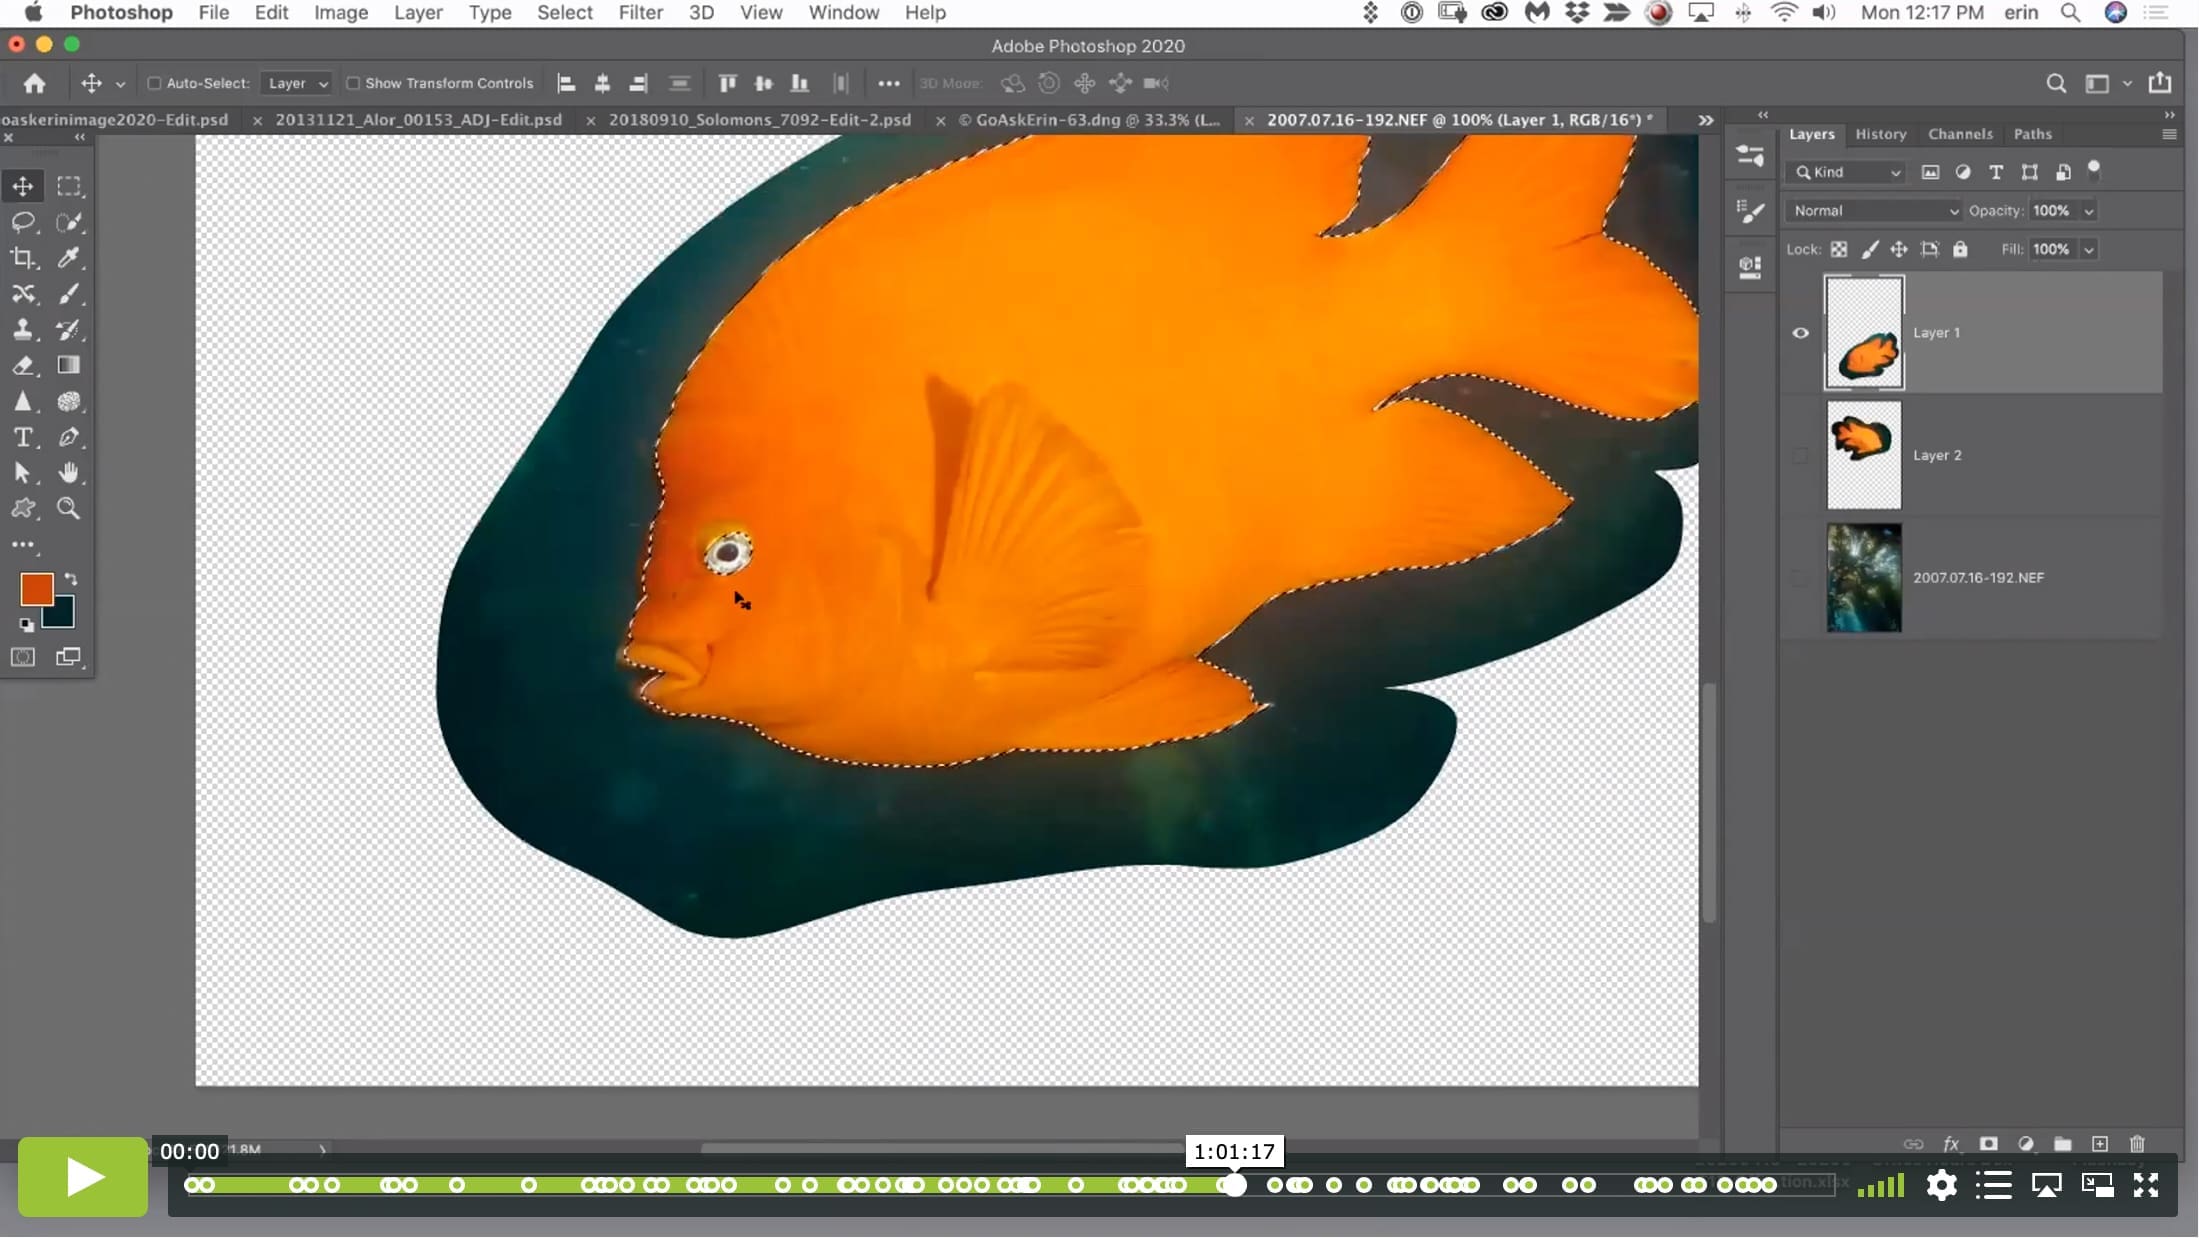
01:01:16 – Adding and Subtracting From a Selection
01:03:36 – Resizing Composited Elements
01:04:41 – Finesse Selection by Copying Its Layer
01:04:57 – Adding an Adjustment Layer
01:05:20 – Properties Panel Icons
01:07:04 – Merging Up
01:08:48 – Layer Stack Tour
01:10:38 – Select and Isolate Diver
01:10:59 – Restore Active Selection
01:11:25 – Content Aware Fill
01:12:33 – Apply Blending Modes
01:12:44 – Mask Out Unwanted Edges
01:13:41 – Troubleshooting Layer Contents
01:14:05 – Reposition Diver
01:14:07 – Add a Layer Mask
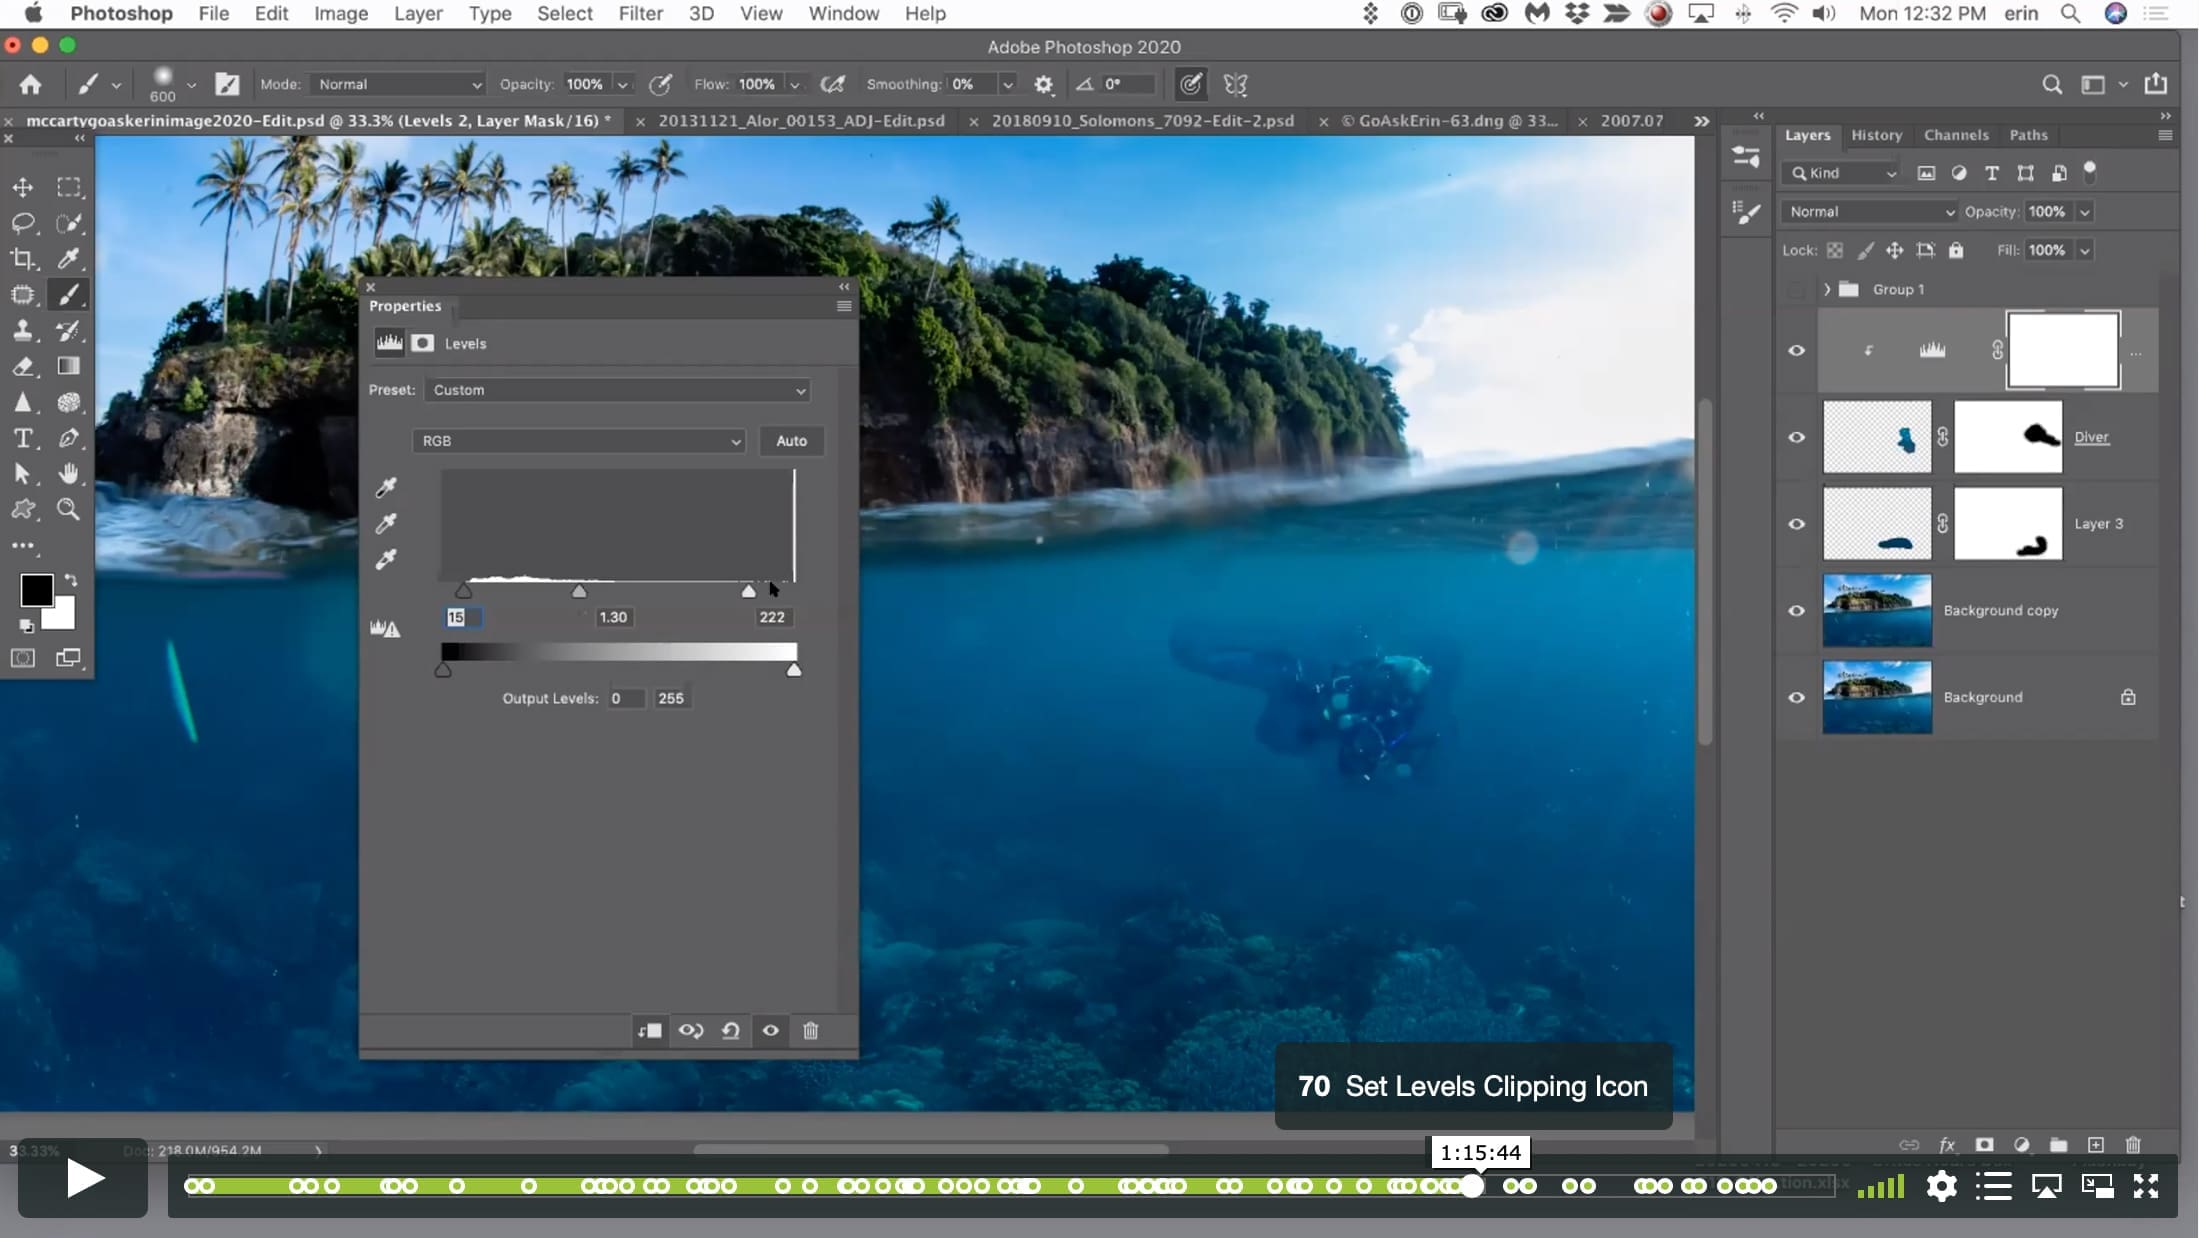
01:14:50 – Levels Adjustment Layer
01:15:08 – Set Levels Clipping Icon
01:17:25 – Compositing Blending Trick
01:18:21 – Q&A
01:18:27 – Why use Color Range Instead of Magic Wand?
01:20:53 – How to save PS Changes to LR
01:21:55 – Moving Layers Between Open Documents
01:25:06 – Punch Up the Diver?
01:25:35 – Edit Original, Copy, or Copy with LR Changes?
01:26:27 – Exaggerate the Diver
01:27:50 – Check Your Work
01:28:27 – Adding and Reducing Noise
01:29:56 – Adding Grain in Lightroom
01:31:00 – Painting with Gray on a Layer Mask
01:31:38 – Command to Merge Up
01:32:34 – Composite for Split Shot?
© Go Ask Erin / Newmediasoup, LLC


