Office Hours – Power Pack 2
$19
Special Covid-19 Pricing.
Already purchased? View Purchases.
ON DEMAND PRODUCT
Description
CLASS DETAILS
Runtime: 1 hour 48 minutes | Up to 1440p (2K) Resolution | Speed Control (.5 – 2x) | Interactive Chapter Markers | Bonus Downloadable Practice Files and Resources Included
CLASS OVERVIEW
On the post processing side, we cover selections, smart objects, range masking and color masking in Photoshop. The all important HO mantra is covered! Get your channel chops dialed in using Photoshop’s super powerful Channels Panel. Get clarification on the difference between Clarity and Dehaze. Lastly, learn about all the different kinds of sharpening available, taking things to 11 and more!
 LIGHTROOM CLASSIC VERSION INFO
In Lightroom Classic Version 11 and Later, Adobe introduced a new way to make selections and masks in the Lightroom Develop Module. If you’re using Lightroom Classic 11 or Later, we recommend purchasing New Masking Magic in Lightroom Classic 11 in addition to this product to get up to speed on the new masking tools.
CHAPTERS
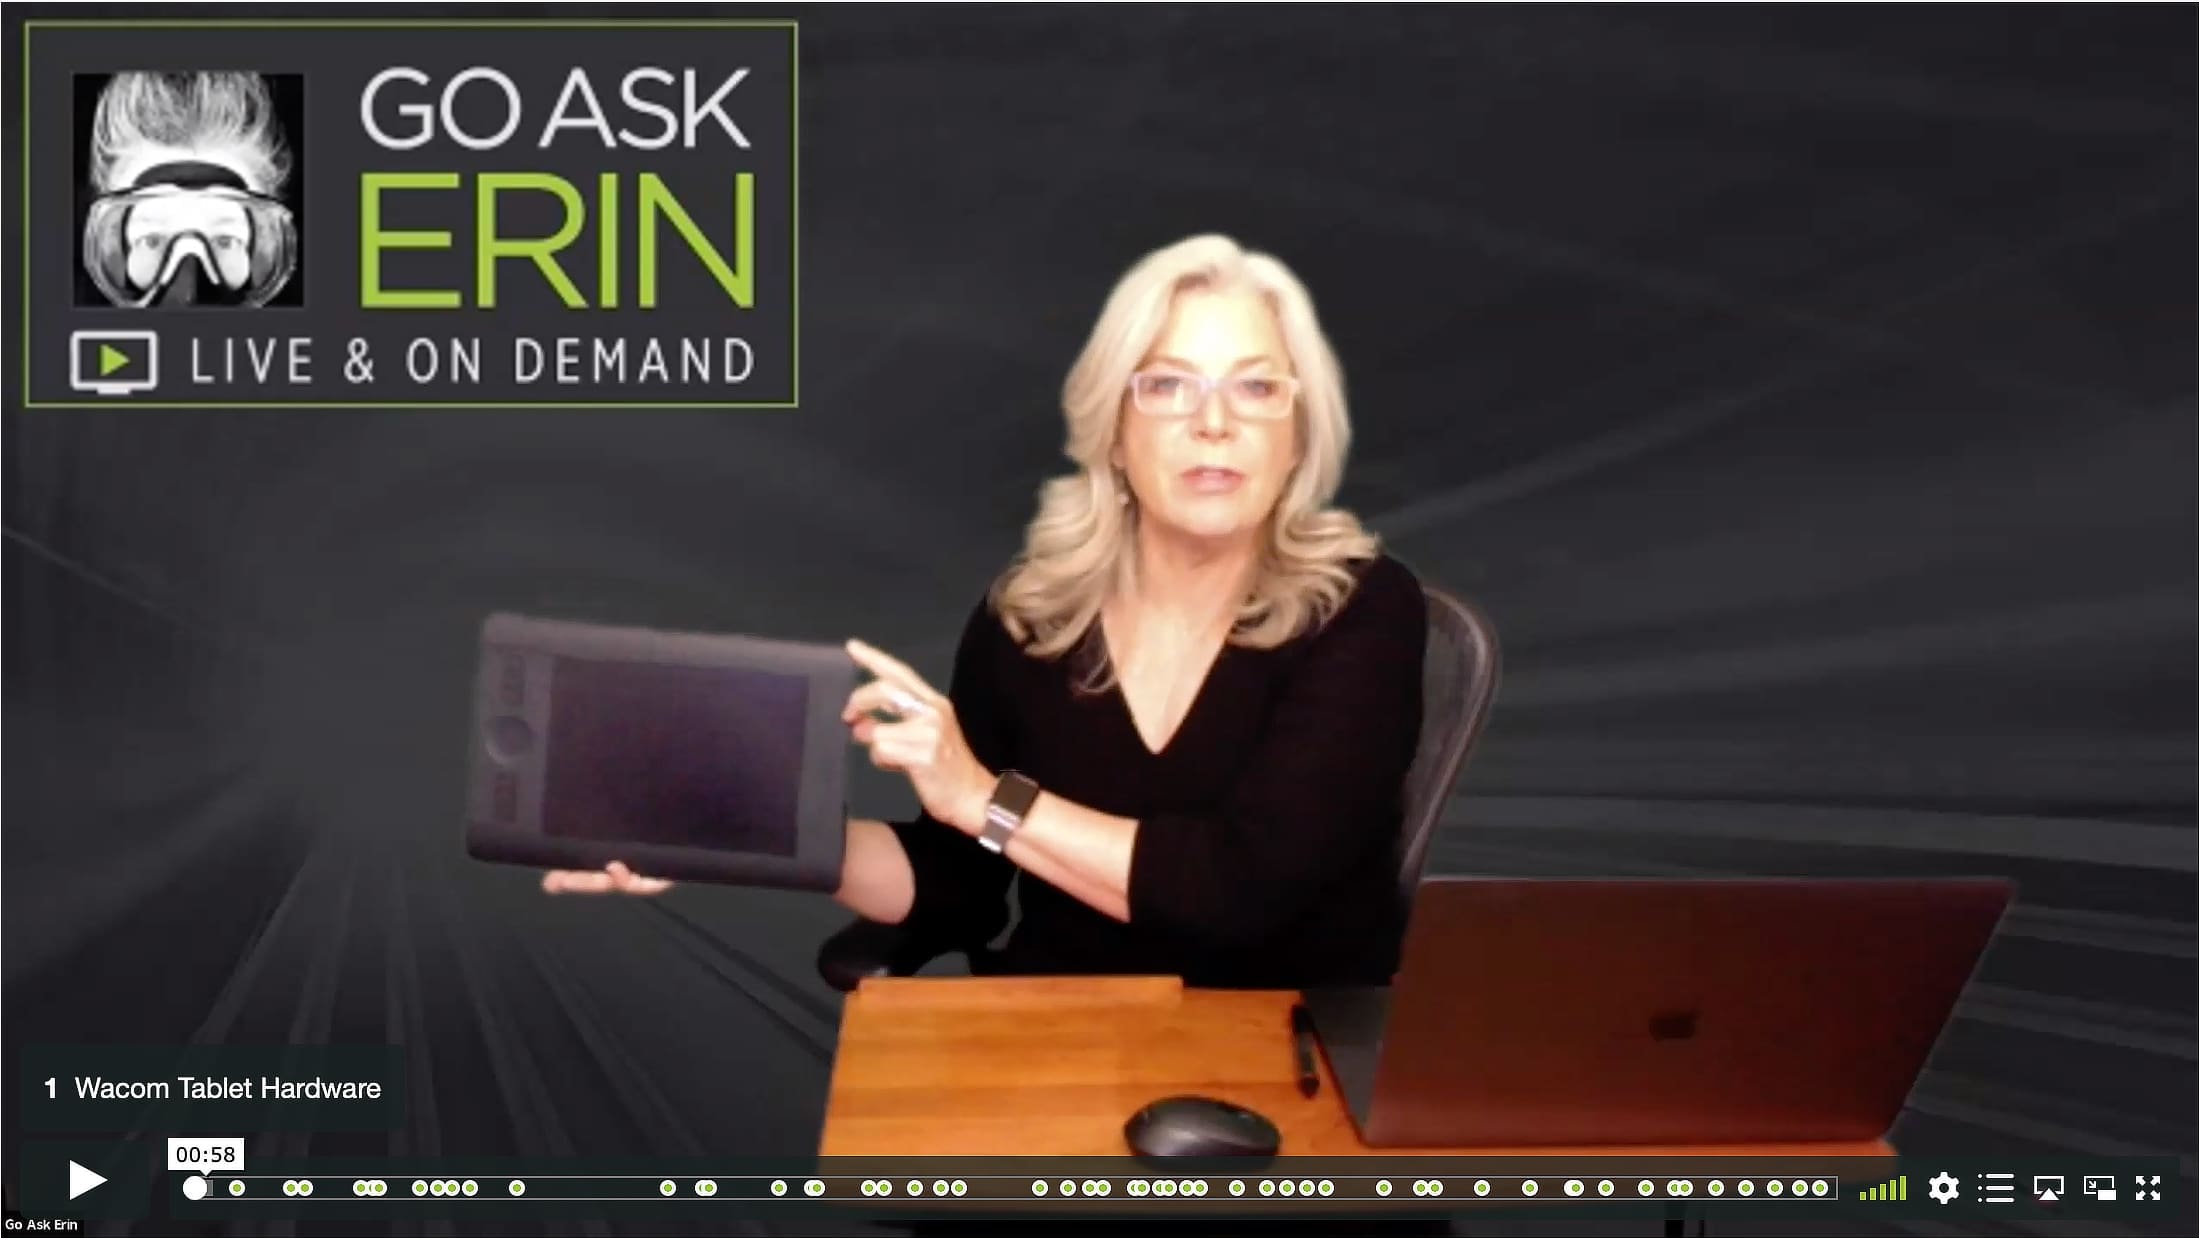
00:00:11 – Wacom Tablet Hardware
00:02:56 – Monitor Calibration
00:06:28 – Wacom Tablet Online
00:07:25 – Wacom System Preferences
00:11:05 – iPad with Apple Pencil?
00:11:52 – Can it be Set Up for Left-Handers?
00:12:16 – Wacom/Photoshop Settings
00:14:57 – How is Wacom Different Than a Touch Screen Computer
00:16:09 – Calibration Hardware Info
00:17:04 – Selections in Photoshop
00:18:15 – Smart Objects
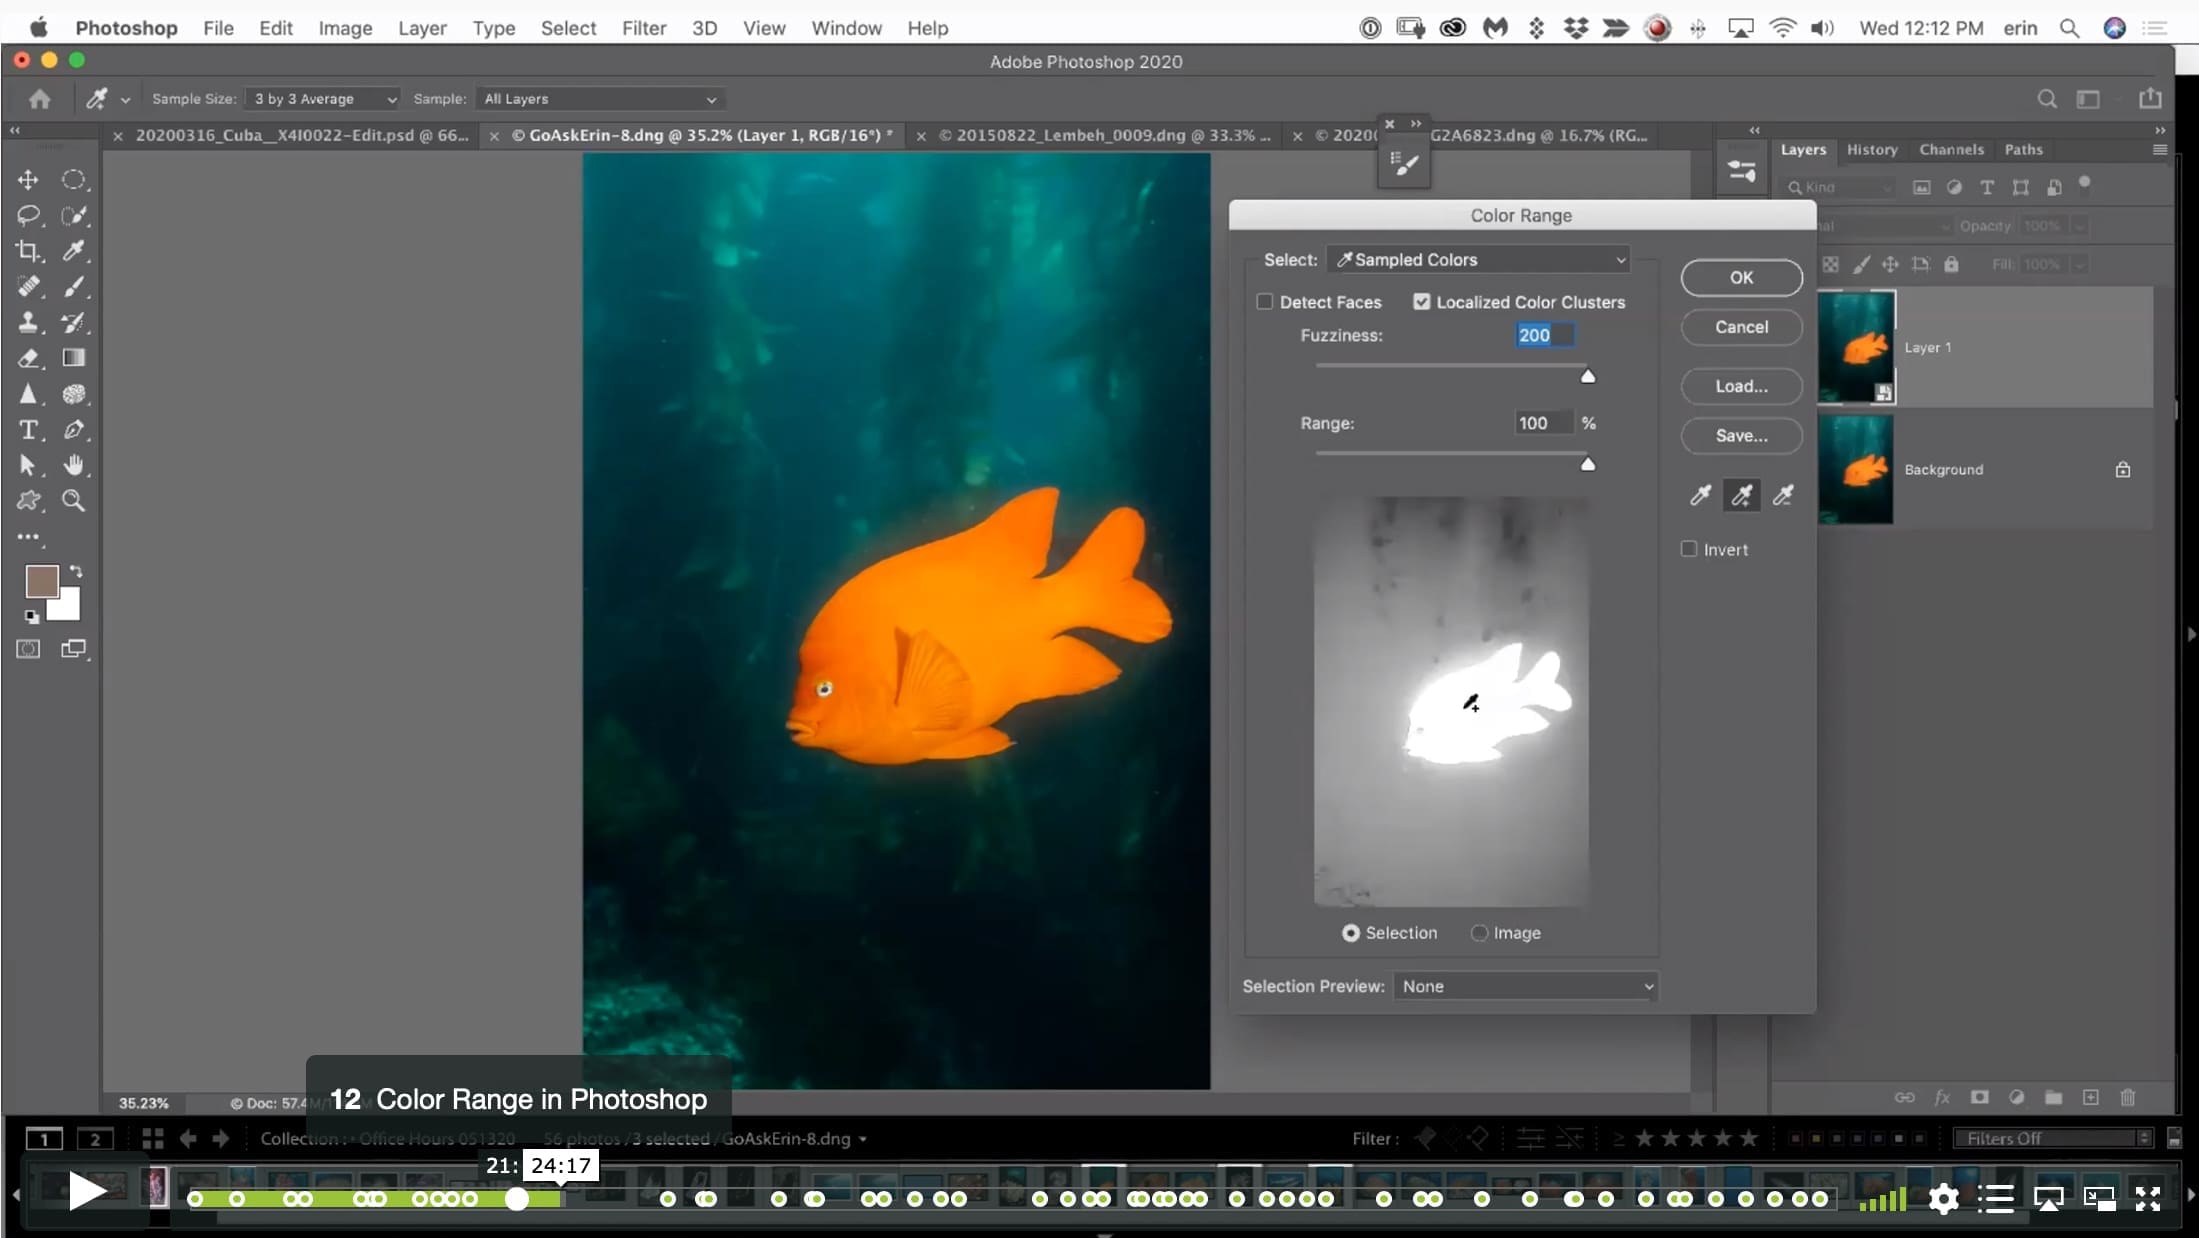
00:21:17 – Color Range in Photoshop
00:31:11 – Range Masking in Lightroom
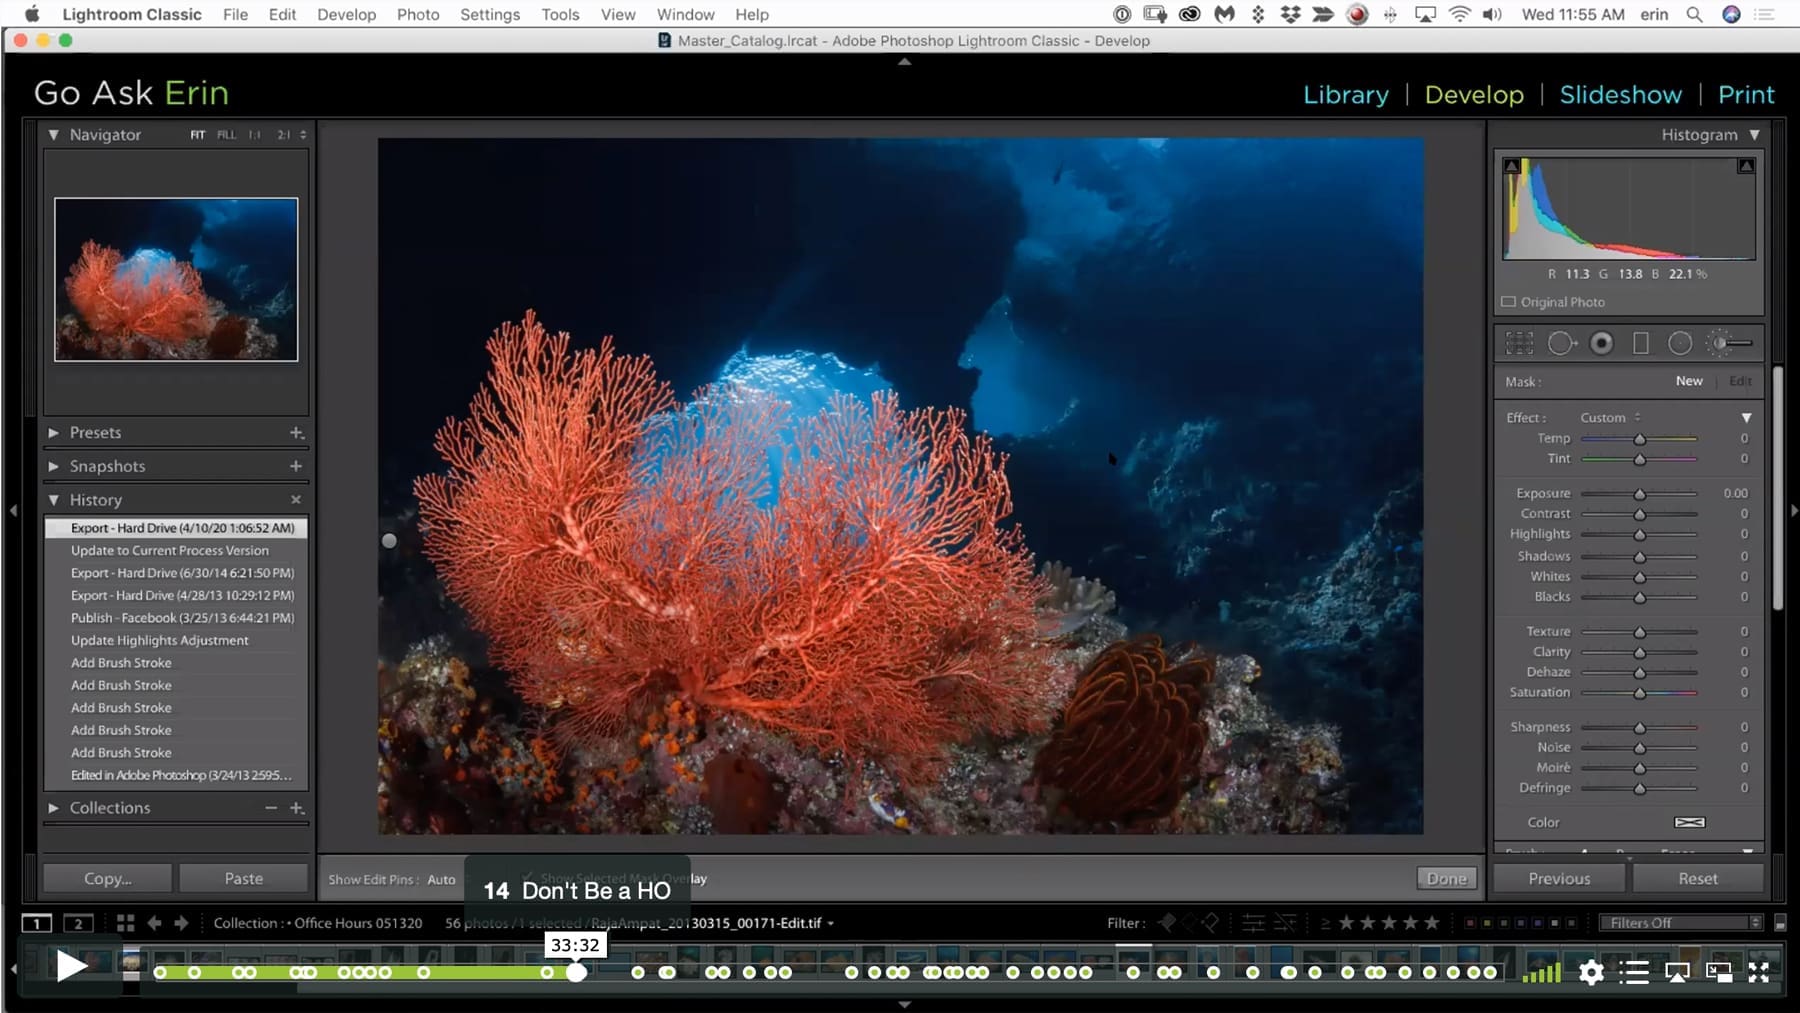
00:33:30 – Don’t Be a HO
00:33:52 – Color Range Masking
00:38:31 – Range Mask Test Case in Lightroom
00:40:37 – Navigator Window Preview in Lightroom
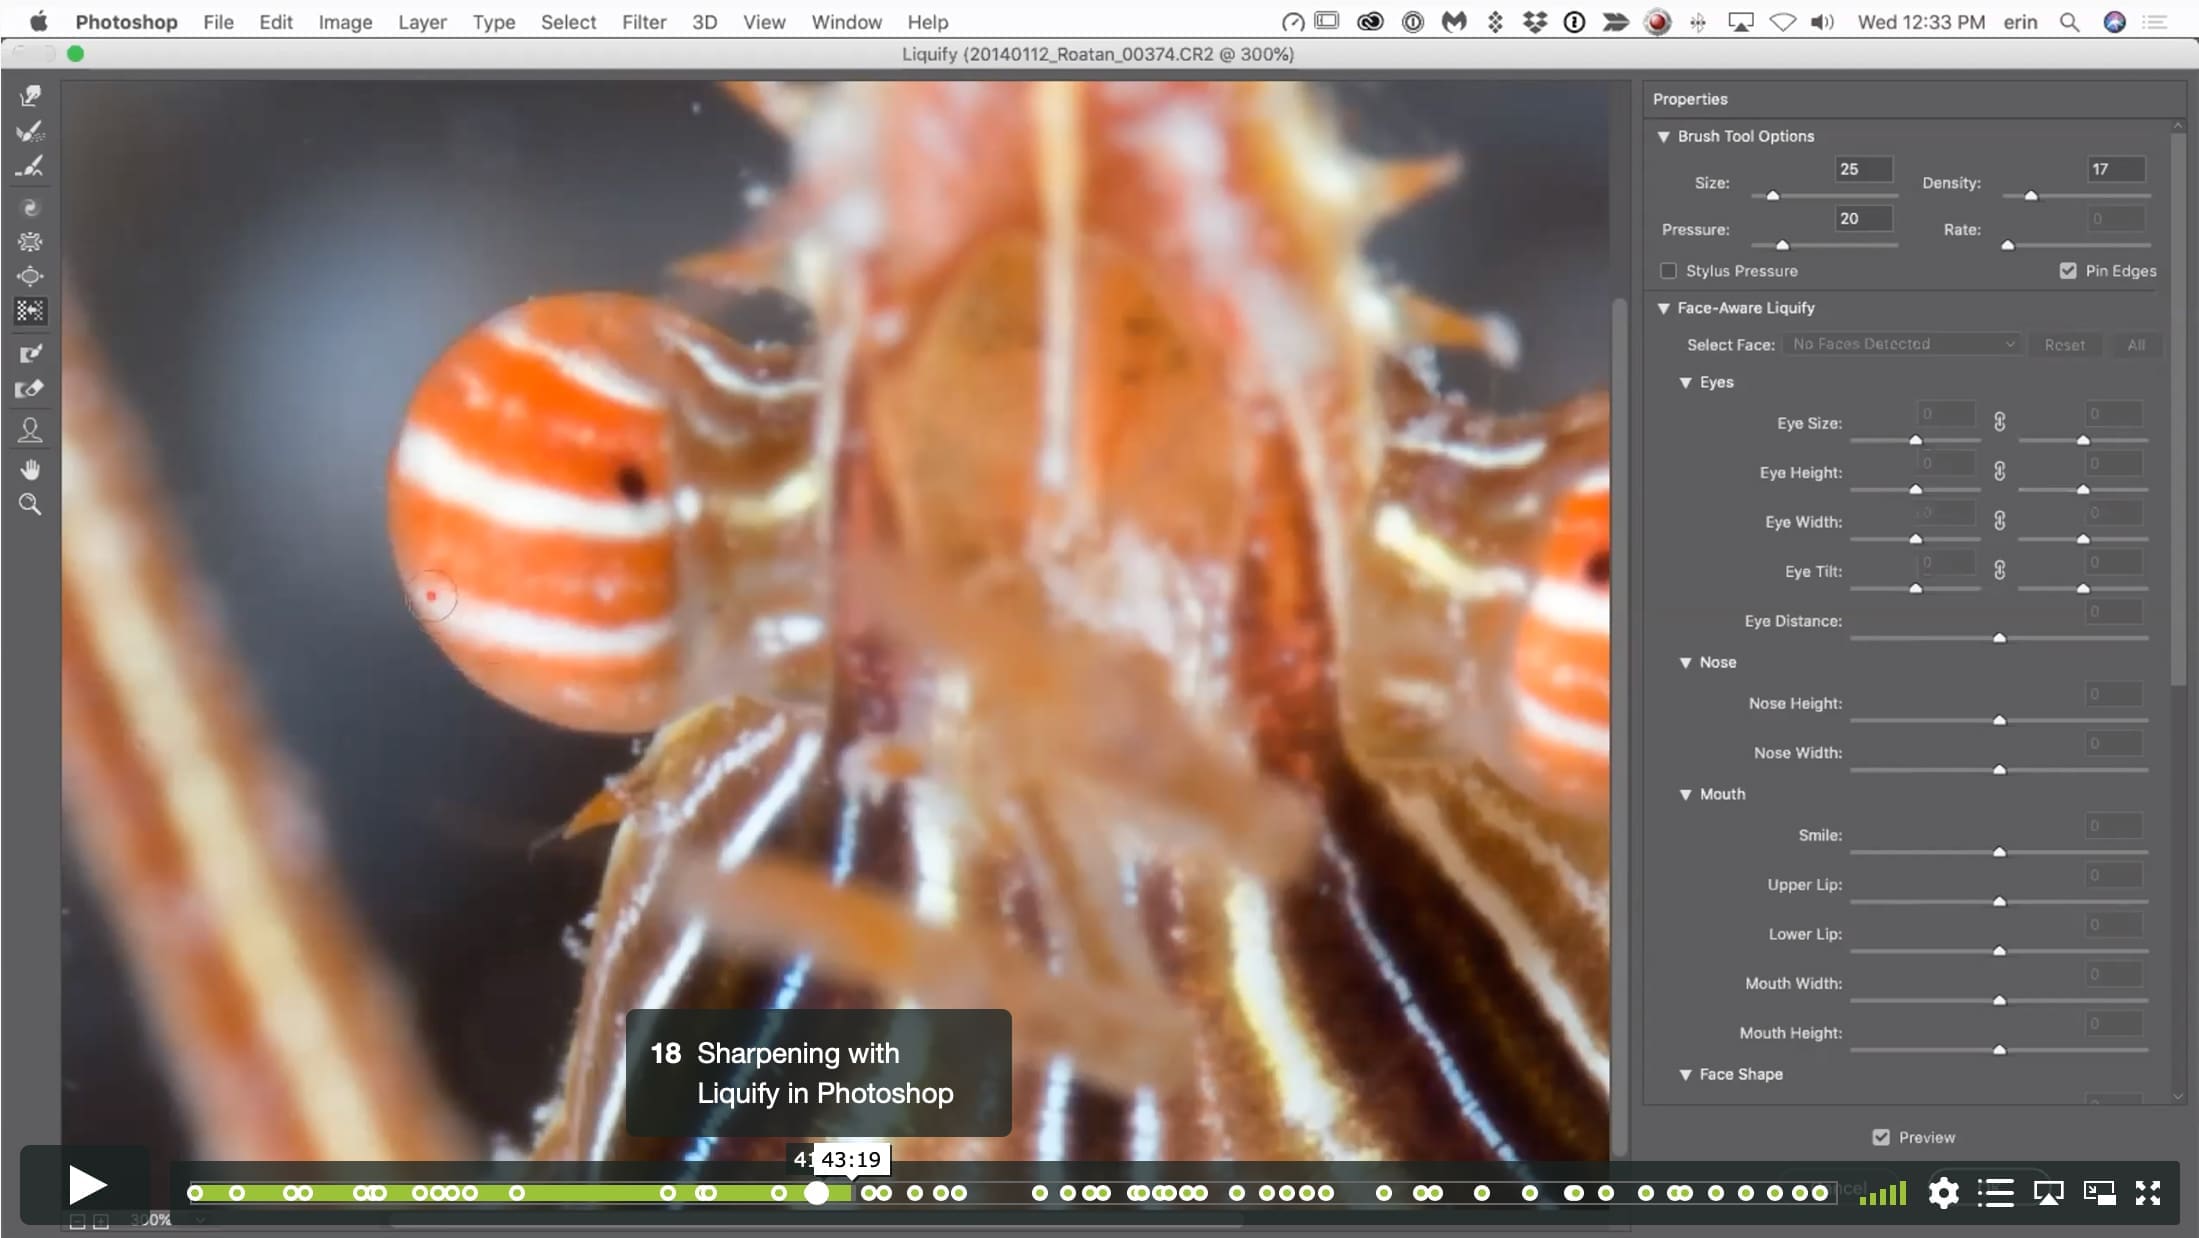
00:41:00 – Sharpening with Liquify in Photoshop
00:45:23 – Liquify for Exaggeration
00:47:26 – Using Liquify for Impact in Photoshop
00:49:06 – Channel Masking in Photoshop
00:50:16 – Apply Image in Photoshop
00:55:35 – Camera Profiles in LIghtroom
00:57:27 – Develop Module Workflow Order in Lightroom
00:58:51 – Error Messages at Import
00:59:42 – Taking it to Eleven with White Balance in Photoshop
01:01:50 – Opening A Smart Object in Photoshop
01:02:16 – Smart Object Behavior in Photoshop
01:03:28 – New Smart Object via Filter in Photoshop
01:04:03 – Camera Raw Smart Filter
01:05:14 – Saving Photoshop Edits to Lightroom
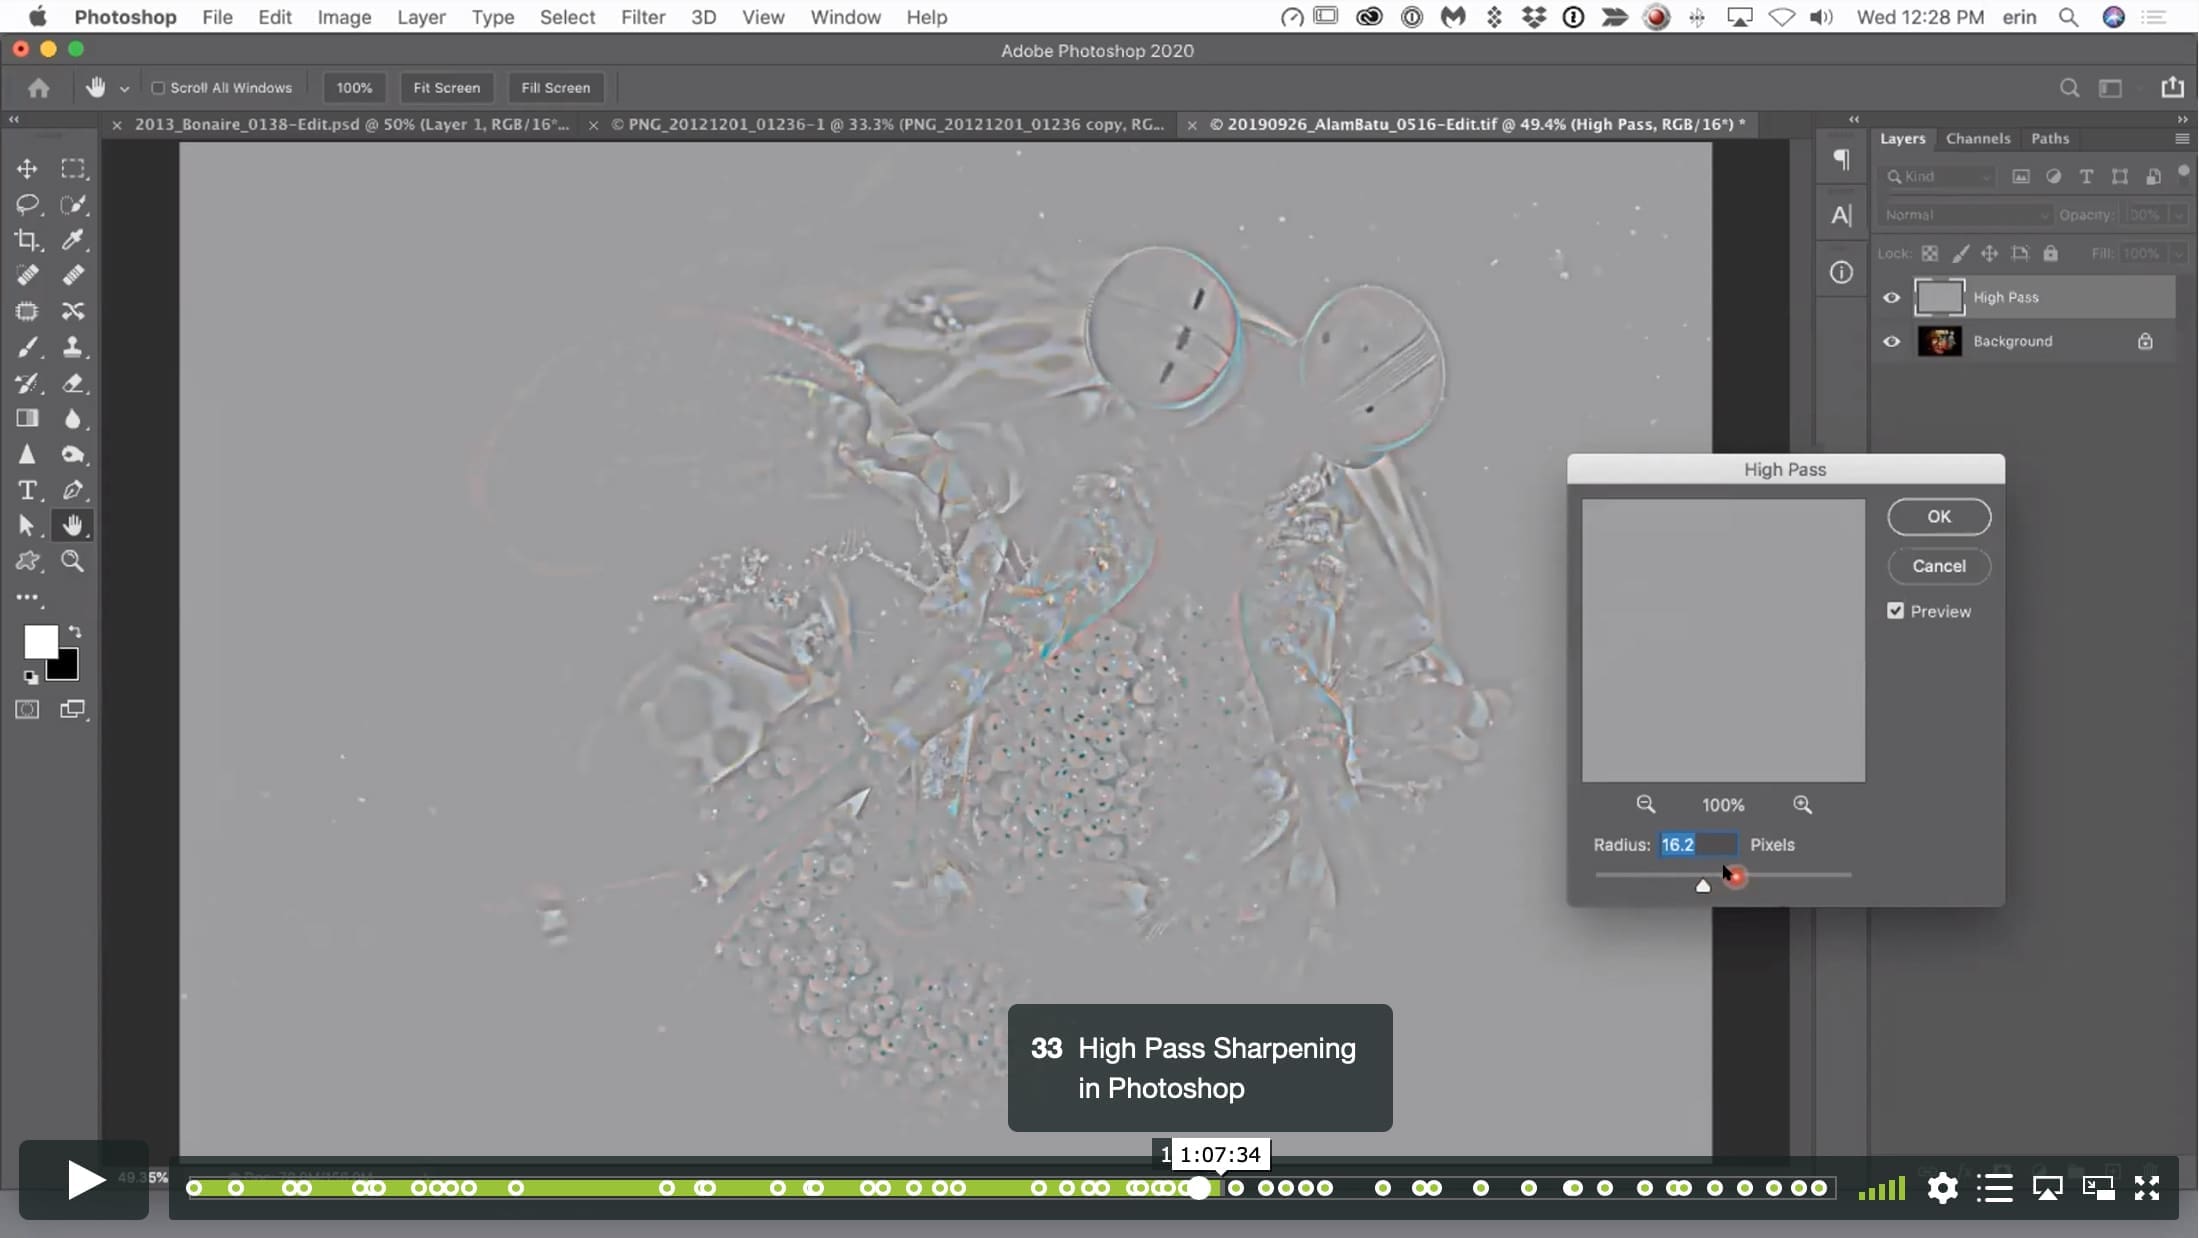
01:06:04 – High Pass Sharpening in Photoshop
01:08:31 – Smart Sharpen in Photoshop
01:10:30 – Sharpening with Local Tools in Lightroom
01:11:49 – Enhancing a Nudi Eye in Lightroom
01:14:19 – Clarity vs Dehaze Redux
01:18:08 – Why I Prefer the Tone Curve in Photoshop
01:20:35 – Luminosity Blending Mode
01:21:28 – When to save XMP Metadata in Lightroom
01:24:36 – Editing a Smart Object in Photoshop
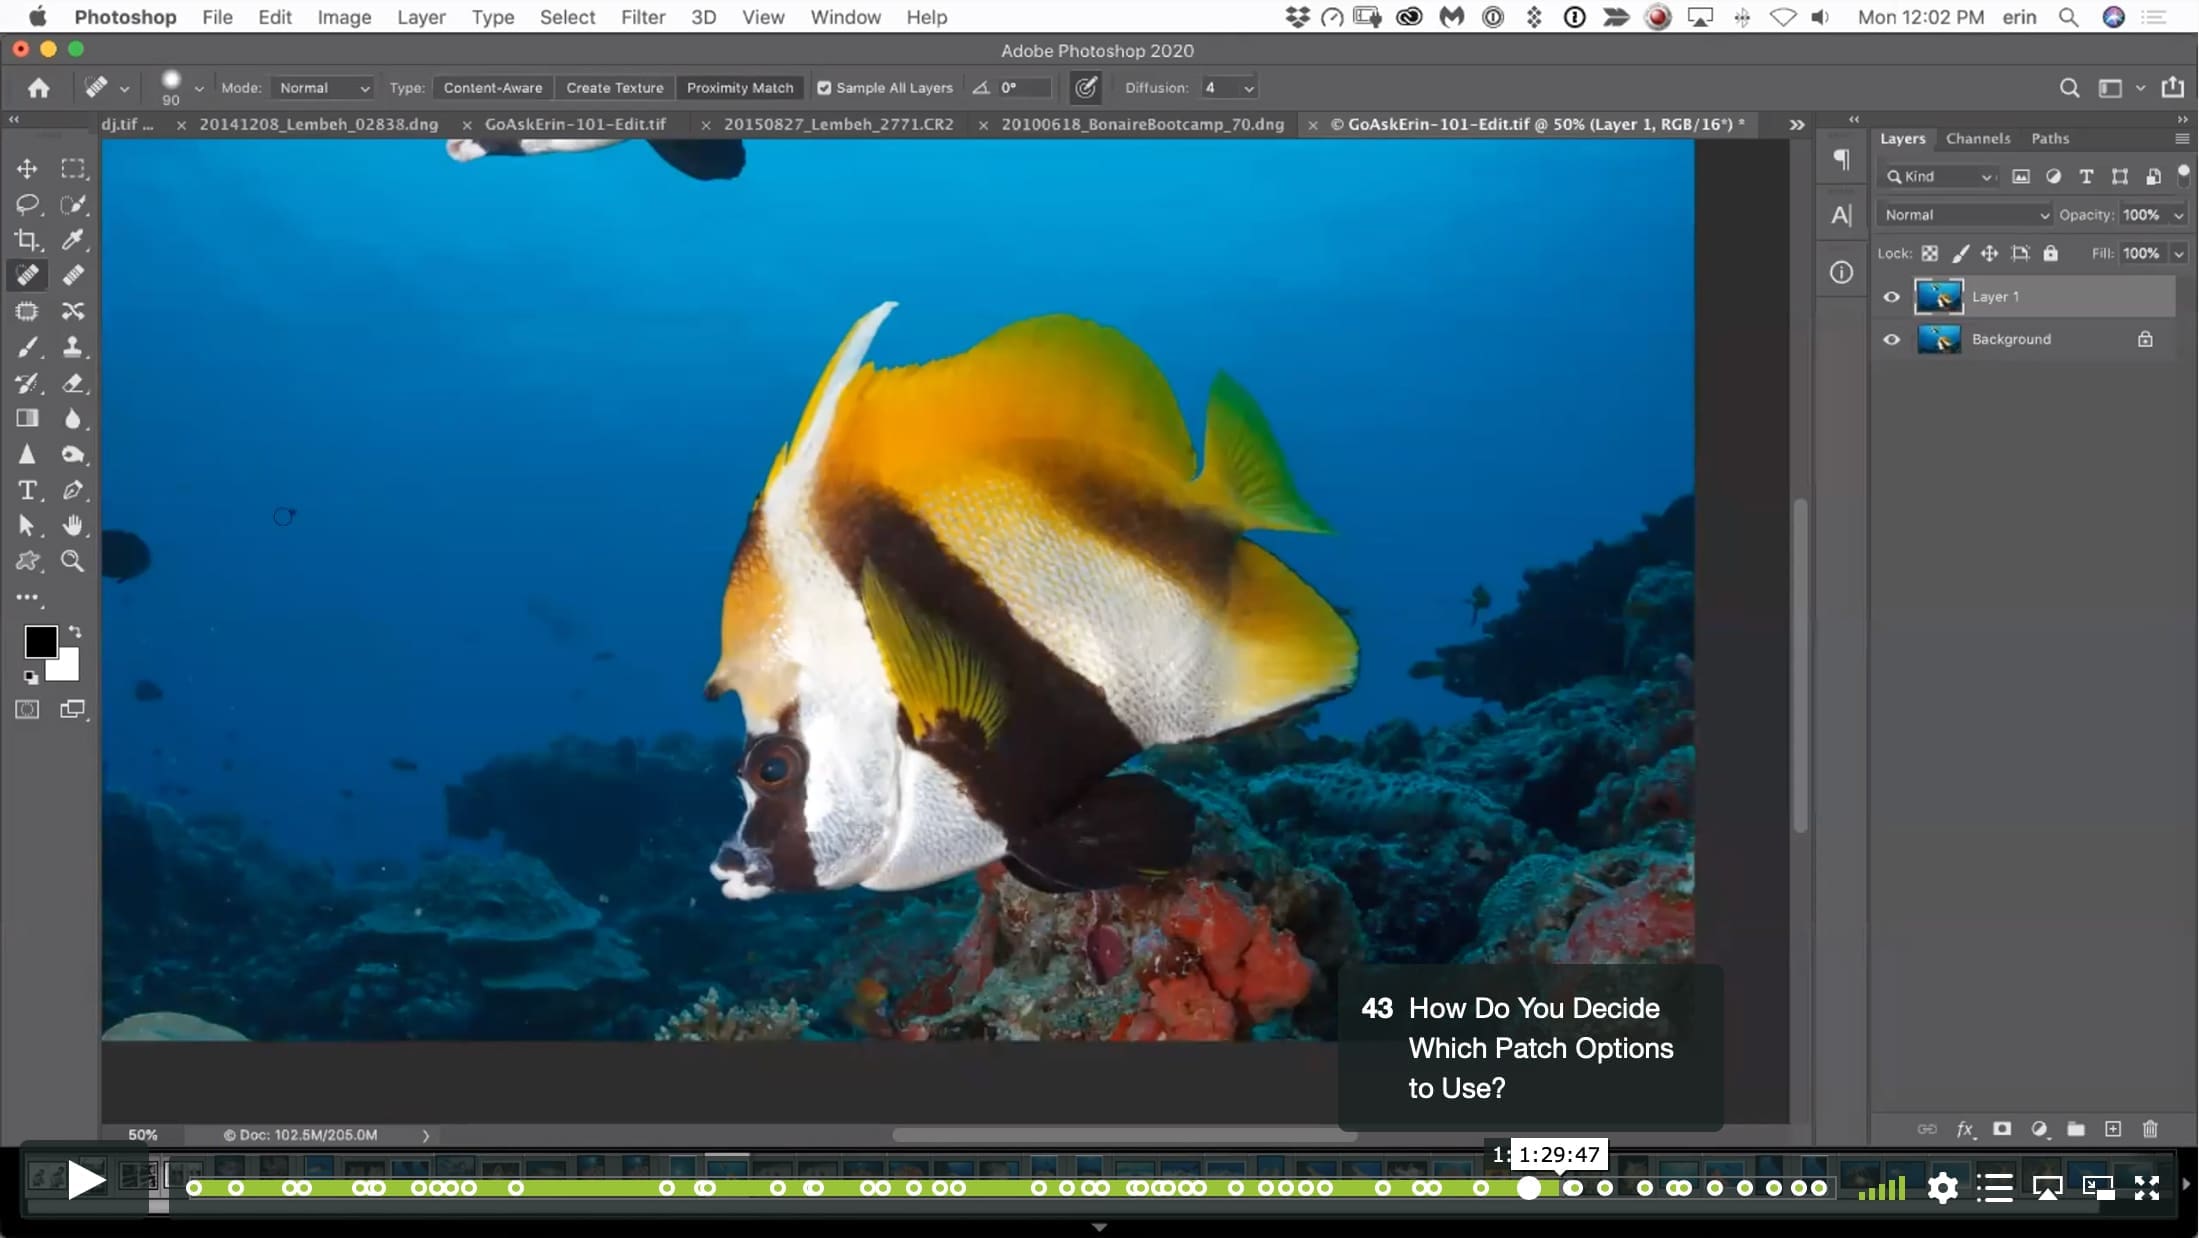
01:27:44 – How Do You Decide Which Patch Options to Use?
01:30:29 – In Lightroom, How Much Input Sharpening is Enough
01:30:43 – Three Kinds of Sharpening
01:32:42 – Sync and Sidecars
01:35:18 – The Crop Tool in Lightroom
01:37:13 – Reset Crop Tool
01:37:52 – Level the Horizon with the Crop Tool in Lightroom
01:39:55 – When to Use a Smart Object
01:41:54 – Where to White Balance on Blue Photo in Lightroom
01:43:49 – Brush with Overlay Blending Mode
01:45:26 – Can you Take Highlights and Shadows to 11?
01:46:44 – Make Extreme Edits to Get Better Selections
© Go Ask Erin / Newmediasoup, LLC
Description
CLASS DETAILS
Runtime: 1 hour 48 minutes | Up to 1440p (2K) Resolution | Speed Control (.5 – 2x) | Interactive Chapter Markers | Bonus Downloadable Practice Files and Resources Included
CLASS OVERVIEW
On the post processing side, we cover selections, smart objects, range masking and color masking in Photoshop. The all important HO mantra is covered! Get your channel chops dialed in using Photoshop’s super powerful Channels Panel. Get clarification on the difference between Clarity and Dehaze. Lastly, learn about all the different kinds of sharpening available, taking things to 11 and more!
 LIGHTROOM CLASSIC VERSION INFO
In Lightroom Classic Version 11 and Later, Adobe introduced a new way to make selections and masks in the Lightroom Develop Module. If you’re using Lightroom Classic 11 or Later, we recommend purchasing New Masking Magic in Lightroom Classic 11 in addition to this product to get up to speed on the new masking tools.
CHAPTERS
00:00:11 – Wacom Tablet Hardware
00:02:56 – Monitor Calibration
00:06:28 – Wacom Tablet Online
00:07:25 – Wacom System Preferences
00:11:05 – iPad with Apple Pencil?
00:11:52 – Can it be Set Up for Left-Handers?
00:12:16 – Wacom/Photoshop Settings
00:14:57 – How is Wacom Different Than a Touch Screen Computer
00:16:09 – Calibration Hardware Info
00:17:04 – Selections in Photoshop
00:18:15 – Smart Objects
00:21:17 – Color Range in Photoshop
00:31:11 – Range Masking in Lightroom
00:33:30 – Don’t Be a HO
00:33:52 – Color Range Masking
00:38:31 – Range Mask Test Case in Lightroom
00:40:37 – Navigator Window Preview in Lightroom
00:41:00 – Sharpening with Liquify in Photoshop
00:45:23 – Liquify for Exaggeration
00:47:26 – Using Liquify for Impact in Photoshop
00:49:06 – Channel Masking in Photoshop
00:50:16 – Apply Image in Photoshop
00:55:35 – Camera Profiles in LIghtroom
00:57:27 – Develop Module Workflow Order in Lightroom
00:58:51 – Error Messages at Import
00:59:42 – Taking it to Eleven with White Balance in Photoshop
01:01:50 – Opening A Smart Object in Photoshop
01:02:16 – Smart Object Behavior in Photoshop
01:03:28 – New Smart Object via Filter in Photoshop
01:04:03 – Camera Raw Smart Filter
01:05:14 – Saving Photoshop Edits to Lightroom
01:06:04 – High Pass Sharpening in Photoshop
01:08:31 – Smart Sharpen in Photoshop
01:10:30 – Sharpening with Local Tools in Lightroom
01:11:49 – Enhancing a Nudi Eye in Lightroom
01:14:19 – Clarity vs Dehaze Redux
01:18:08 – Why I Prefer the Tone Curve in Photoshop
01:20:35 – Luminosity Blending Mode
01:21:28 – When to save XMP Metadata in Lightroom
01:24:36 – Editing a Smart Object in Photoshop
01:27:44 – How Do You Decide Which Patch Options to Use?
01:30:29 – In Lightroom, How Much Input Sharpening is Enough
01:30:43 – Three Kinds of Sharpening
01:32:42 – Sync and Sidecars
01:35:18 – The Crop Tool in Lightroom
01:37:13 – Reset Crop Tool
01:37:52 – Level the Horizon with the Crop Tool in Lightroom
01:39:55 – When to Use a Smart Object
01:41:54 – Where to White Balance on Blue Photo in Lightroom
01:43:49 – Brush with Overlay Blending Mode
01:45:26 – Can you Take Highlights and Shadows to 11?
01:46:44 – Make Extreme Edits to Get Better Selections
© Go Ask Erin / Newmediasoup, LLC


