Thinking Outside the Box – Creative Exploration in Lightroom and Photoshop
$19
Special Covid-19 Pricing.
Already purchased? View Purchases.
ON DEMAND PRODUCT
Description
CLASS DETAILS
Runtime: 1 hour 21 minutes | Up to 1440p (2K) Resolution | Speed Control (.5 – 2x) | Interactive Chapter Markers | Bonus Downloadable Practice Files and Resources Included
CLASS OVERVIEW
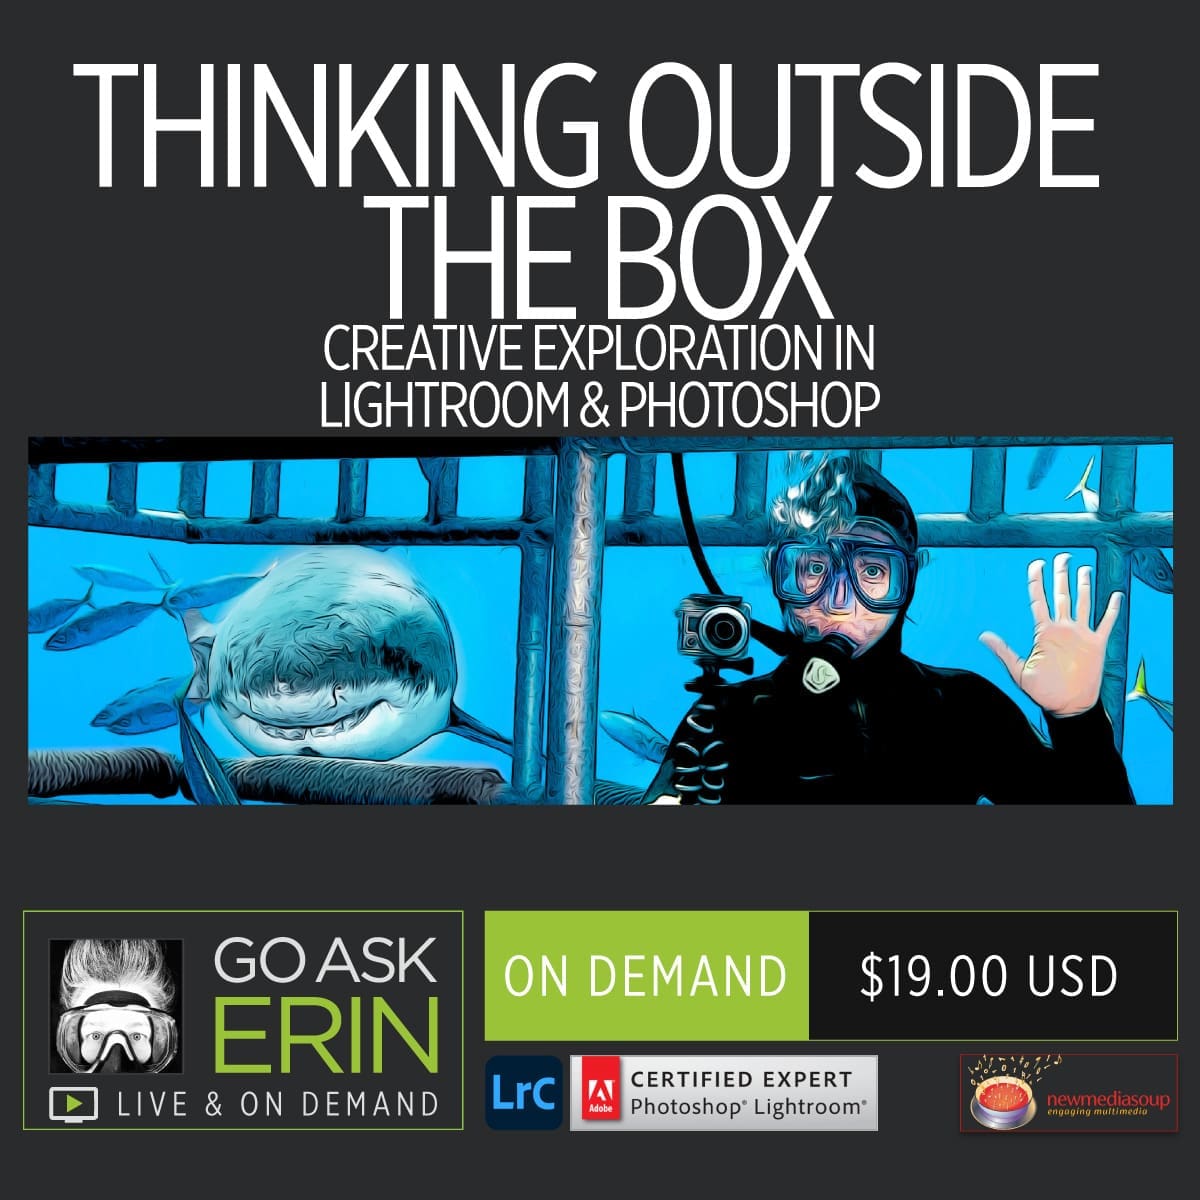
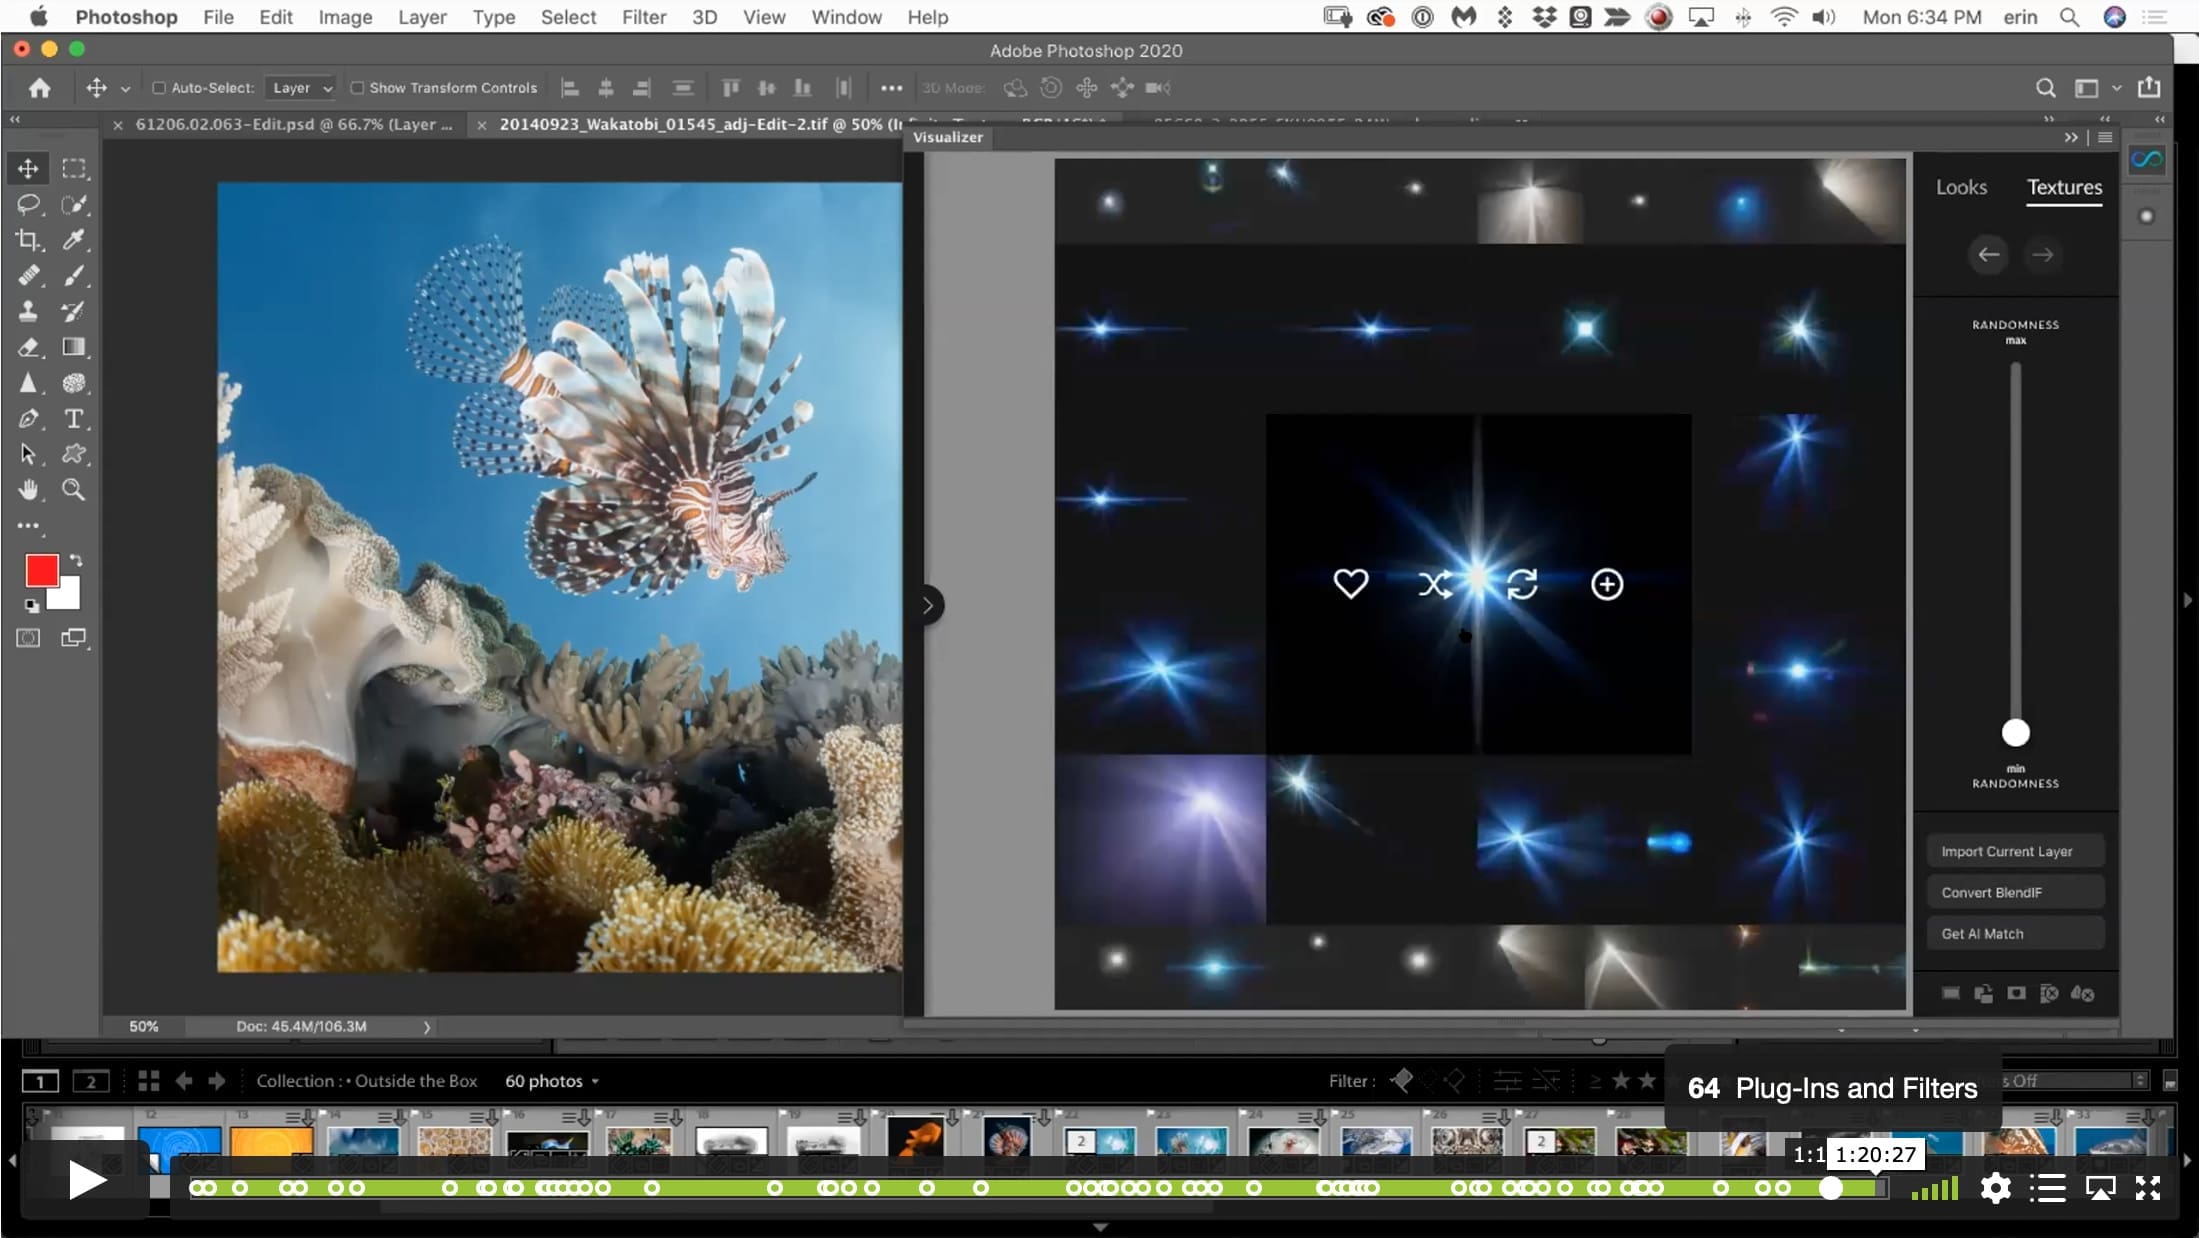
Sometimes you need a little strange. Maybe you have an image that can’t be salvaged using traditional photo editing, or maybe you’re just in the mood for some off-road creative exploration. Whatever the reason, Lightroom and Photoshop are both well-stocked with tools that get as artsy-fartsy as your heart desires. In this session, we’ll explore methods to convert your photos to non-photographic art, from pencil sketch to oil paint and beyond. It’s not normal, but it’s FUN!
 LIGHTROOM CLASSIC VERSION INFO
In Lightroom Classic Version 11 and Later, Adobe introduced a new way to make selections and masks in the Lightroom Develop Module. If you’re using Lightroom Classic 11 or Later, we recommend purchasing New Masking Magic in Lightroom Classic 11 in addition to this product to get up to speed on the new masking tools.
CHAPTERS
00:00:14 – Creative Exploration in LR
00:00:50 – Inverted Radial Filter with Dehaze
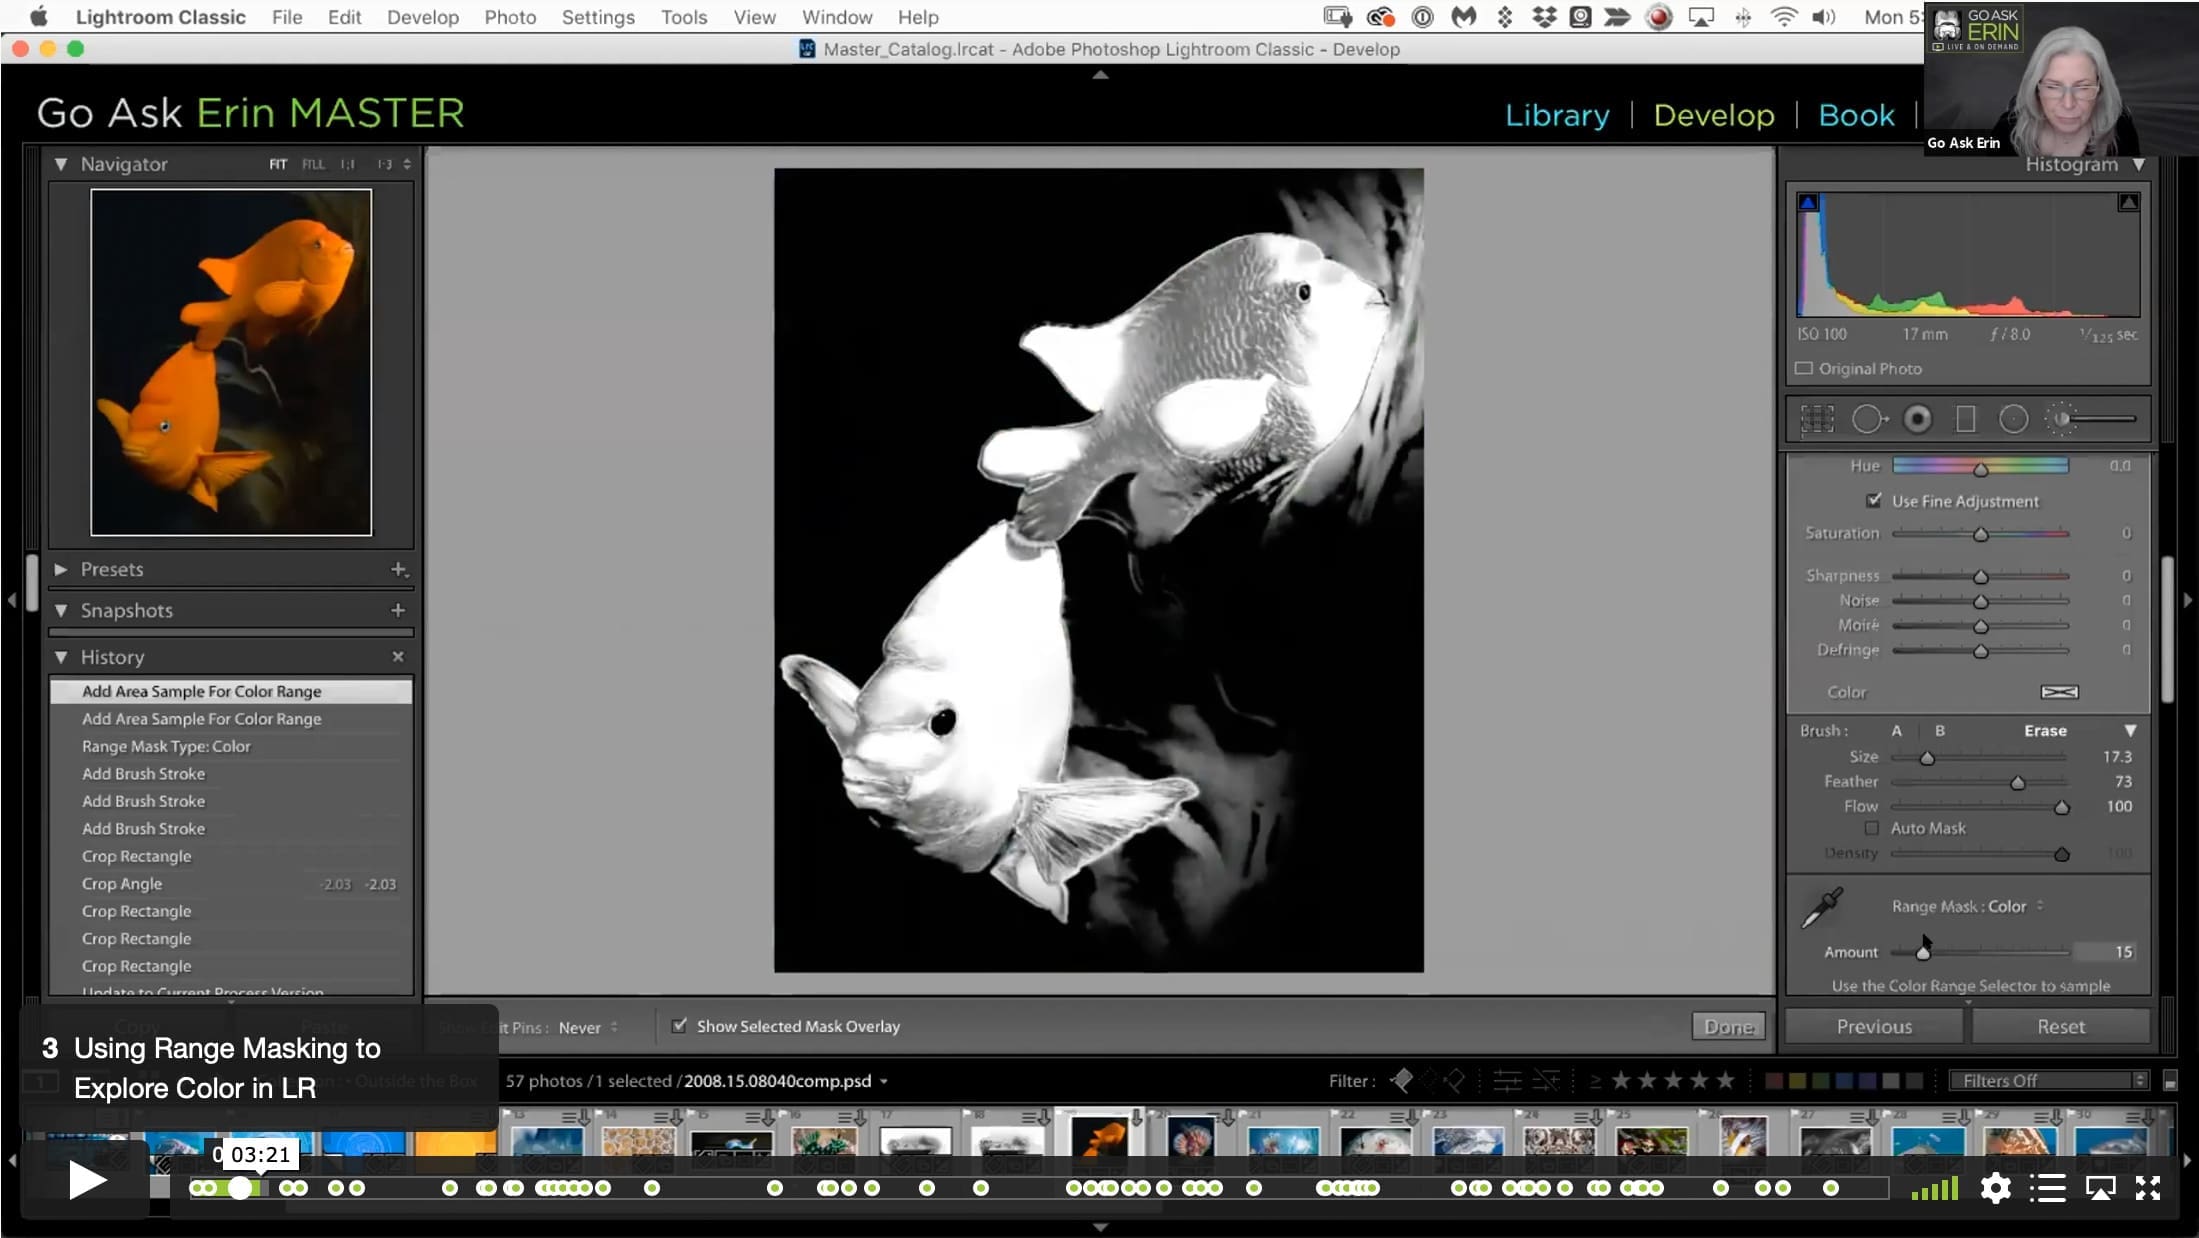
00:02:17 – Using Range Masking to Explore Color in LR
00:04:31 – Ready for Photoshop?
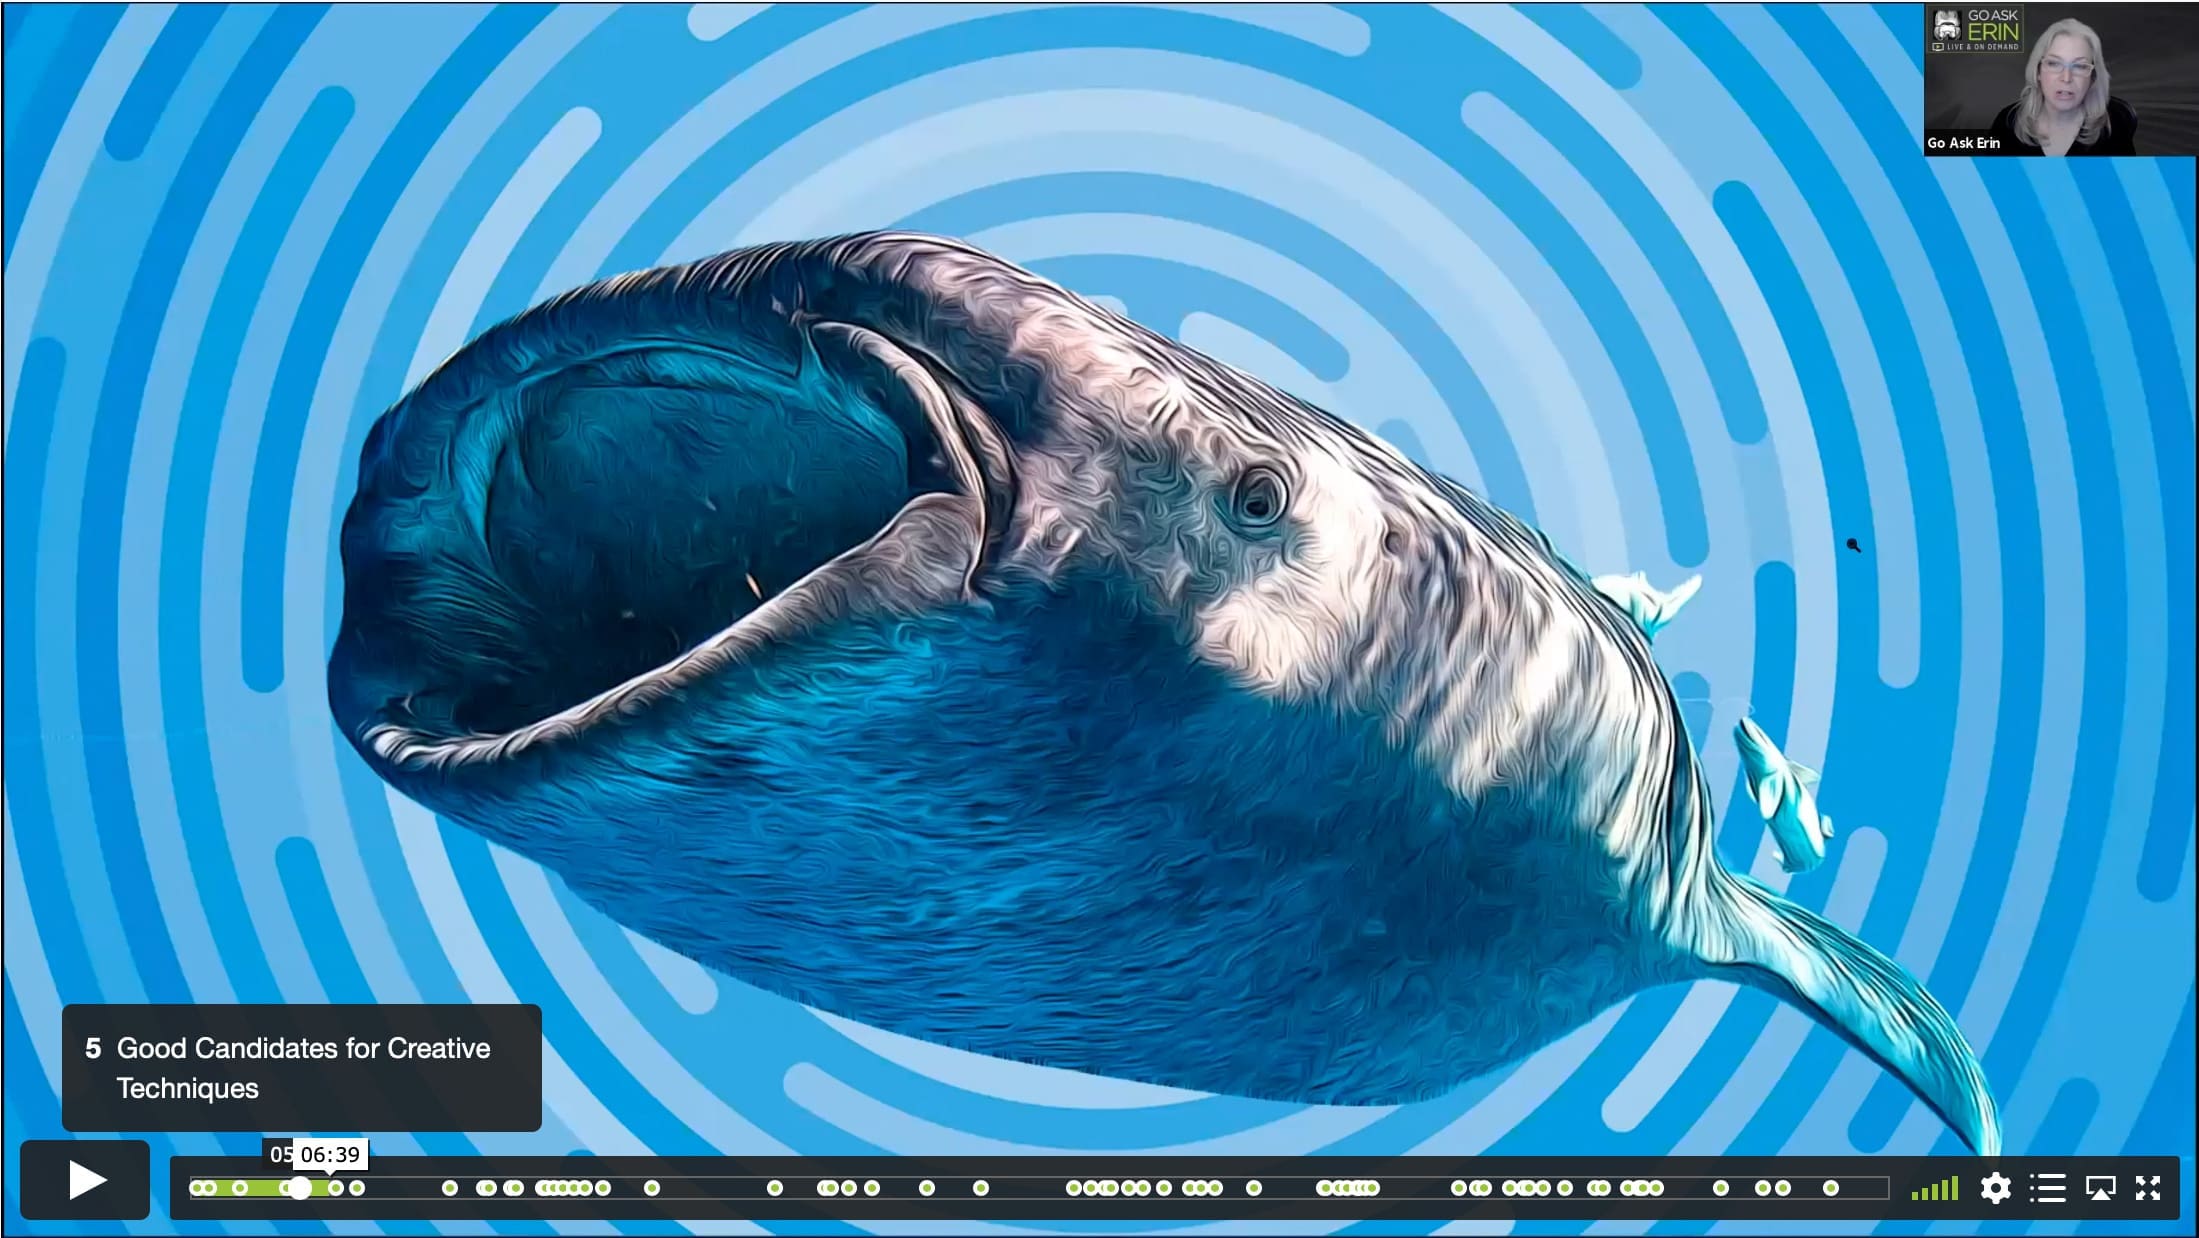
00:05:09 – Good Candidates for Creative Techniques
00:06:53 – Start Collecting Textures
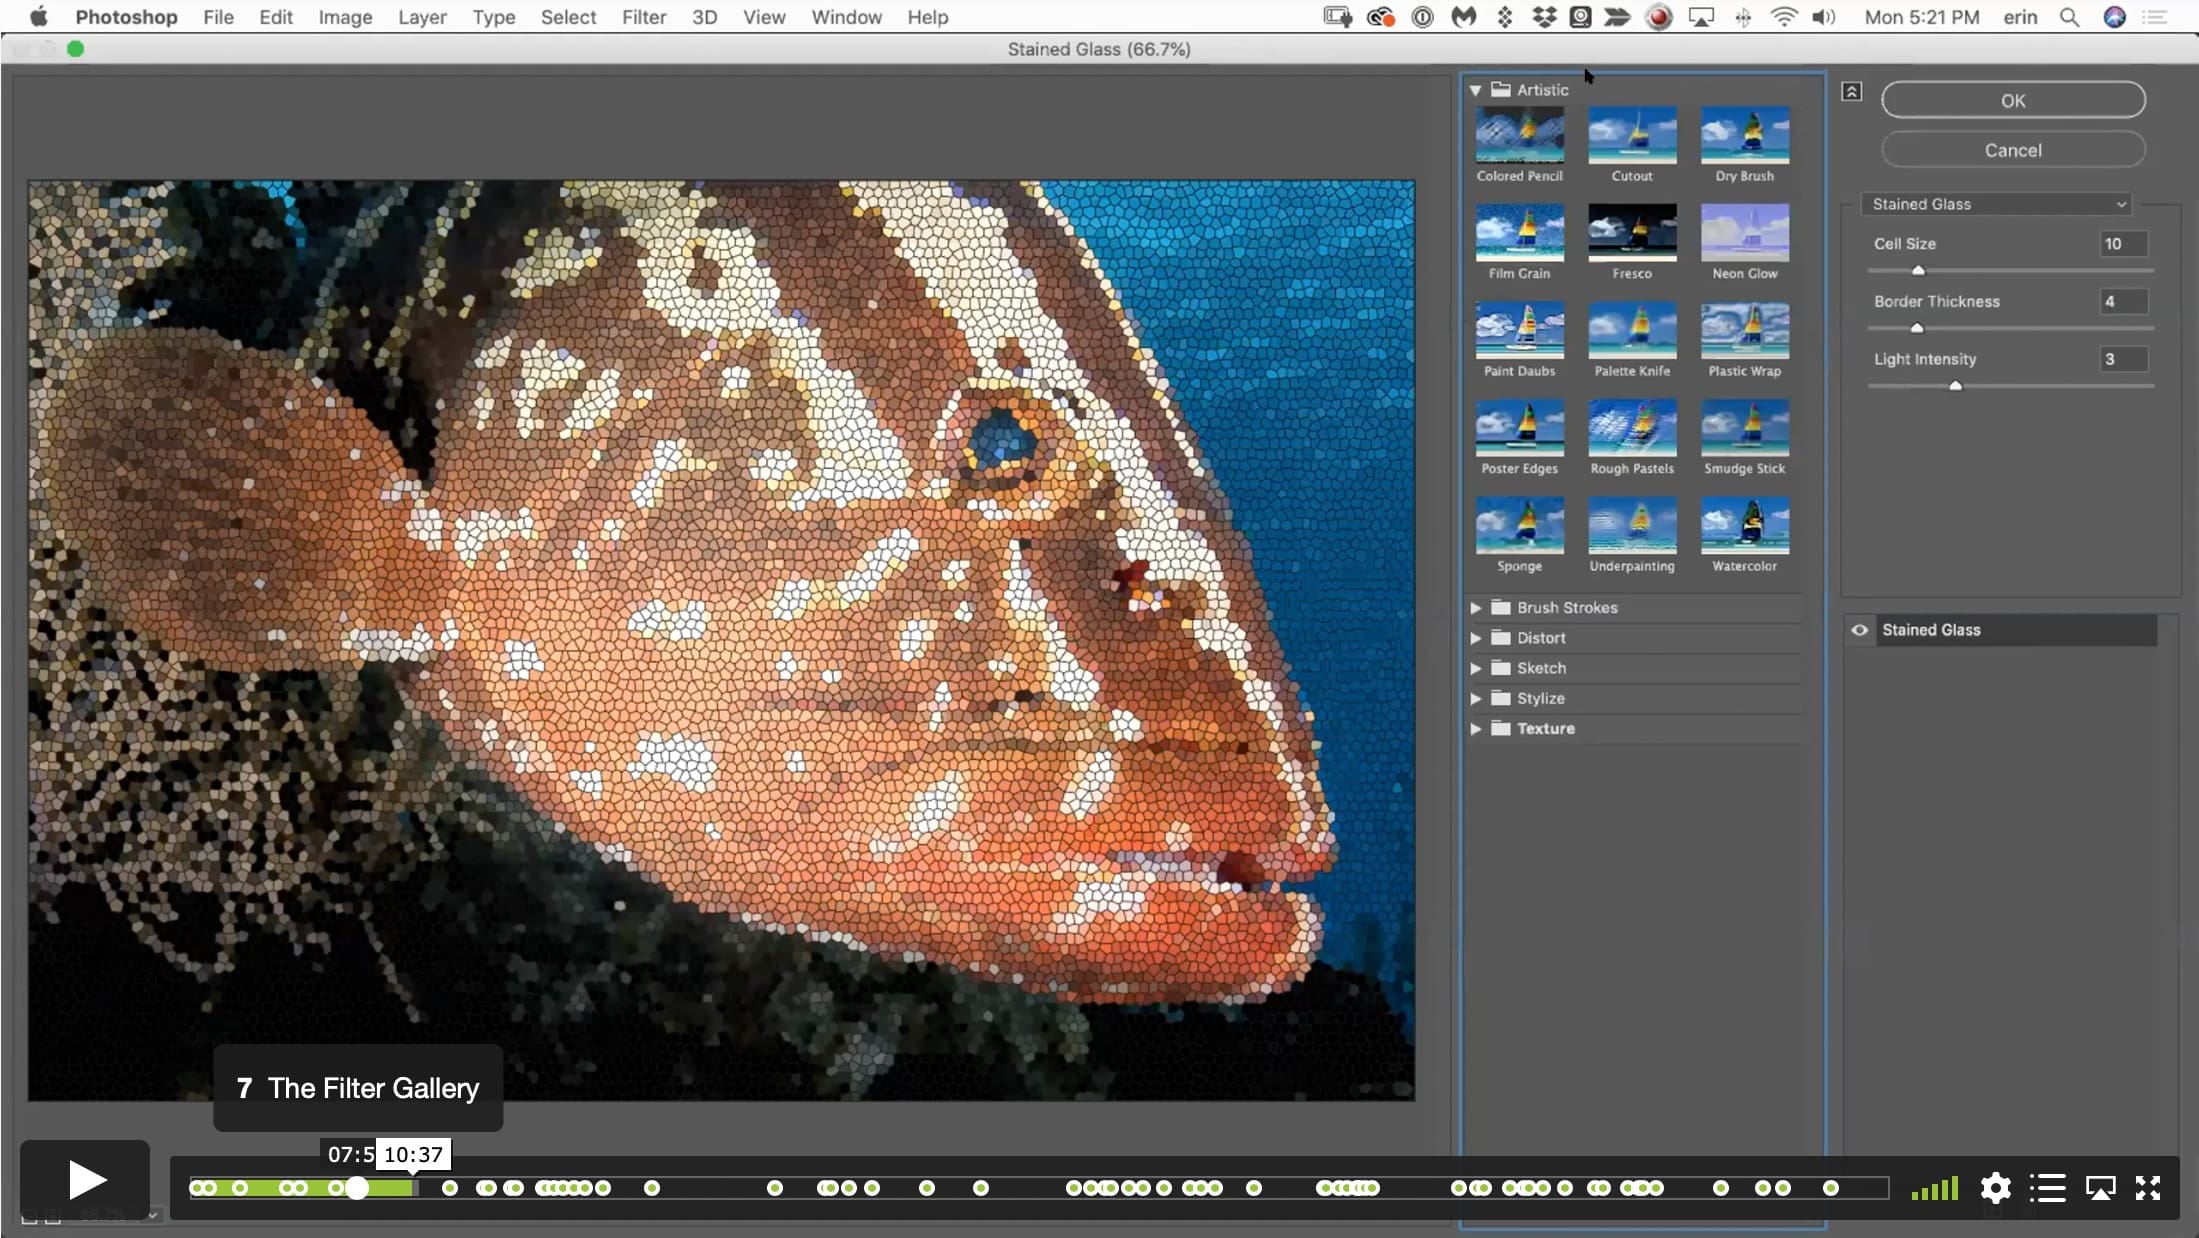
00:07:52 – The Filter Gallery
00:12:19 – Creating an Painterly Effect
00:13:57 – The Mixer Brush
00:14:11 – Mixer Brush Options
00:15:14 – Brush Settings
00:15:29 – Shape Dynamics Panel
00:16:44 – Size Jitter
00:16:55 – Angle Jitter
00:17:16 – The Scattering Panel
00:17:43 – The Count Slider
00:18:13 – The Texture Panel
00:18:47 – Dual Brush
00:19:37 – Brush Behavior
00:21:59 – Painting with Directional Strokes
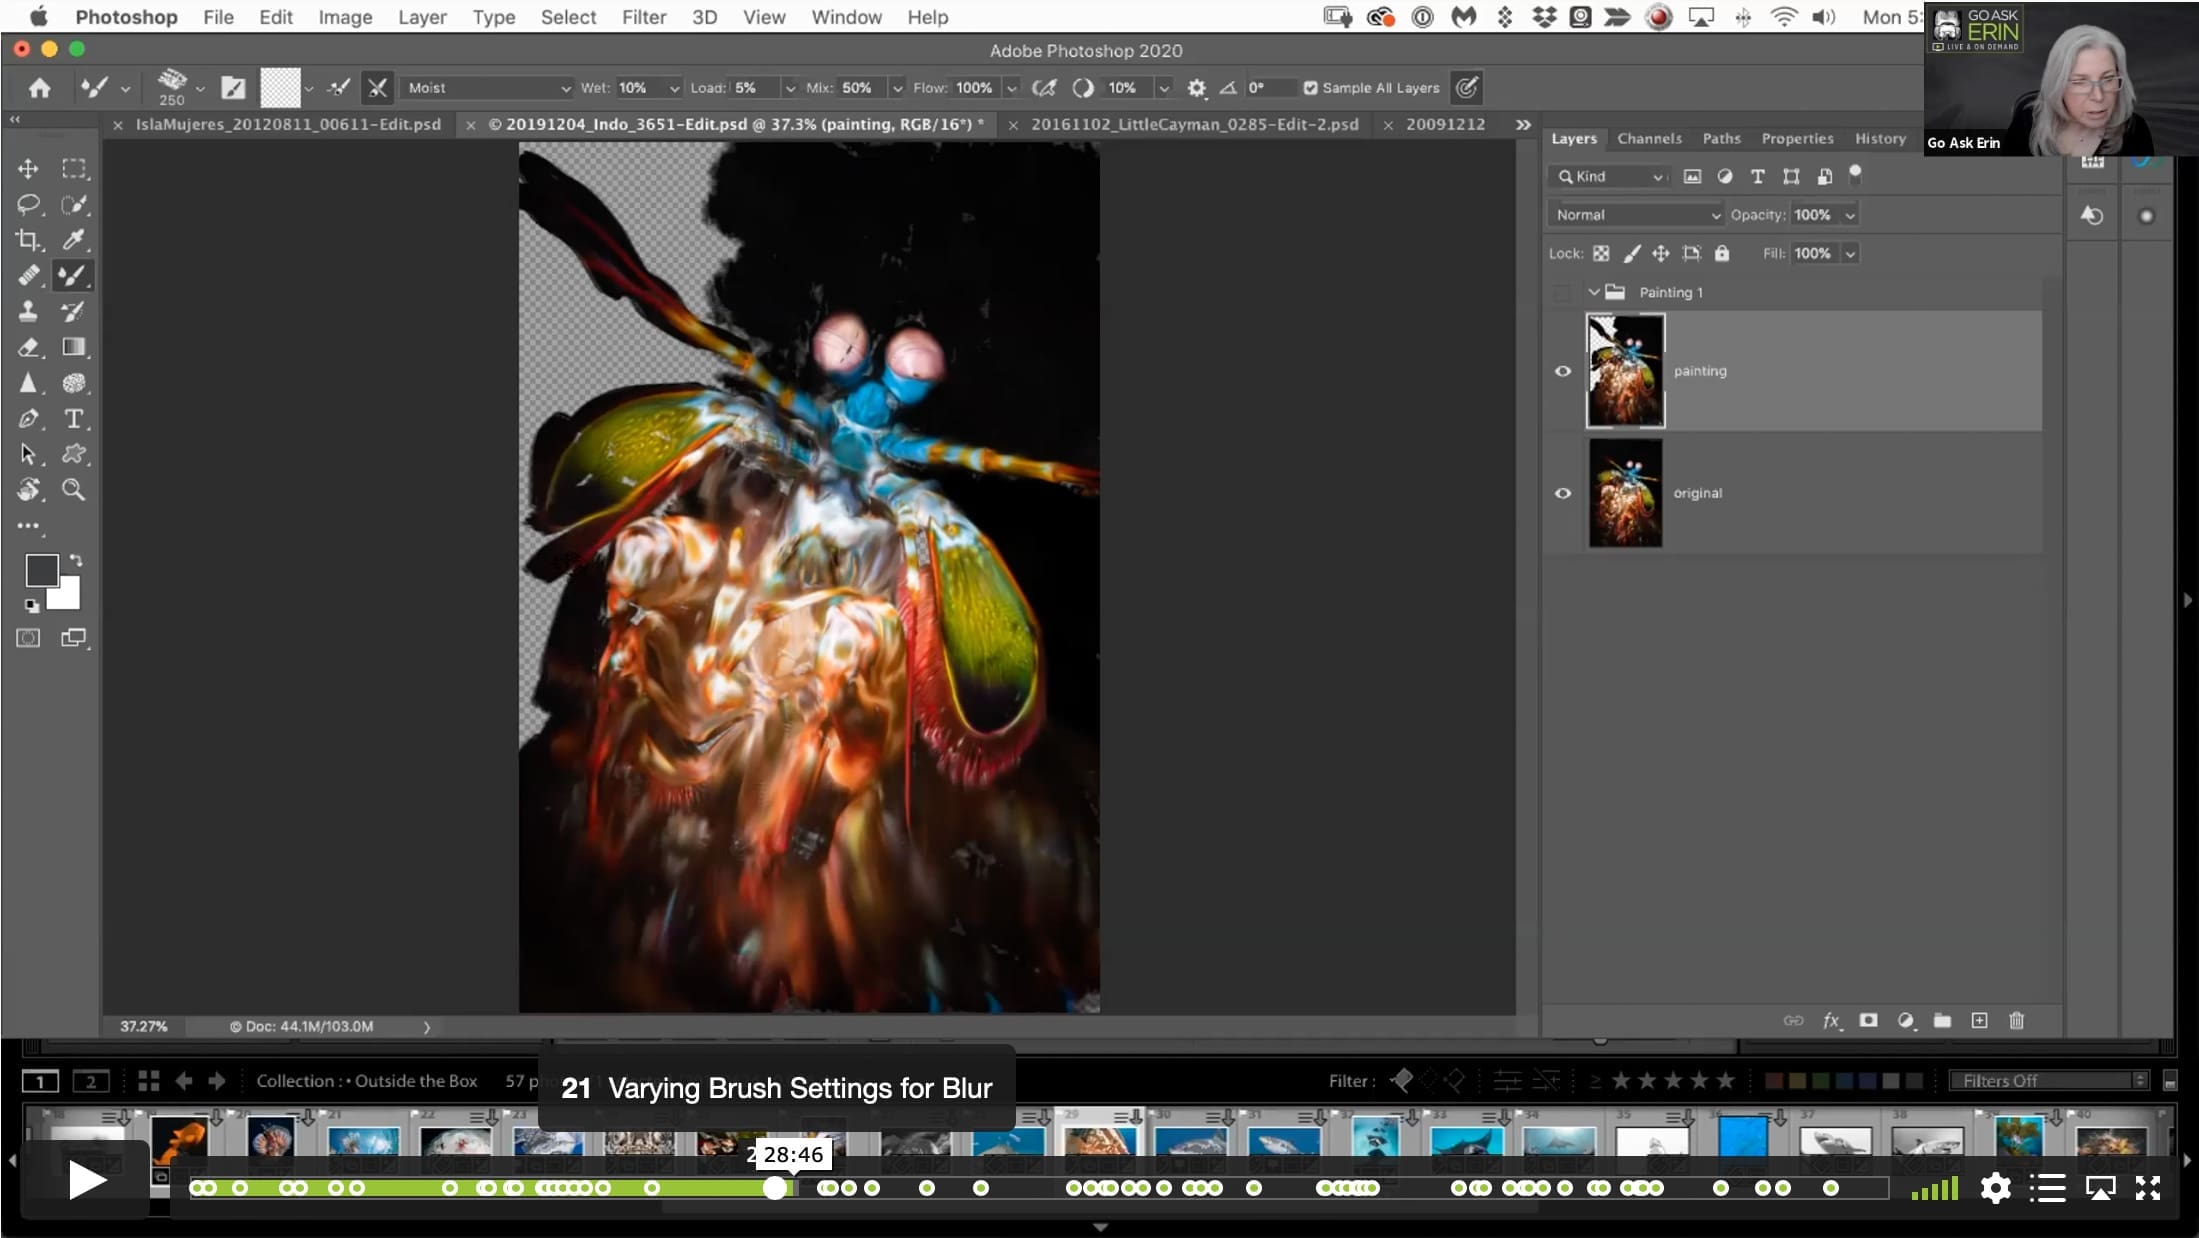
00:27:50 – Varying Brush Settings for Blur
00:30:14 – More Options for Painterly Effects
00:30:31 – Color Lookup Adjustment Layer
00:31:23 – Using the Gradient Tool as Mask
00:32:28 – Creating a Selection from Channels
00:35:04 – Pattern Adjustment Mask
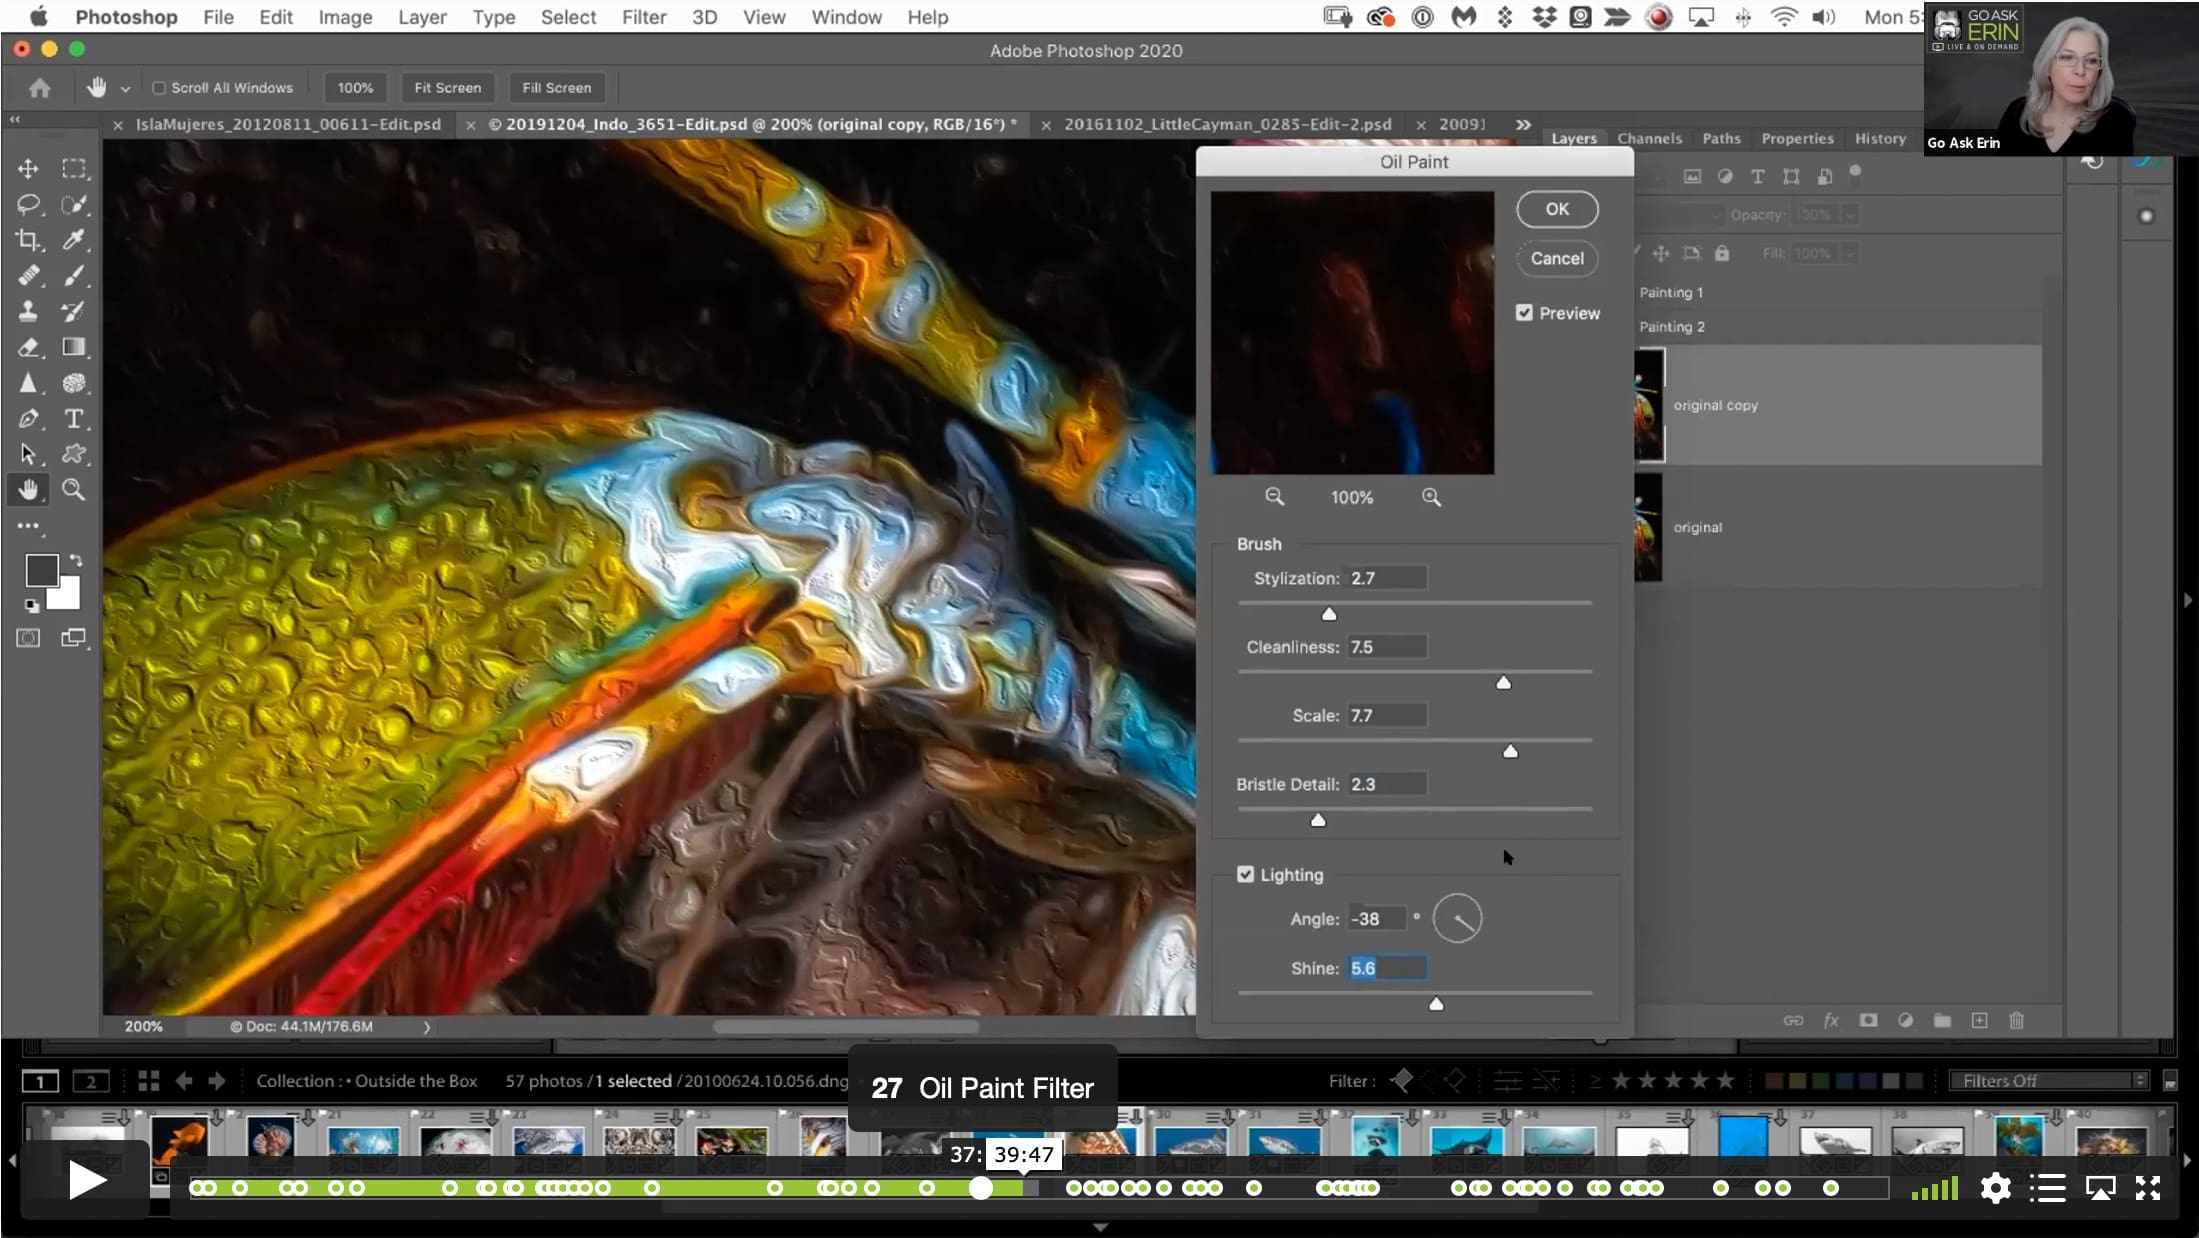
00:37:41 – Oil Paint Filter
00:42:06 – Converting a Photo to a Drawing
00:42:55 – Isolate Your Subject
00:43:34 – Quick Selection Tool
00:43:52 – Select Subject
00:44:43 – Select and Mask Panel
00:45:23 – Drop Out the Background
00:46:23 – Convert to Smart Object
00:47:38 – Inverting a Layer
00:48:10 – Color Dodge Blending Mode
00:48:51 – B&W Adjustment Layer
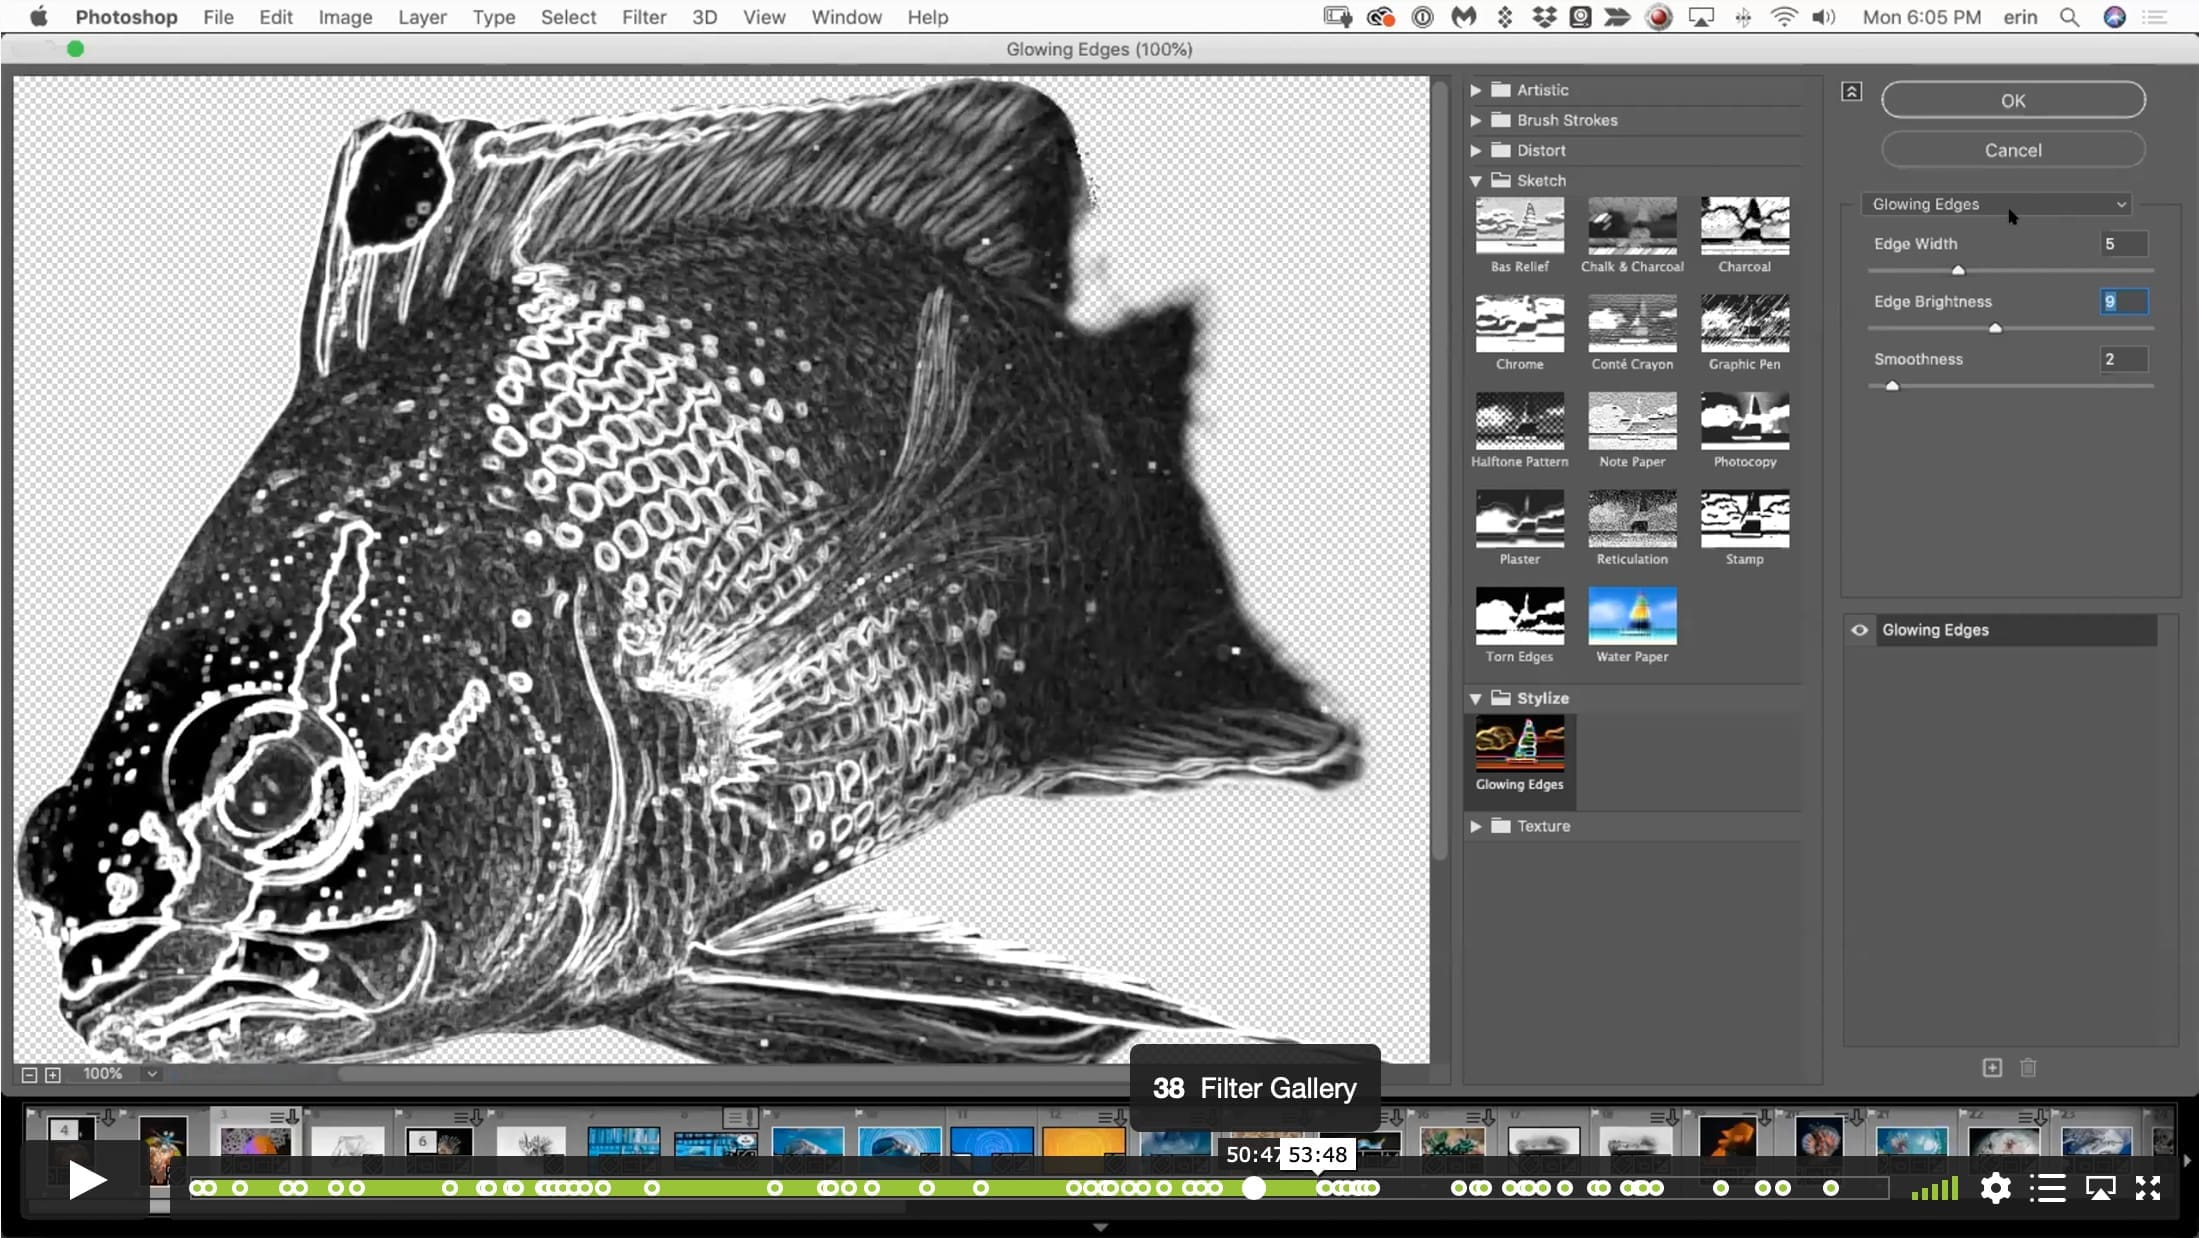
00:50:41 – Filter Gallery
00:54:03 – Multiply Blending Mode
00:54:08 – Blending Options
00:54:45 – Splitting the Blending Options Sliders
00:55:08 – Grouping Layers
00:55:36 – Add a Background
00:55:42 – Changing Layer Order
00:56:01 – Adding More Realism
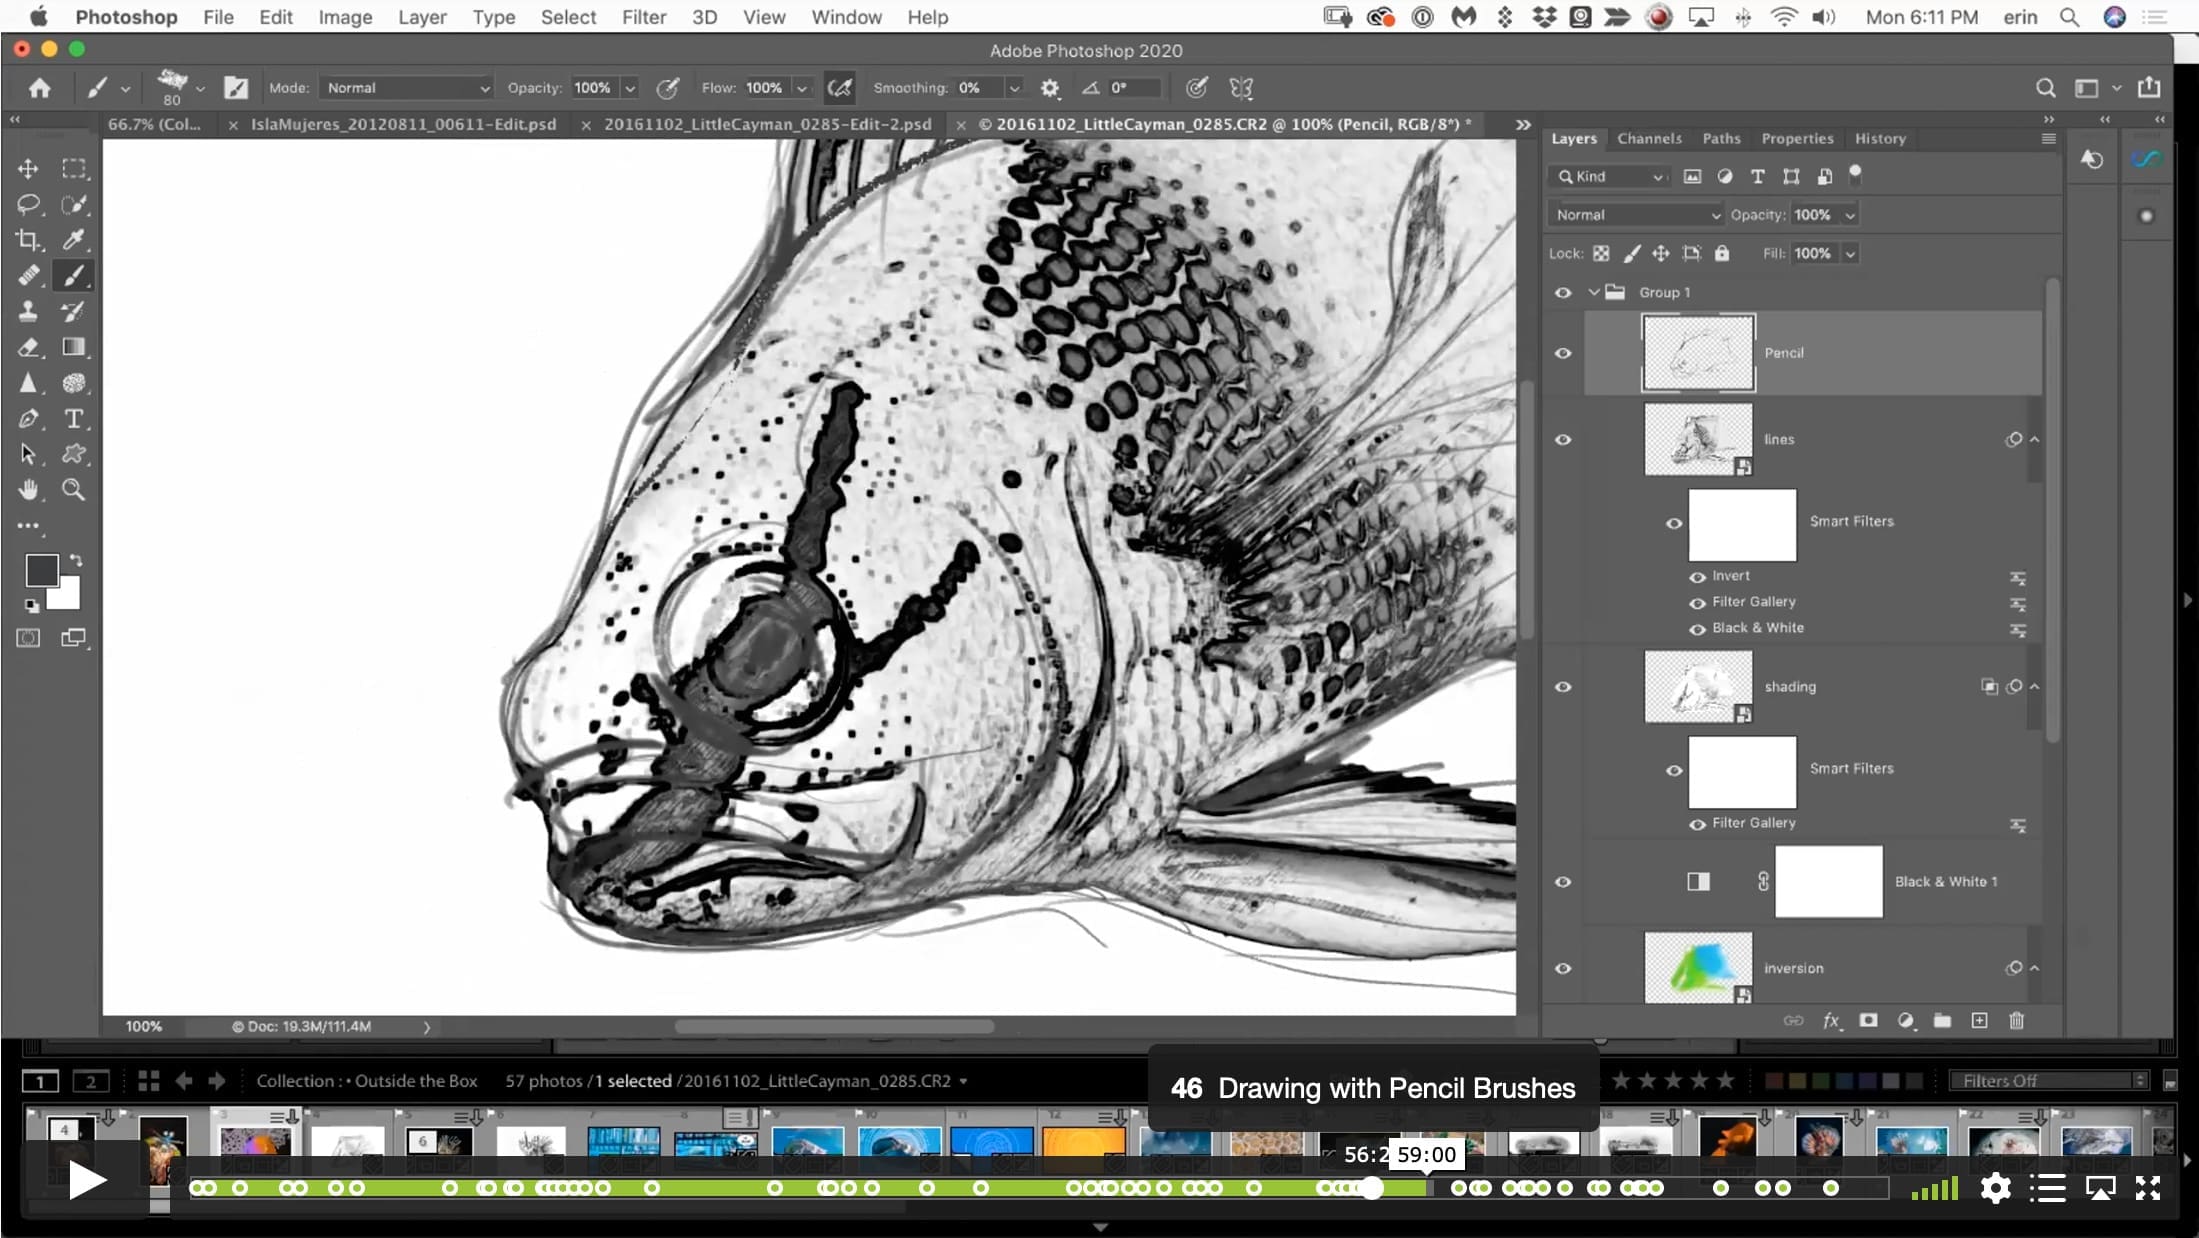
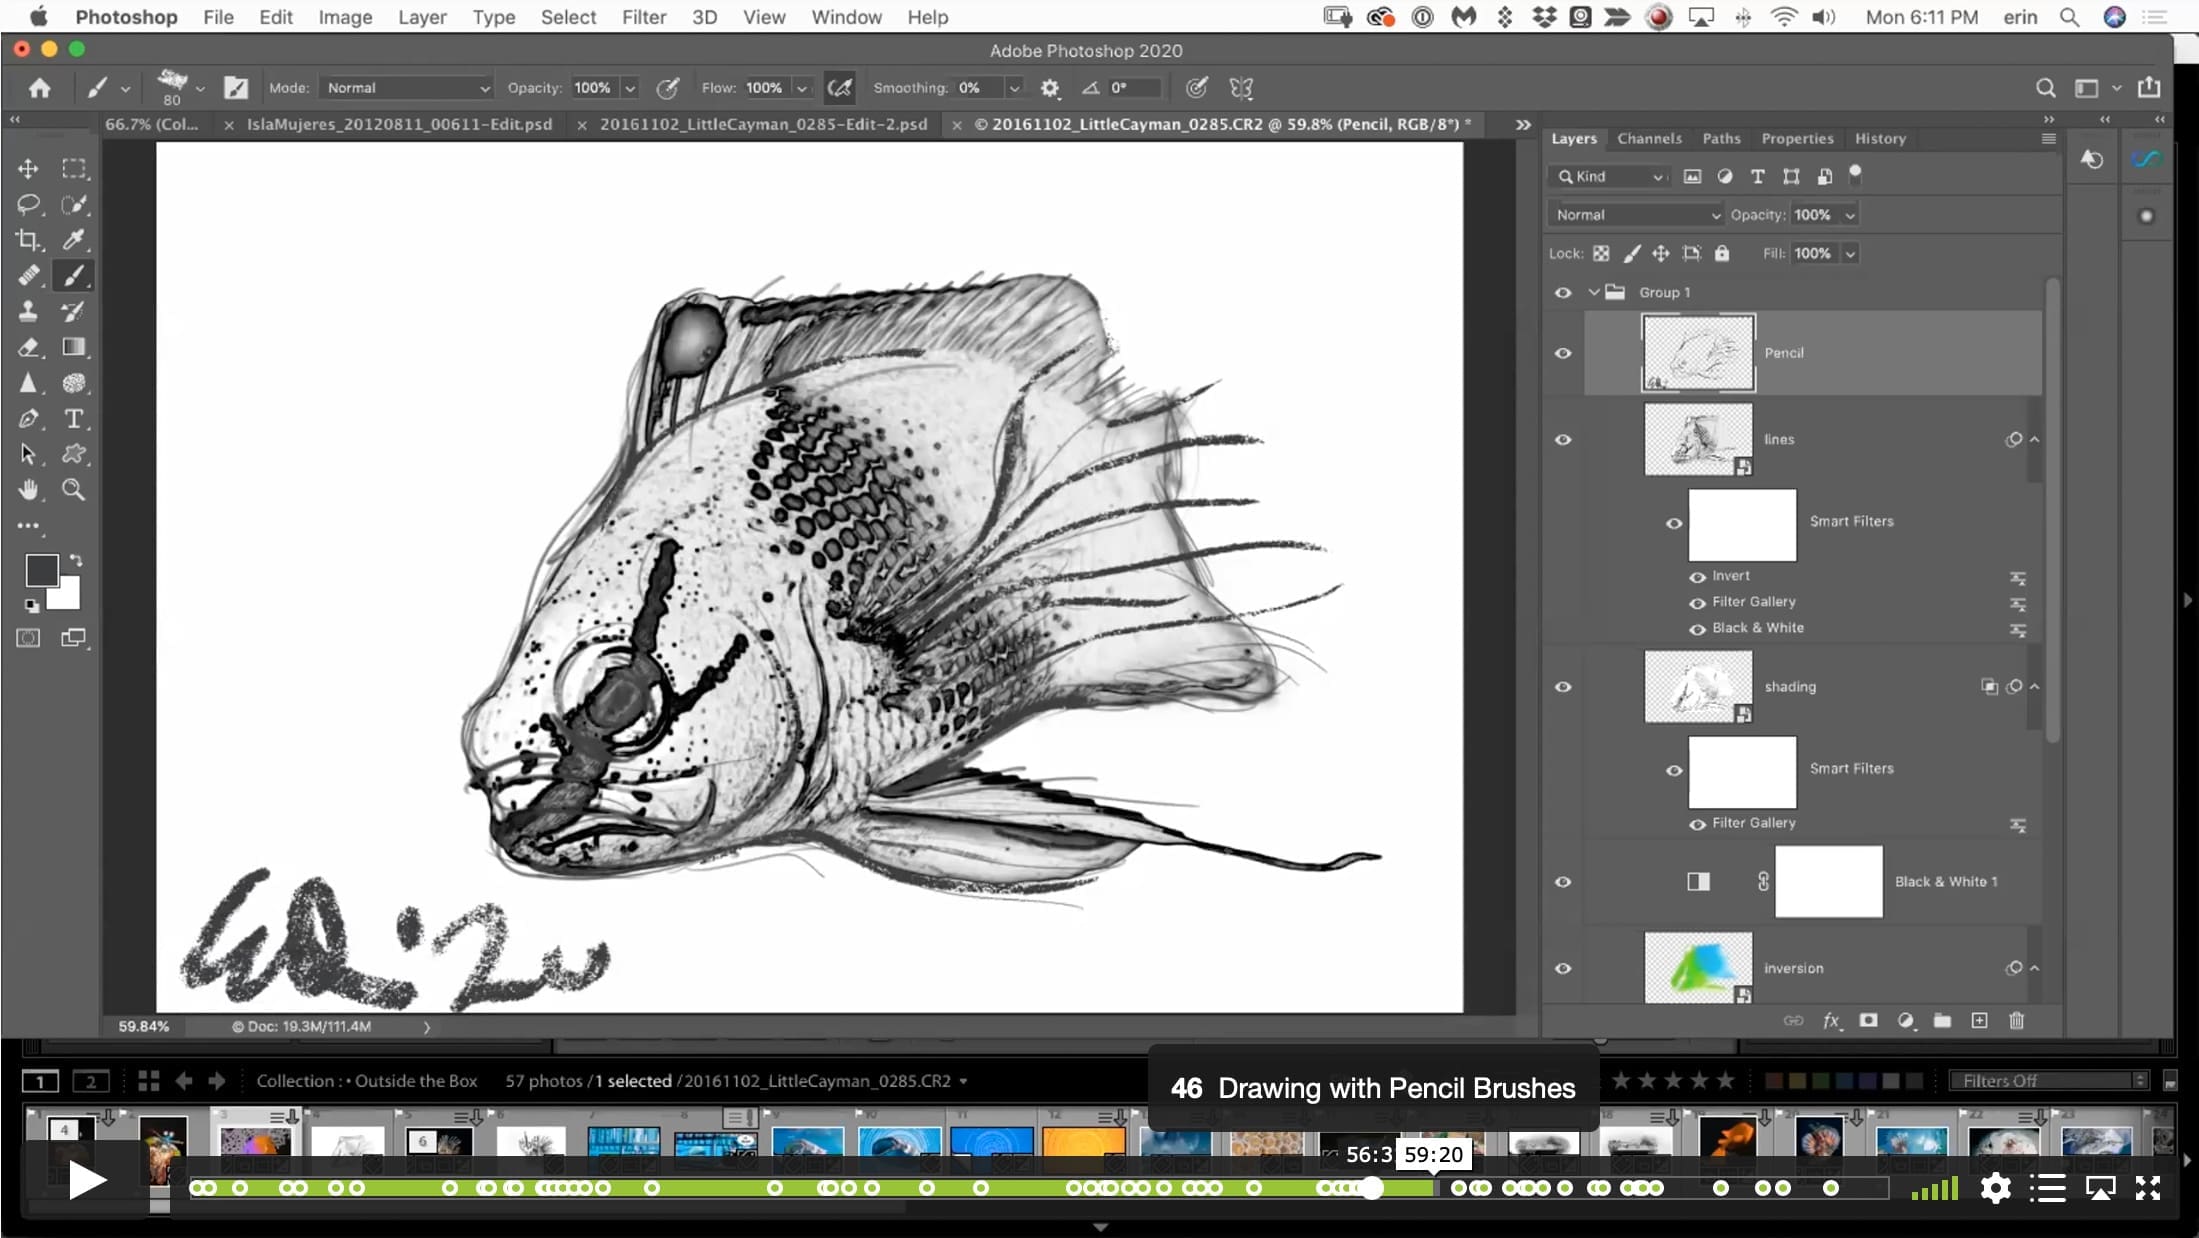
00:56:19 – Drawing with Pencil Brushes
01:00:30 – Emulating a Cartoon
01:01:20 – Convert to Smart Object
01:01:42 – Convert to 8-Bit for Filter Gallery
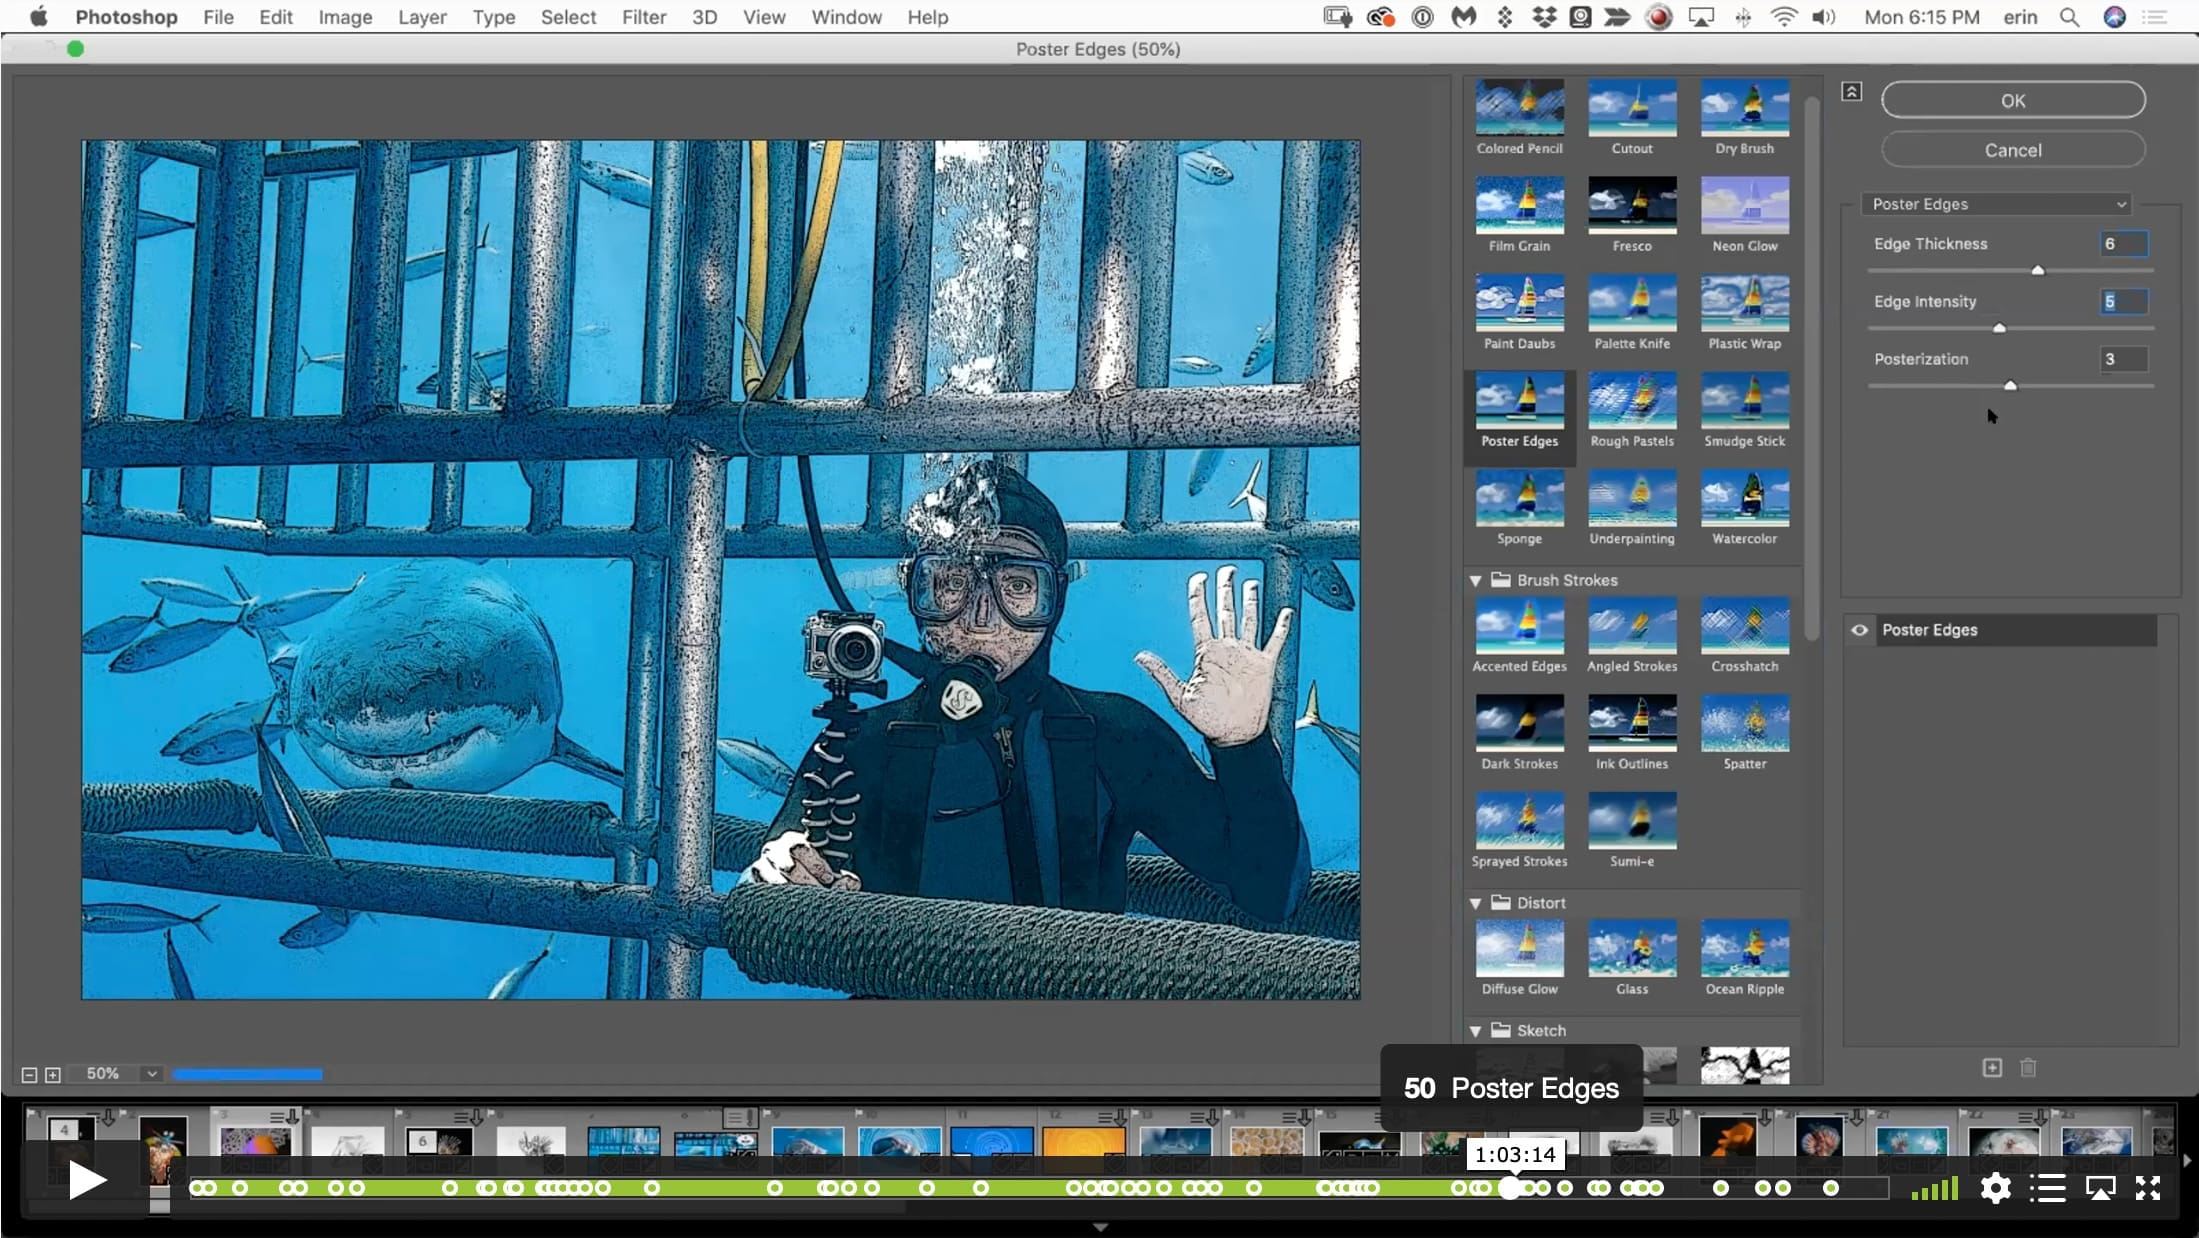
01:02:56 – Poster Edges
01:03:34 – Multiply Blending Mode
01:03:51 – Threshold
01:04:31 – Oil Paint Filter
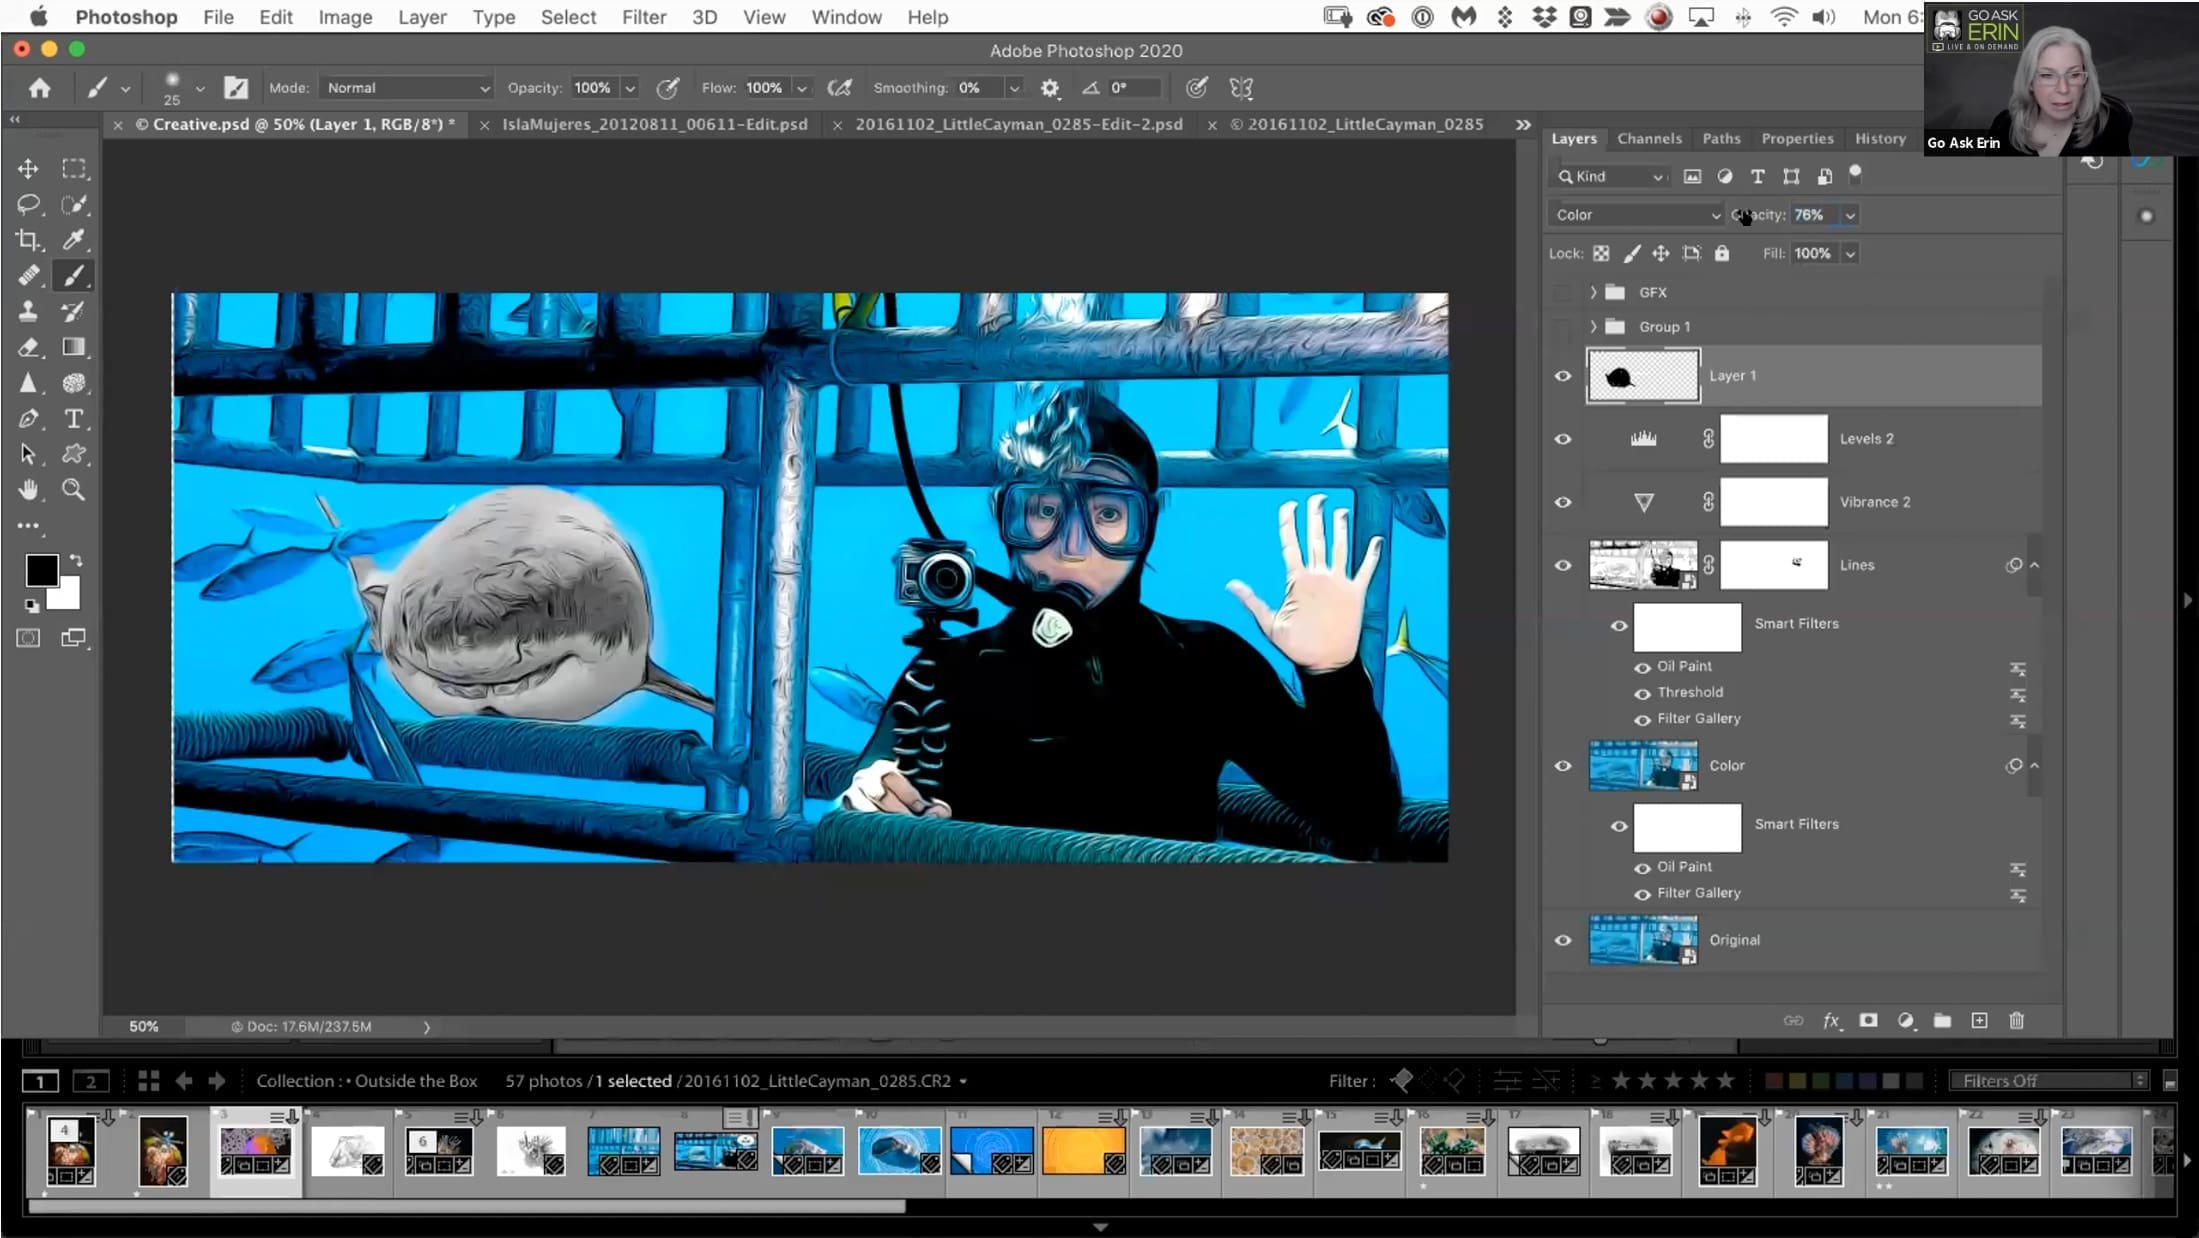
01:05:32 – Color Blending Mode Layer
01:07:00 – Oil Paint
01:07:23 – Finesse Using Layer Masks
01:08:33 – Vibrance
01:09:06 – Finesse Shark
01:09:15 – Levels Adjustment Layer
01:09:53 – Color Blending Mode
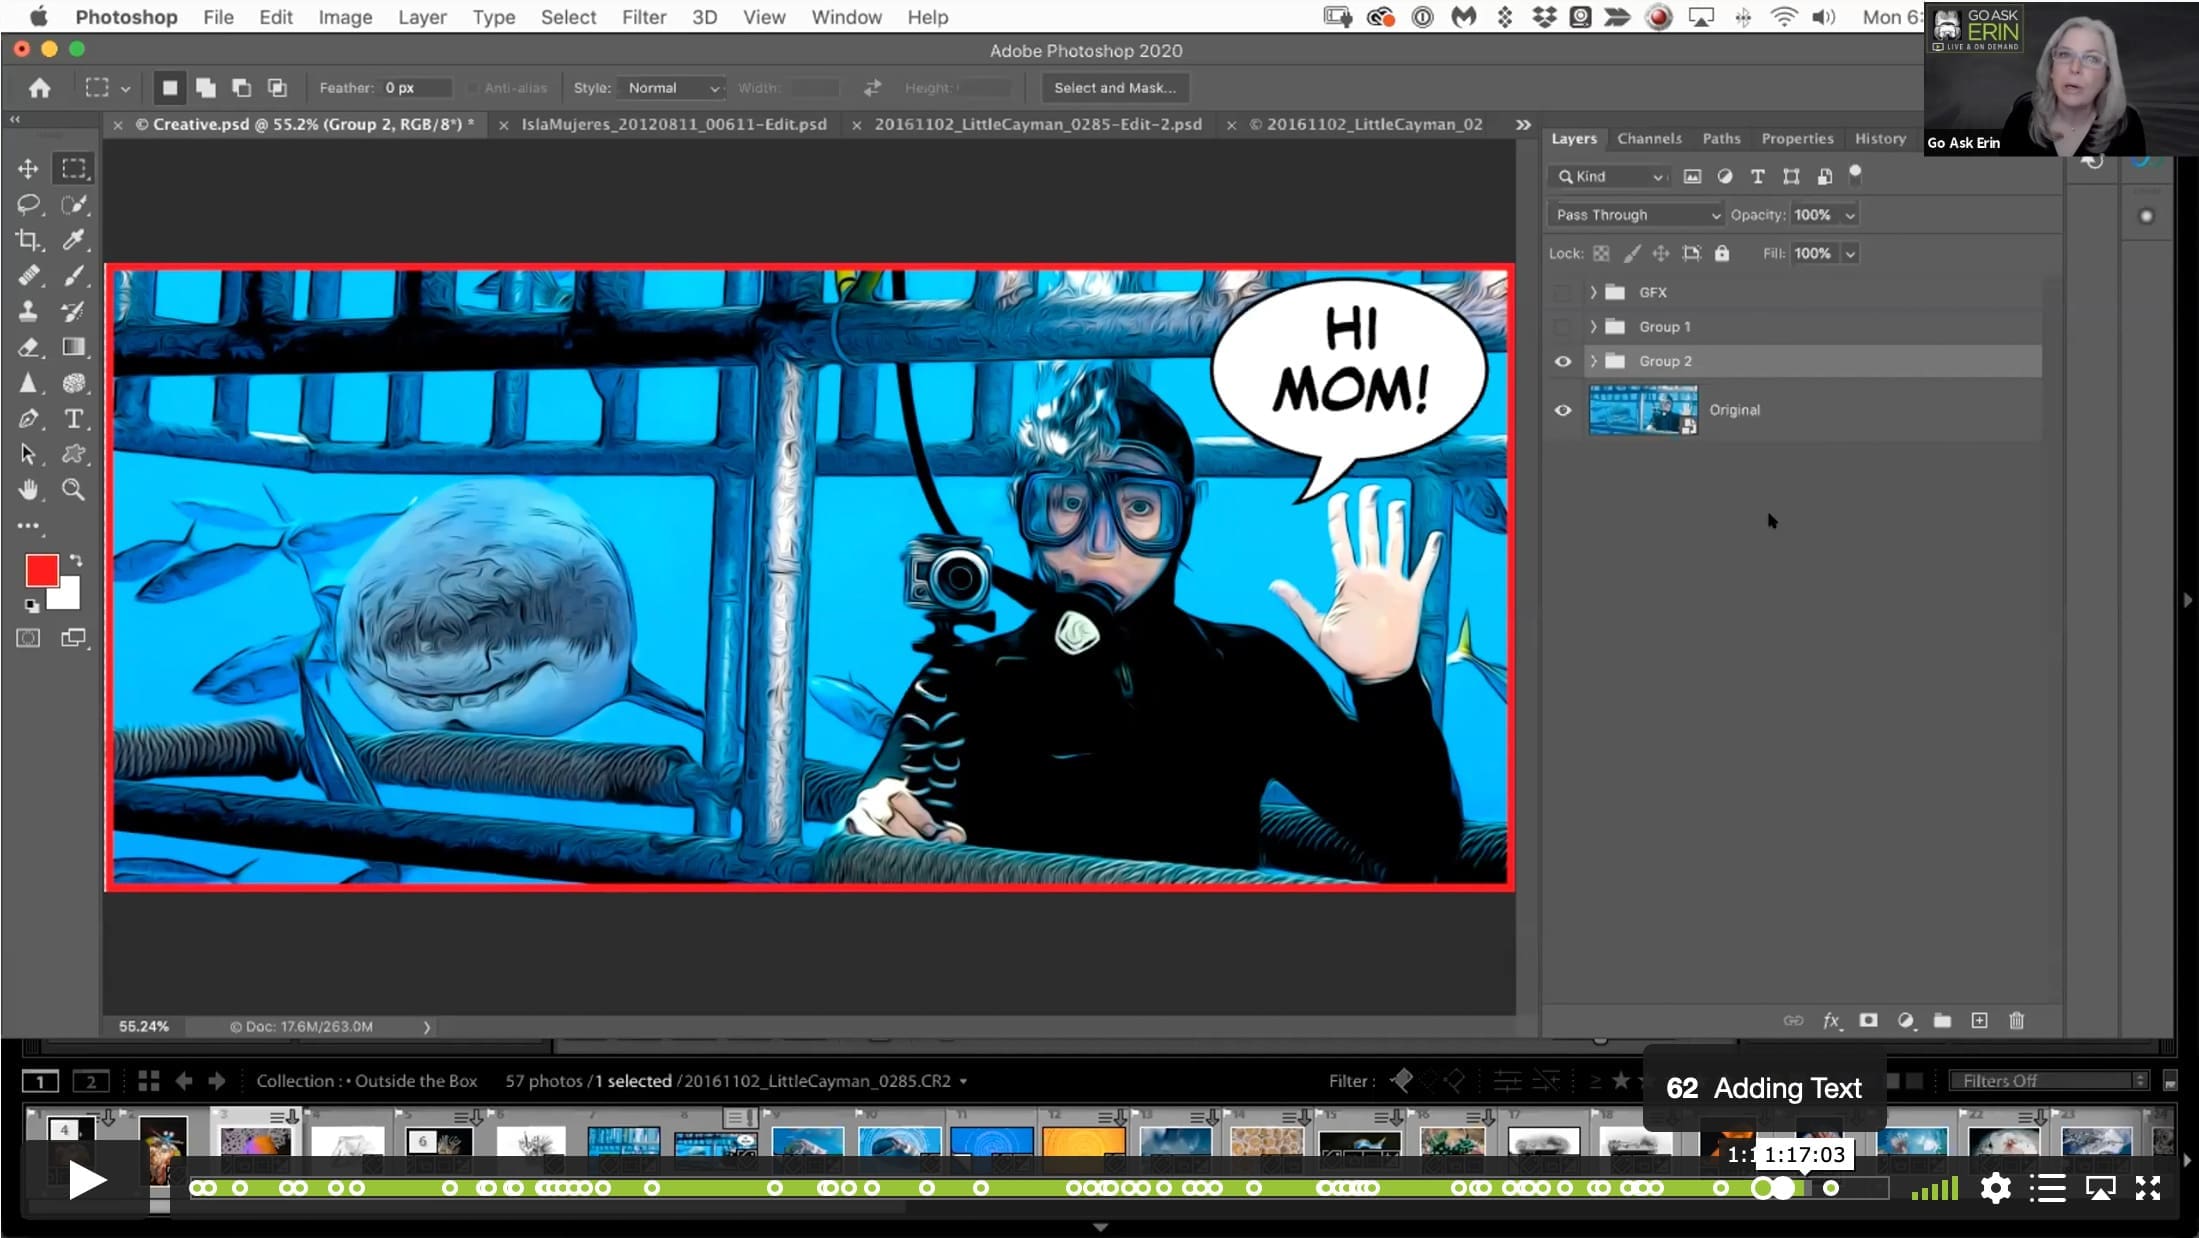
01:12:59 – Custom Shape Tool for Talk Bubbles
01:15:01 – Adding Text
01:15:57 – Outline Frame
01:18:16 – Plug-Ins and Filters
© Go Ask Erin / Newmediasoup, LLC
Description
CLASS DETAILS
Runtime: 1 hour 21 minutes | Up to 1440p (2K) Resolution | Speed Control (.5 – 2x) | Interactive Chapter Markers | Bonus Downloadable Practice Files and Resources Included
CLASS OVERVIEW
Sometimes you need a little strange. Maybe you have an image that can’t be salvaged using traditional photo editing, or maybe you’re just in the mood for some off-road creative exploration. Whatever the reason, Lightroom and Photoshop are both well-stocked with tools that get as artsy-fartsy as your heart desires. In this session, we’ll explore methods to convert your photos to non-photographic art, from pencil sketch to oil paint and beyond. It’s not normal, but it’s FUN!
 LIGHTROOM CLASSIC VERSION INFO
In Lightroom Classic Version 11 and Later, Adobe introduced a new way to make selections and masks in the Lightroom Develop Module. If you’re using Lightroom Classic 11 or Later, we recommend purchasing New Masking Magic in Lightroom Classic 11 in addition to this product to get up to speed on the new masking tools.
CHAPTERS
00:00:14 – Creative Exploration in LR
00:00:50 – Inverted Radial Filter with Dehaze
00:02:17 – Using Range Masking to Explore Color in LR
00:04:31 – Ready for Photoshop?
00:05:09 – Good Candidates for Creative Techniques
00:06:53 – Start Collecting Textures
00:07:52 – The Filter Gallery
00:12:19 – Creating an Painterly Effect
00:13:57 – The Mixer Brush
00:14:11 – Mixer Brush Options
00:15:14 – Brush Settings
00:15:29 – Shape Dynamics Panel
00:16:44 – Size Jitter
00:16:55 – Angle Jitter
00:17:16 – The Scattering Panel
00:17:43 – The Count Slider
00:18:13 – The Texture Panel
00:18:47 – Dual Brush
00:19:37 – Brush Behavior
00:21:59 – Painting with Directional Strokes
00:27:50 – Varying Brush Settings for Blur
00:30:14 – More Options for Painterly Effects
00:30:31 – Color Lookup Adjustment Layer
00:31:23 – Using the Gradient Tool as Mask
00:32:28 – Creating a Selection from Channels
00:35:04 – Pattern Adjustment Mask
00:37:41 – Oil Paint Filter
00:42:06 – Converting a Photo to a Drawing
00:42:55 – Isolate Your Subject
00:43:34 – Quick Selection Tool
00:43:52 – Select Subject
00:44:43 – Select and Mask Panel
00:45:23 – Drop Out the Background
00:46:23 – Convert to Smart Object
00:47:38 – Inverting a Layer
00:48:10 – Color Dodge Blending Mode
00:48:51 – B&W Adjustment Layer
00:50:41 – Filter Gallery
00:54:03 – Multiply Blending Mode
00:54:08 – Blending Options
00:54:45 – Splitting the Blending Options Sliders
00:55:08 – Grouping Layers
00:55:36 – Add a Background
00:55:42 – Changing Layer Order
00:56:01 – Adding More Realism
00:56:19 – Drawing with Pencil Brushes
01:00:30 – Emulating a Cartoon
01:01:20 – Convert to Smart Object
01:01:42 – Convert to 8-Bit for Filter Gallery
01:02:56 – Poster Edges
01:03:34 – Multiply Blending Mode
01:03:51 – Threshold
01:04:31 – Oil Paint Filter
01:05:32 – Color Blending Mode Layer
01:07:00 – Oil Paint
01:07:23 – Finesse Using Layer Masks
01:08:33 – Vibrance
01:09:06 – Finesse Shark
01:09:15 – Levels Adjustment Layer
01:09:53 – Color Blending Mode
01:12:59 – Custom Shape Tool for Talk Bubbles
01:15:01 – Adding Text
01:15:57 – Outline Frame
01:18:16 – Plug-Ins and Filters
© Go Ask Erin / Newmediasoup, LLC


