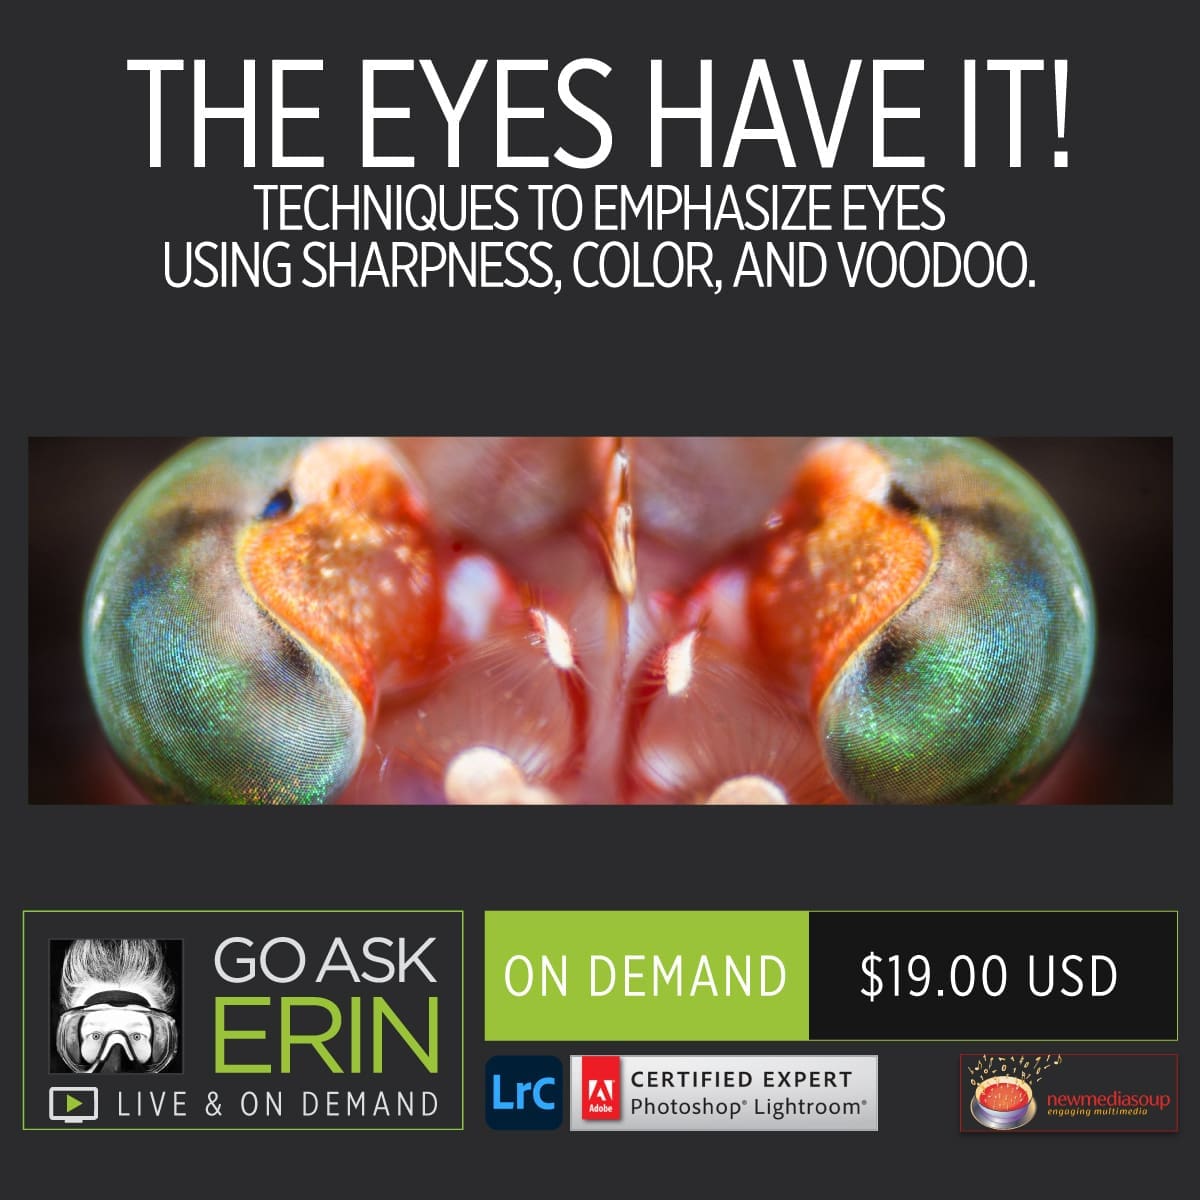
The Eyes Have It! – Techniques to Emphasize Eyes Using Sharpness, Color, and Voodoo.
$19
Special Covid-19 Pricing.
Already purchased? View Purchases.
ON DEMAND PRODUCT
Description
CLASS DETAILS
Runtime: 1 hour 49 minutes | Up to 1440p (2K) Resolution | Speed Control (.5 – 2x) | Interactive Chapter Markers | Bonus Downloadable Practice Files and Resources Included
CLASS OVERVIEW
The eyes are the window to the soul – or so it’s said of humans. But what about the eyes of a whale, a grouper, or even a conch? If your image features the eyes of any living thing, you can bet they’re critical to the success of the photo. This class covers amazing tips, techniques, and yes – plenty of voodoo that’s focused on how to make eyes look their best in post.
 LIGHTROOM CLASSIC VERSION INFO
In Lightroom Classic Version 11 and Later, Adobe introduced a new way to make selections and masks in the Lightroom Develop Module. If you’re using Lightroom Classic 11 or Later, we recommend purchasing New Masking Magic in Lightroom Classic 11 in addition to this product to get up to speed on the new masking tools.
CHAPTERS
00:00:10 – Why are Eyes So Important
00:05:27 – Initial Evaluation of an Image
00:11:34 – Sharpness
00:12:06 – Contact and Communication
00:13:33 – Condition
00:14:04 – Is the Edit Worth Your Time?
00:15:16 – Identify The Problem
00:15:31 – Too Bright or Too Dark?
00:17:42 – Out of Focus
00:19:24 – Weird Color or Reflections
00:20:57 – Anatomically Confusing
00:23:07 – Lack of Symmetry
00:23:21 – F-ed Up with Goo or Otherwise Impeded
00:25:17 – Illuminating Dark Eyes
00:26:10 – Radial Gradient Filter in LR
00:35:32 – Range Masking
00:36:49 – Connecting with a Subject
00:36:58 – White Balance
00:40:06 – Erasing Part of a Filter
00:45:07 – Reef Beautification in Photoshop
00:48:48 – Real World Editing
00:51:38 – Enhancing Eye Color
00:52:56 – Luminance Range Masking
00:54:22 – Fixing Distractions in Photoshop
00:55:27 – Burning and Dodging Details in Photoshop
00:57:55 – Sharpening
00:59:14 – The Curves Panel in LR
01:00:46 – Adjusting Curves Color Shifts in LR
01:02:38 – Knocking Out Background Distraction in PS
01:04:55 – More Ways to Work with Color
01:05:28 – Evening Out Lighting
01:08:17 – Burning and Dodging Sharpness in LR
01:10:24 – Using Texture for Sharpness
01:15:32 – Eye Switch in PS
01:17:30 – Adding an Inverted Layer Mask
01:19:52 – More Burning and Dodging in Photoshop
01:23:26 – Shark Eyes
01:24:02 – Opening a Smart Object from LR to PS
01:28:12 – Channel Chops
01:31:15 – Using Sampled Colors for Enhancement in PS
01:35:09 – High Pass Sharpening
01:36:53 – Duplicating Layers to Intensify an Effect
01:38:40 – Adding or Enhancing a Pupil
01:39:22 – Eyes and The Liquify Panel in PS
01:43:08 – The Sharpen Tool in PS
© Go Ask Erin / Newmediasoup, LLC
Description
CLASS DETAILS
Runtime: 1 hour 49 minutes | Up to 1440p (2K) Resolution | Speed Control (.5 – 2x) | Interactive Chapter Markers | Bonus Downloadable Practice Files and Resources Included
CLASS OVERVIEW
The eyes are the window to the soul – or so it’s said of humans. But what about the eyes of a whale, a grouper, or even a conch? If your image features the eyes of any living thing, you can bet they’re critical to the success of the photo. This class covers amazing tips, techniques, and yes – plenty of voodoo that’s focused on how to make eyes look their best in post.
 LIGHTROOM CLASSIC VERSION INFO
In Lightroom Classic Version 11 and Later, Adobe introduced a new way to make selections and masks in the Lightroom Develop Module. If you’re using Lightroom Classic 11 or Later, we recommend purchasing New Masking Magic in Lightroom Classic 11 in addition to this product to get up to speed on the new masking tools.
CHAPTERS
00:00:10 – Why are Eyes So Important
00:05:27 – Initial Evaluation of an Image
00:11:34 – Sharpness
00:12:06 – Contact and Communication
00:13:33 – Condition
00:14:04 – Is the Edit Worth Your Time?
00:15:16 – Identify The Problem
00:15:31 – Too Bright or Too Dark?
00:17:42 – Out of Focus
00:19:24 – Weird Color or Reflections
00:20:57 – Anatomically Confusing
00:23:07 – Lack of Symmetry
00:23:21 – F-ed Up with Goo or Otherwise Impeded
00:25:17 – Illuminating Dark Eyes
00:26:10 – Radial Gradient Filter in LR
00:35:32 – Range Masking
00:36:49 – Connecting with a Subject
00:36:58 – White Balance
00:40:06 – Erasing Part of a Filter
00:45:07 – Reef Beautification in Photoshop
00:48:48 – Real World Editing
00:51:38 – Enhancing Eye Color
00:52:56 – Luminance Range Masking
00:54:22 – Fixing Distractions in Photoshop
00:55:27 – Burning and Dodging Details in Photoshop
00:57:55 – Sharpening
00:59:14 – The Curves Panel in LR
01:00:46 – Adjusting Curves Color Shifts in LR
01:02:38 – Knocking Out Background Distraction in PS
01:04:55 – More Ways to Work with Color
01:05:28 – Evening Out Lighting
01:08:17 – Burning and Dodging Sharpness in LR
01:10:24 – Using Texture for Sharpness
01:15:32 – Eye Switch in PS
01:17:30 – Adding an Inverted Layer Mask
01:19:52 – More Burning and Dodging in Photoshop
01:23:26 – Shark Eyes
01:24:02 – Opening a Smart Object from LR to PS
01:28:12 – Channel Chops
01:31:15 – Using Sampled Colors for Enhancement in PS
01:35:09 – High Pass Sharpening
01:36:53 – Duplicating Layers to Intensify an Effect
01:38:40 – Adding or Enhancing a Pupil
01:39:22 – Eyes and The Liquify Panel in PS
01:43:08 – The Sharpen Tool in PS
© Go Ask Erin / Newmediasoup, LLC


