Dirty Tricks III – Which Craft is Witchcraft?
$19
Special Covid-19 Pricing.
Already purchased? View Purchases.
ON DEMAND PRODUCT
Description
CLASS DETAILS
Runtime: 1 hour 30 minutes | Up to 1440p (2K) Resolution | Speed Control (.5 – 2x) | Interactive Chapter Markers | Bonus Downloadable Practice Files and Resources Included
CLASS OVERVIEW
Make one fish two fish – should you turn a red fish blue fish? Is image editing cheating or artistry? Where do we draw the line? Each time we choose a lens to shoot with, a strobe to light with, or an edit in post, we alter reality. Is one alteration more valid than another? In Dirty Tricks III, we’ll delve into the dark arts with an eye towards both the ethical and aesthetic ramifications of image editing. Although we’ll start with Lightroom, be prepared to get your Photoshop on in a big, witchy way!
 LIGHTROOM CLASSIC VERSION INFO
In Lightroom Classic Version 11 and Later, Adobe introduced a new way to make selections and masks in the Lightroom Develop Module. If you’re using Lightroom Classic 11 or Later, we recommend purchasing New Masking Magic in Lightroom Classic 11 in addition to this product to get up to speed on the new masking tools.
CHAPTERS
00:00:08 – The Ethics of Editing
00:11:04 – Removing Glow from Corners
00:15:32 – Erasing Part of a Filter
00:16:09 – Adjusting Blue Luminance and Saturation in HSL
00:16:24 – Targeted Adjustment Tool
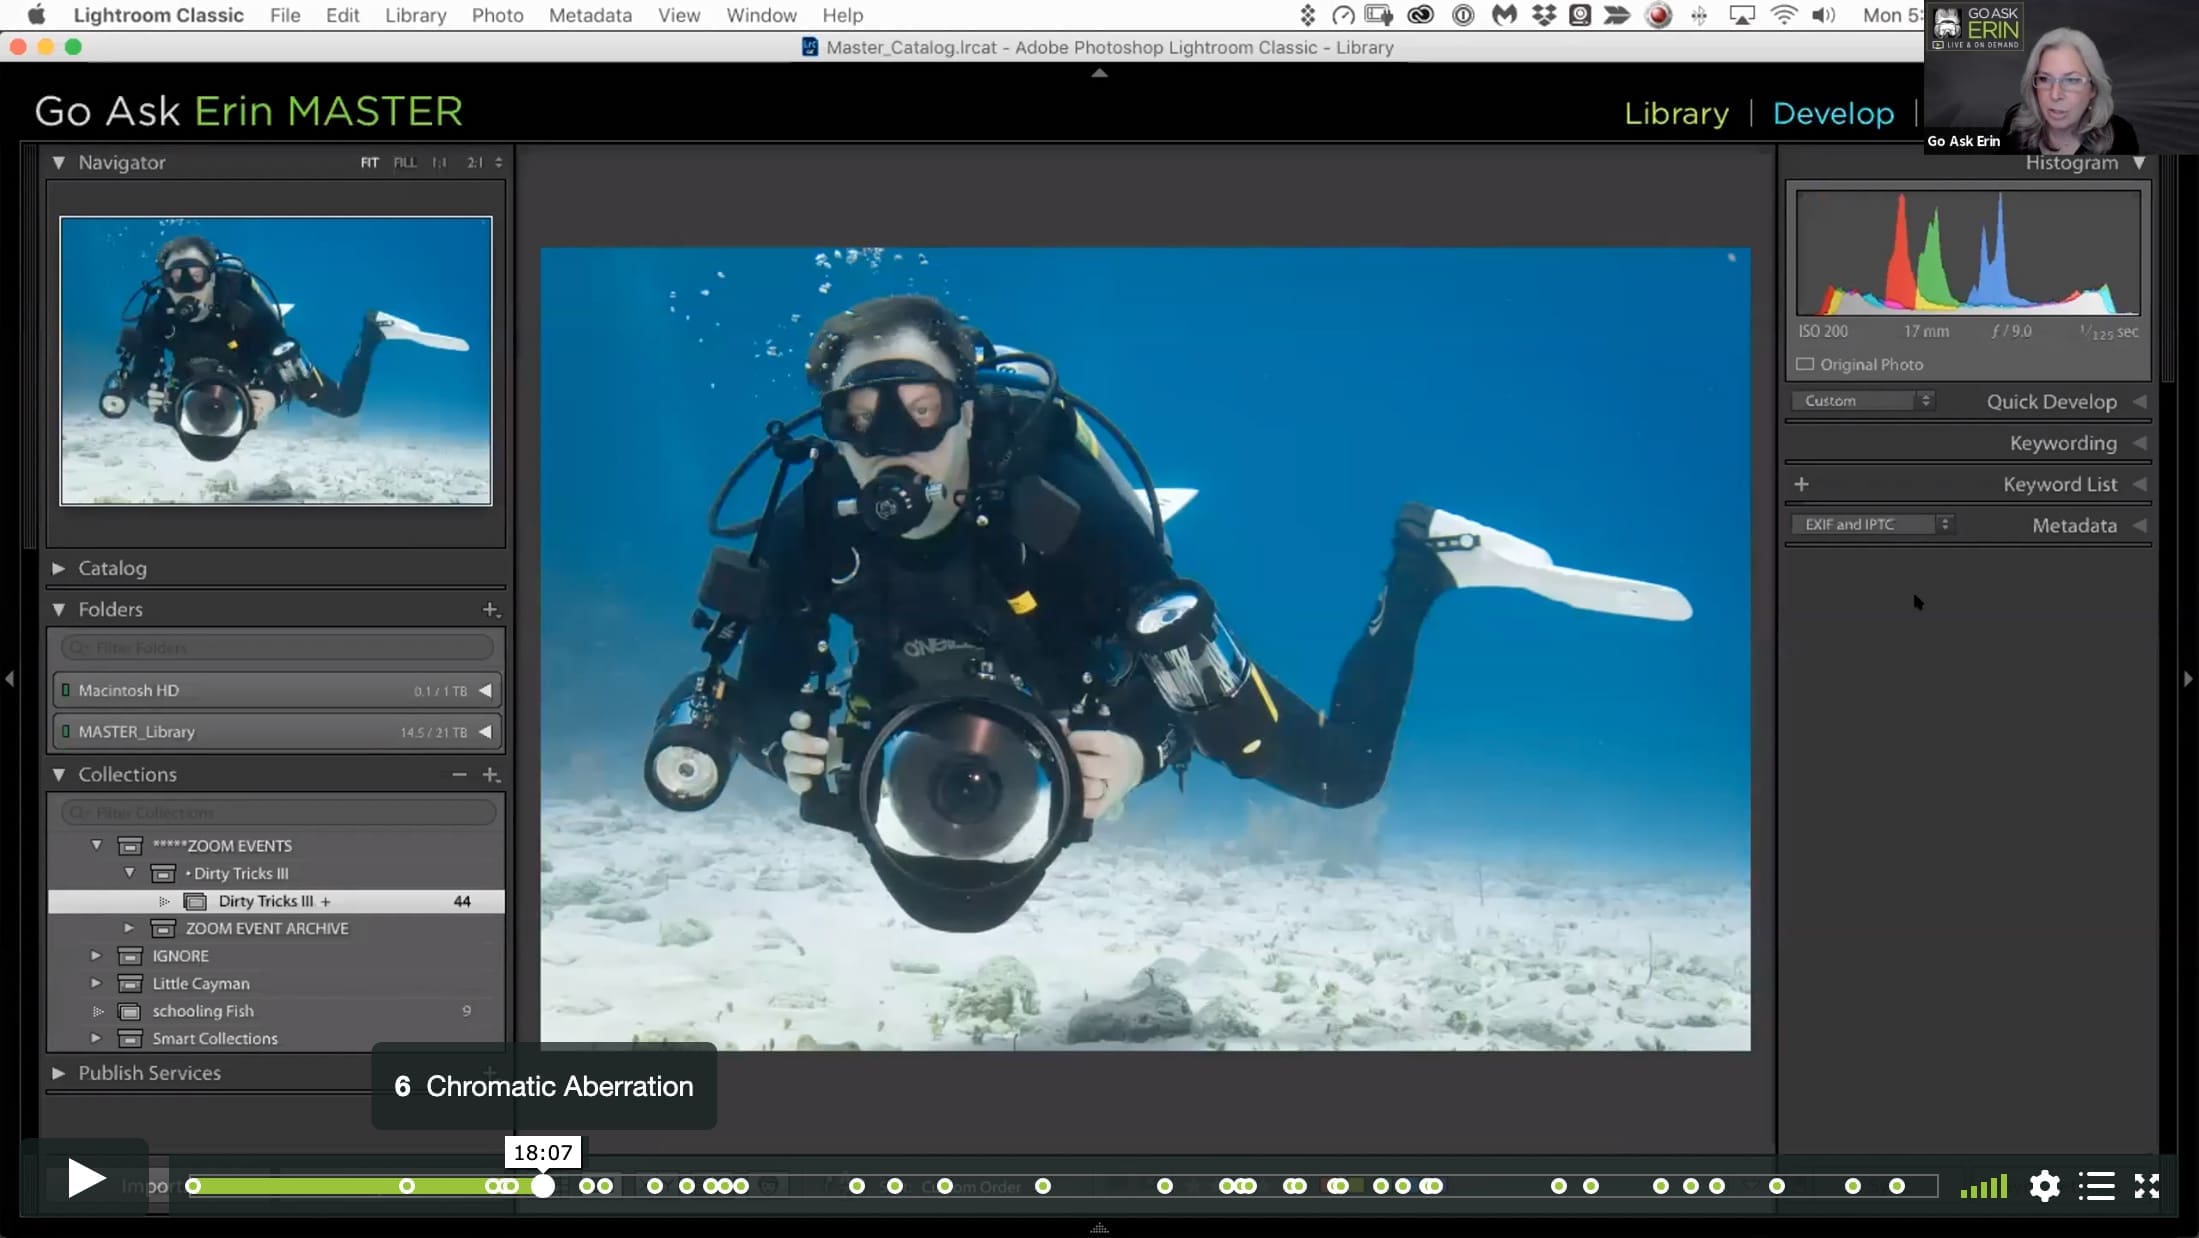
00:18:03 – Chromatic Aberration
00:20:21 – Changing the Color of a White Object
00:21:18 – Quick Selection Tool
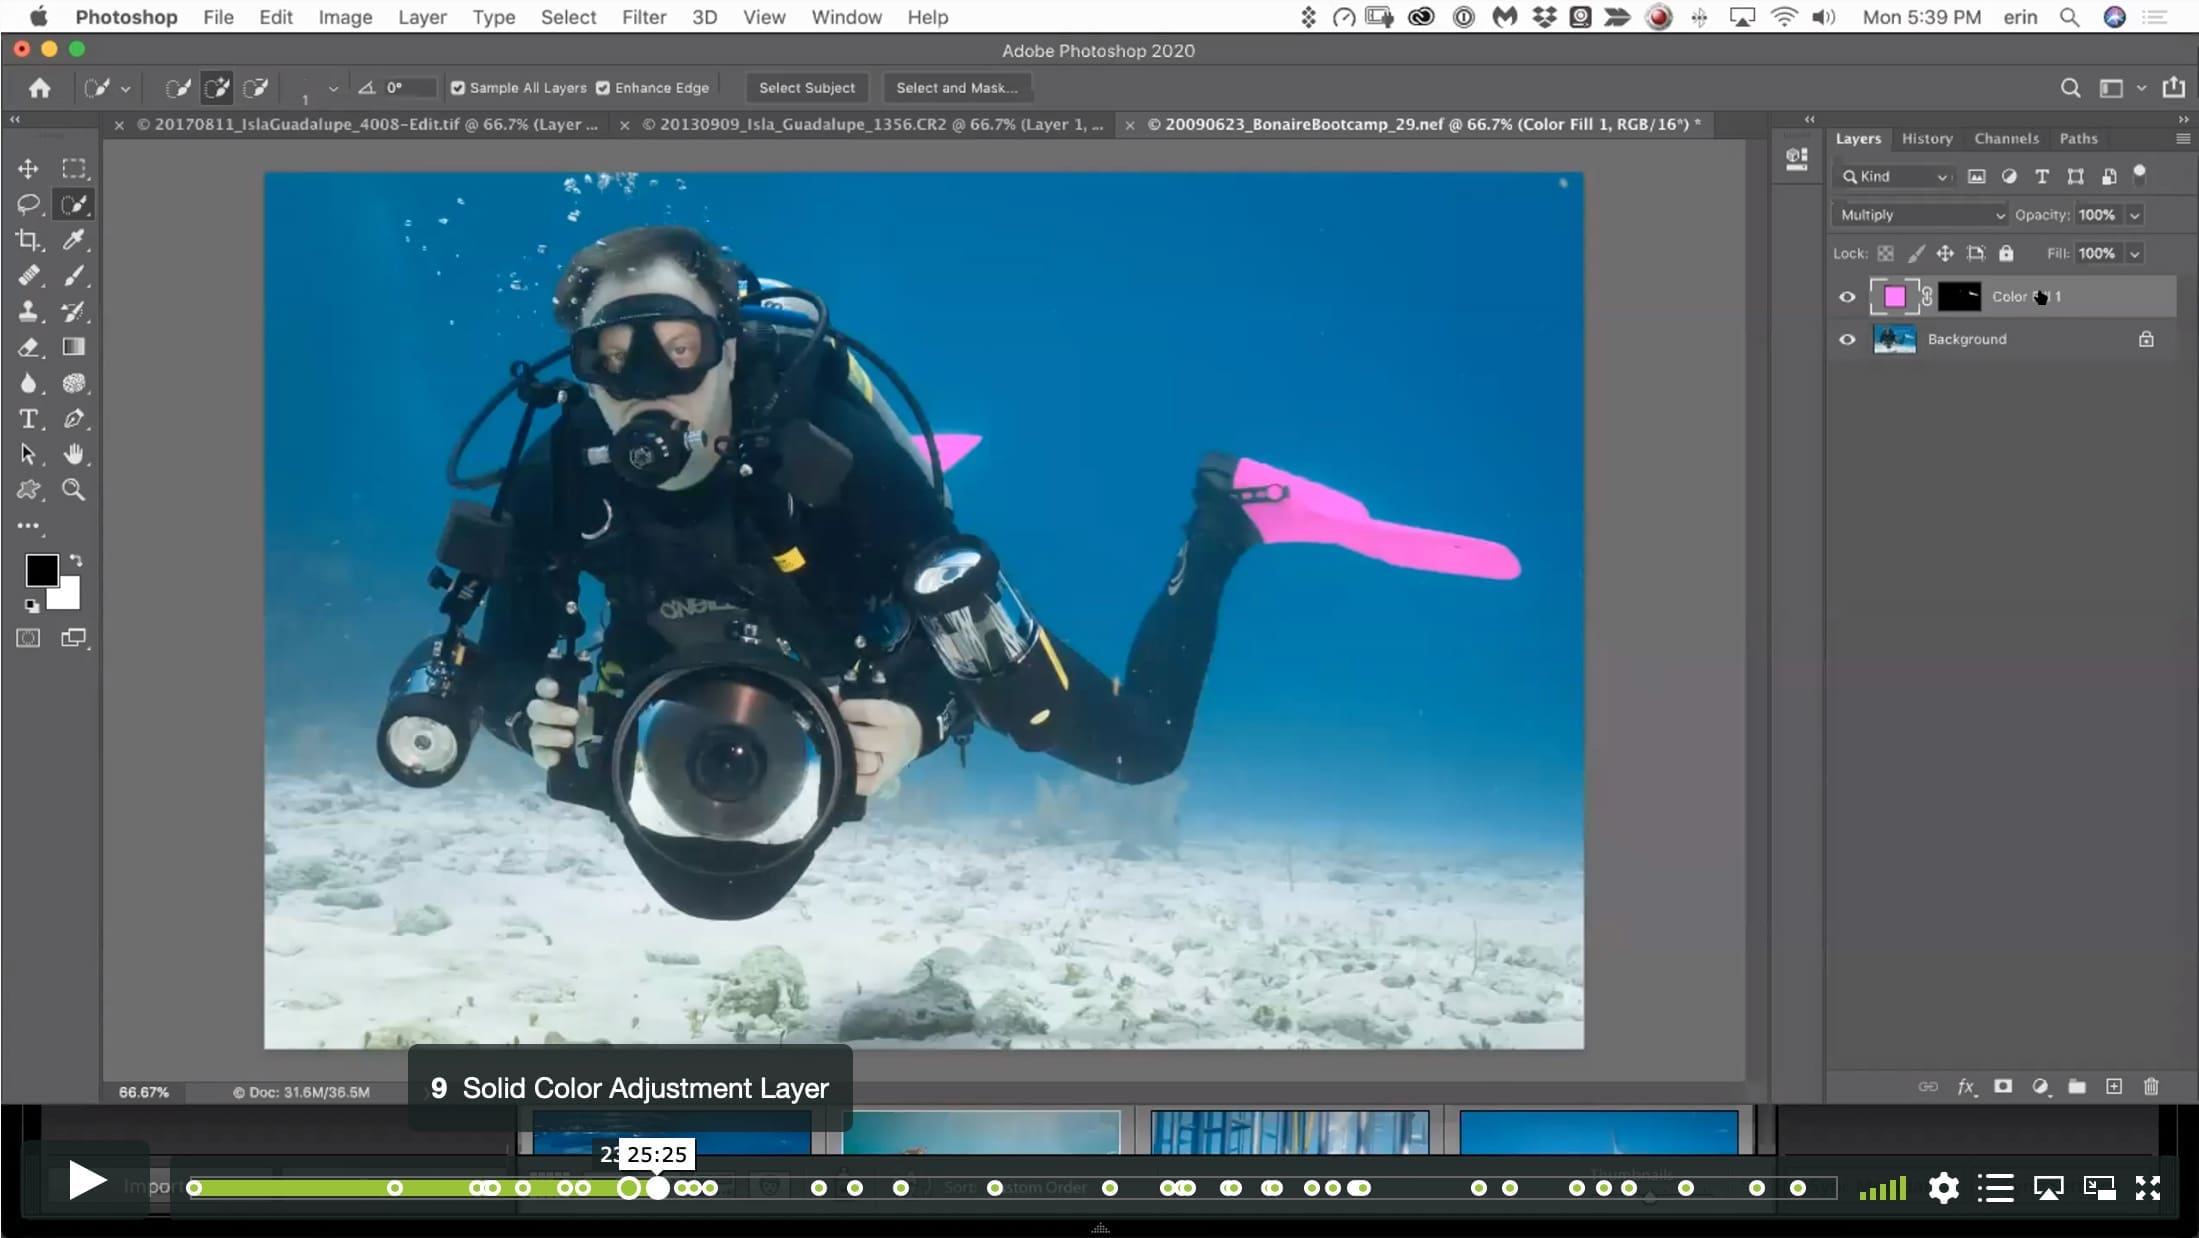
00:23:48 – Solid Color Adjustment Layer
00:25:25 – Curves Adjustment Layer
00:26:42 – Creating a Group in the Layers Panel
00:27:23 – Adding a Layer Mask to a Group
00:28:15 – The Hand Tool in Curves
00:36:08 – Blend If in Blending Options
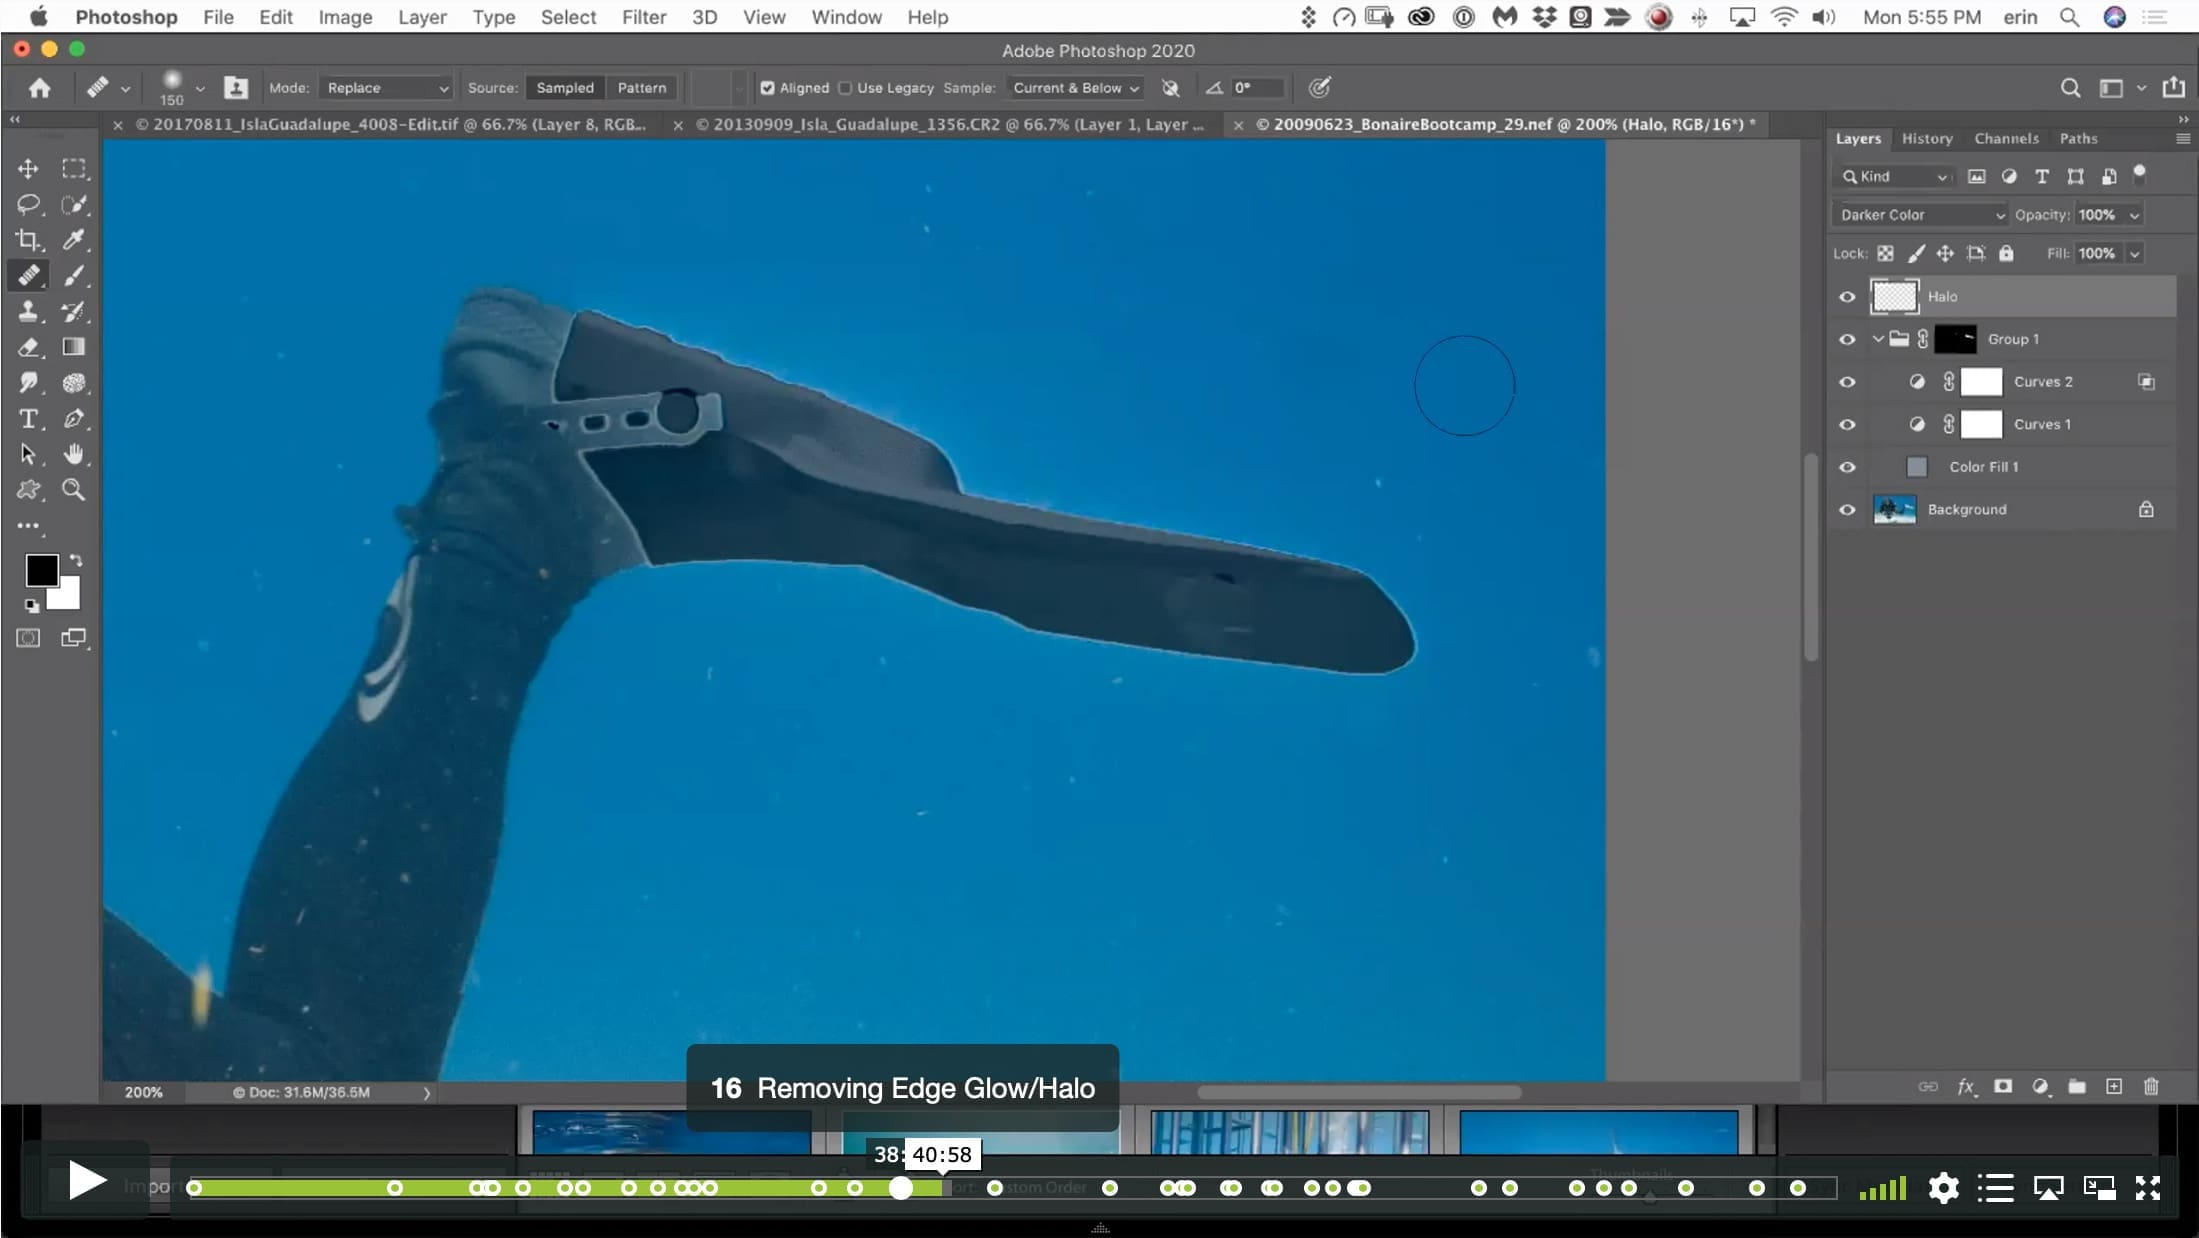
00:38:40 – Removing Edge Glow/Halo
00:43:47 – Color Blending Mode
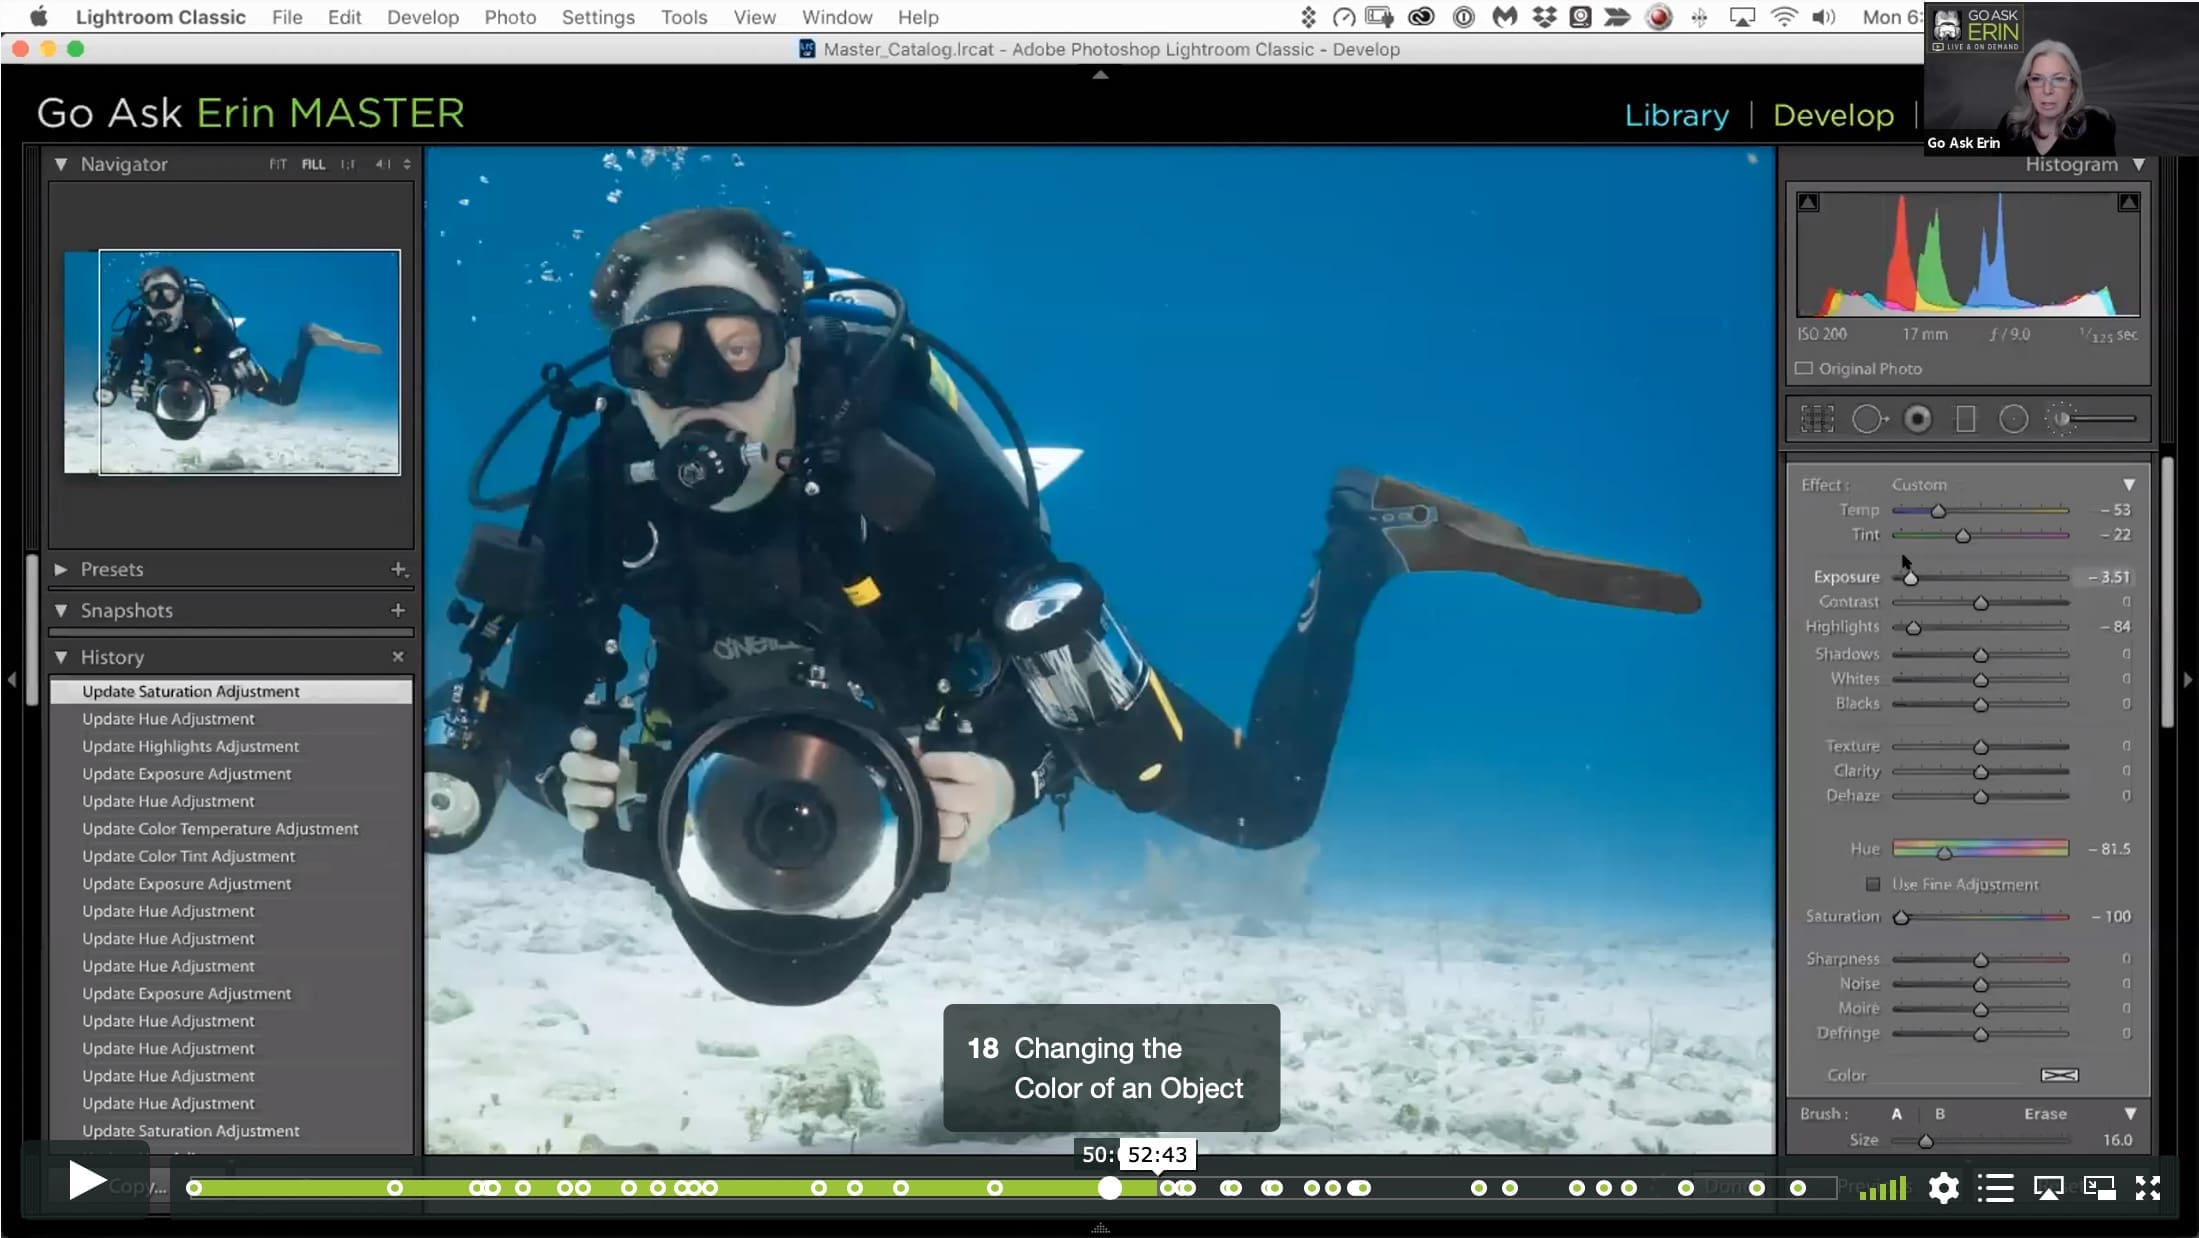
00:50:03 – Changing the Color of an Object
00:53:14 – Defogging Goggles and Masks
00:53:57 – Convert Layer for Smart Filters
00:54:18 – Camera Raw Filter
00:56:29 – Using a Smart Filter Layer Mask
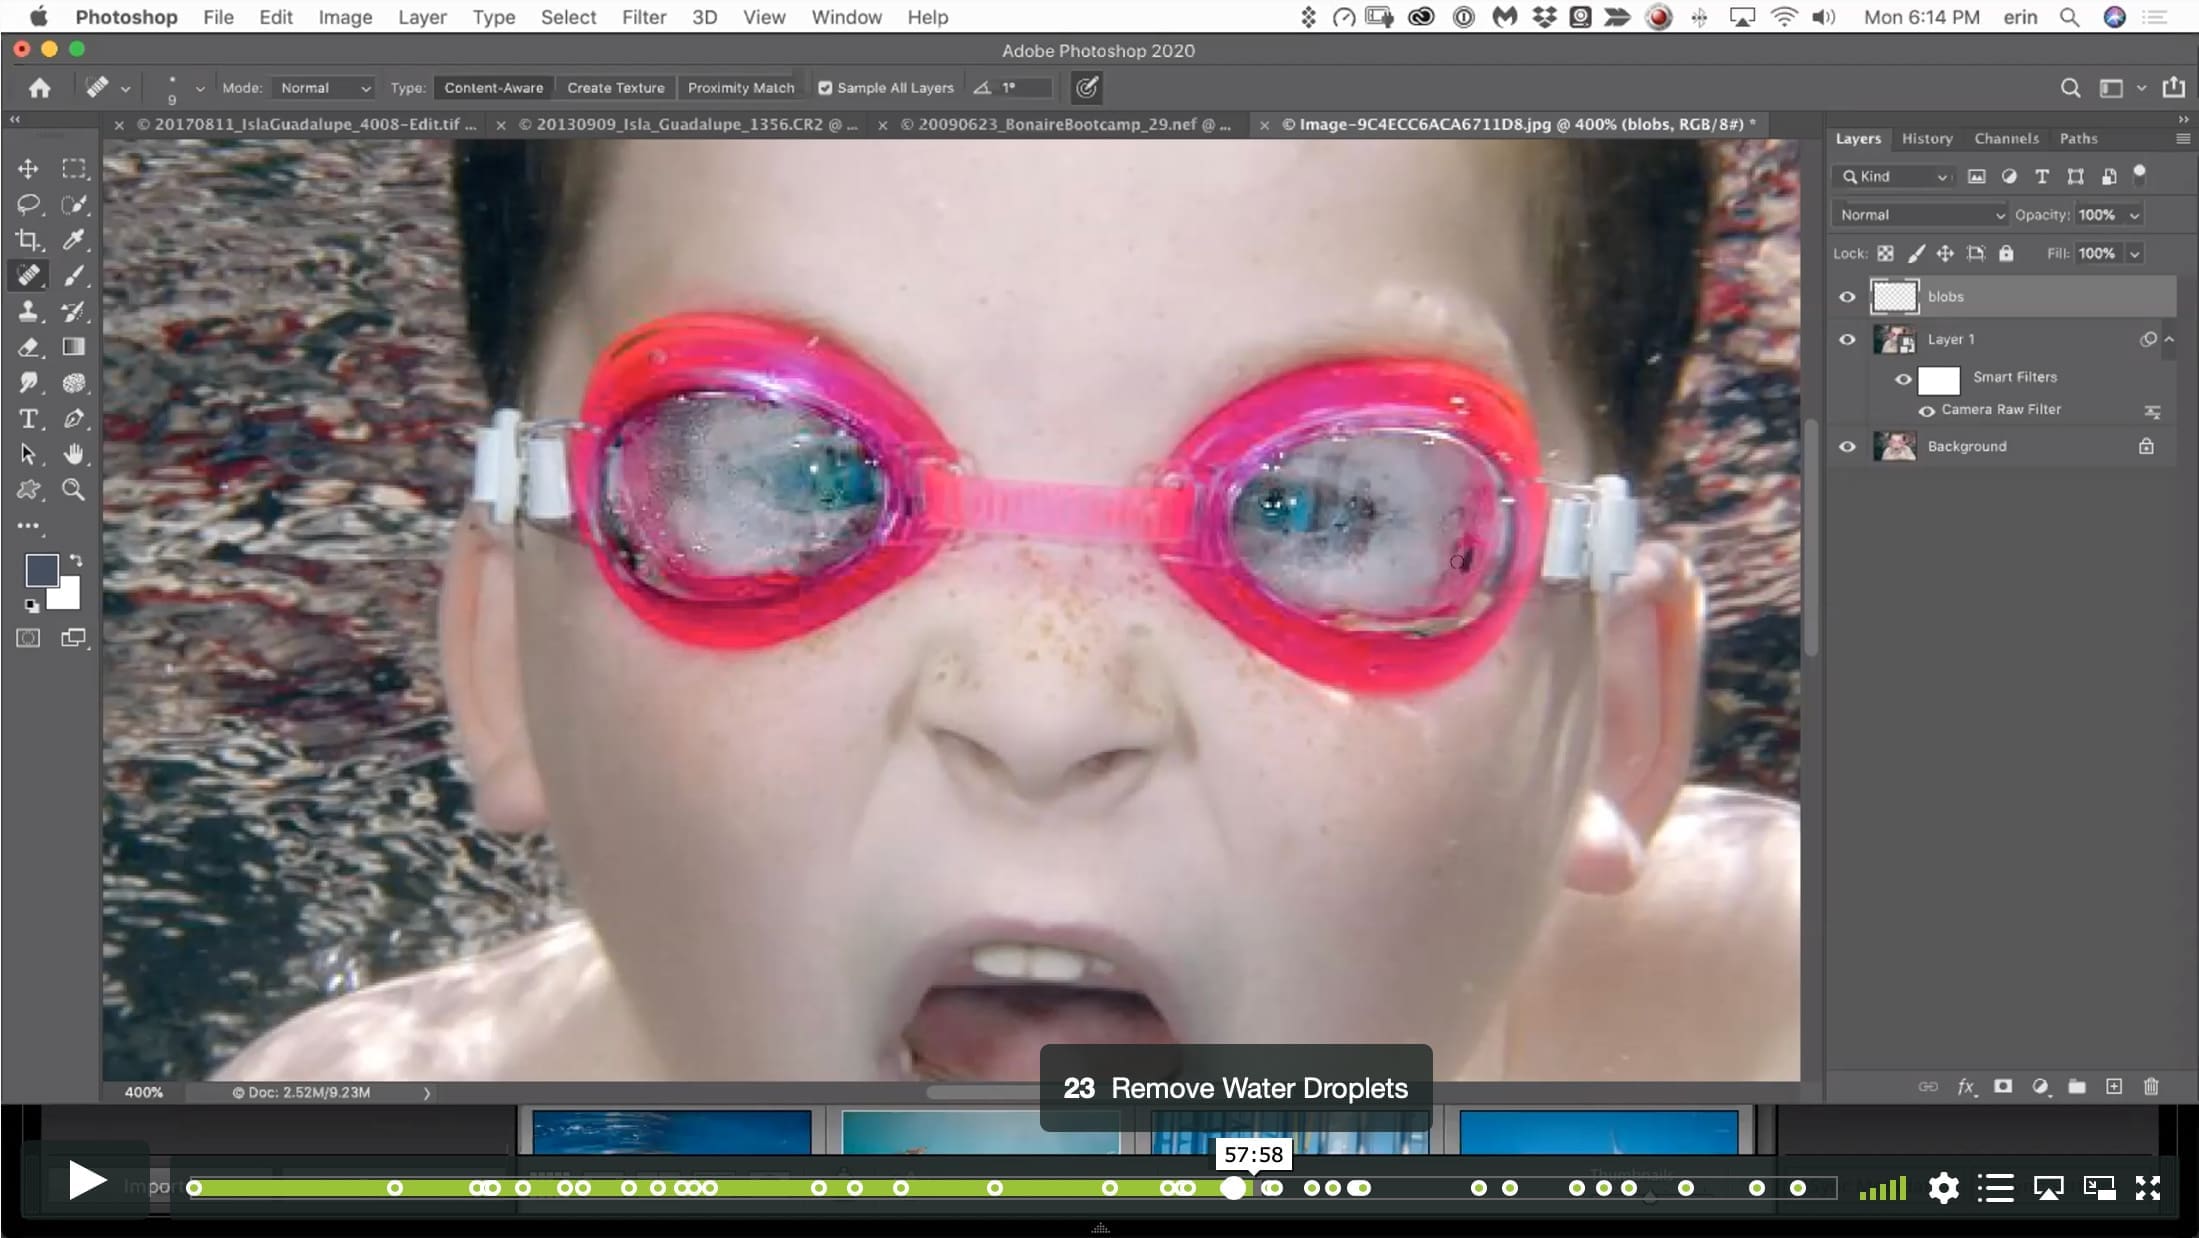
00:56:50 – Remove Water Droplets
00:58:43 – Color Fill Layer to Desaturate
00:59:02 – Additional Contrast Using Curves
01:01:05 – Burn and Dodge with Soft Light Blending
01:03:25 – Create Composite Top Layer
01:03:36 – Change Layer Opacity
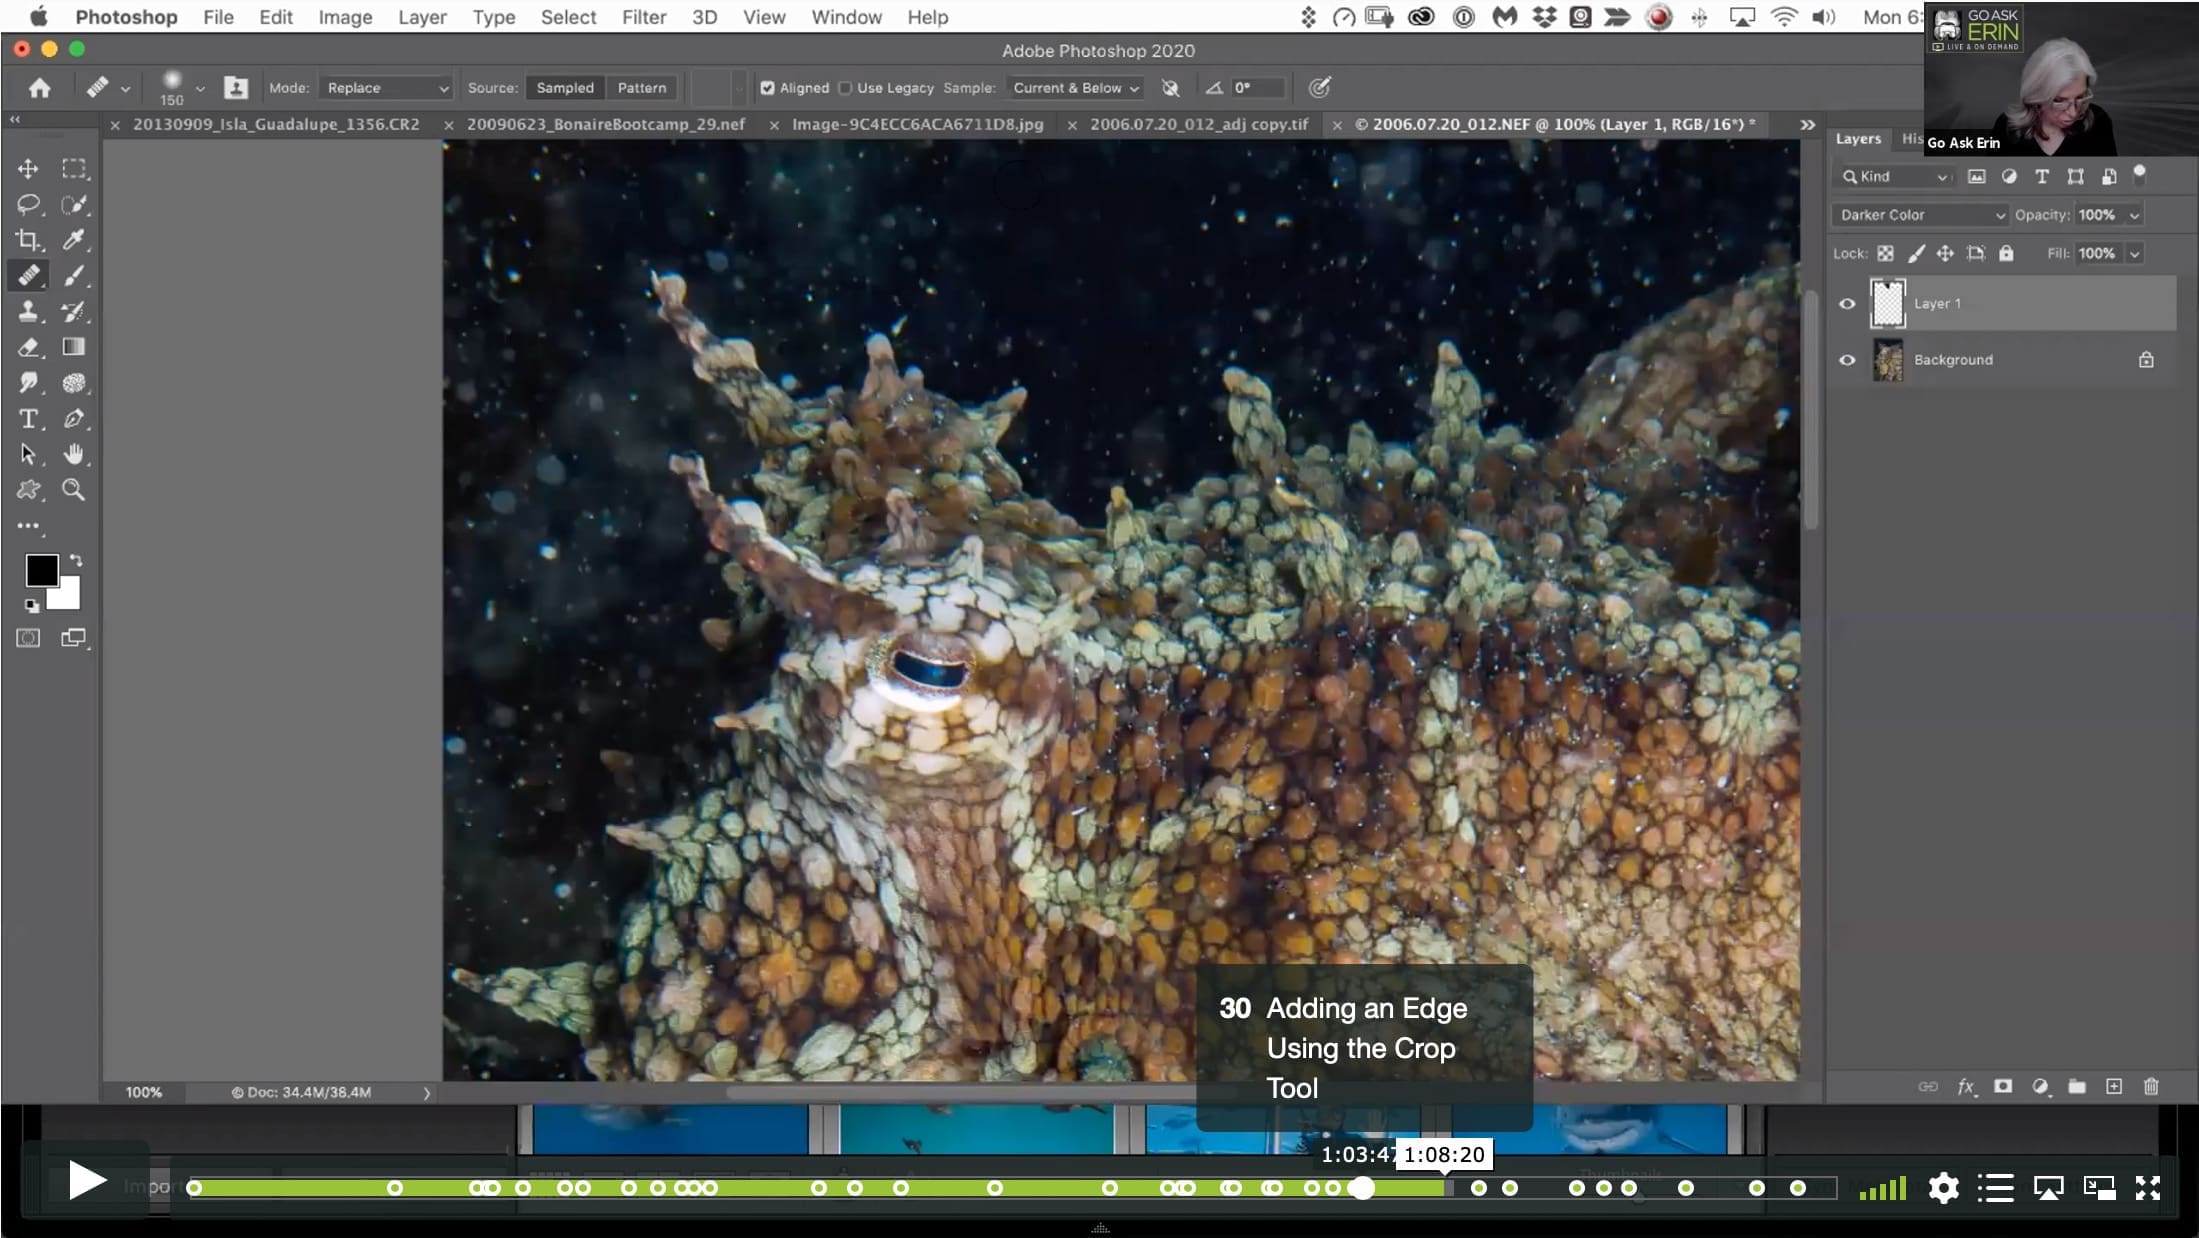
01:03:50 – Adding an Edge Using the Crop Tool
01:10:11 – Replacing Bad Water with Good
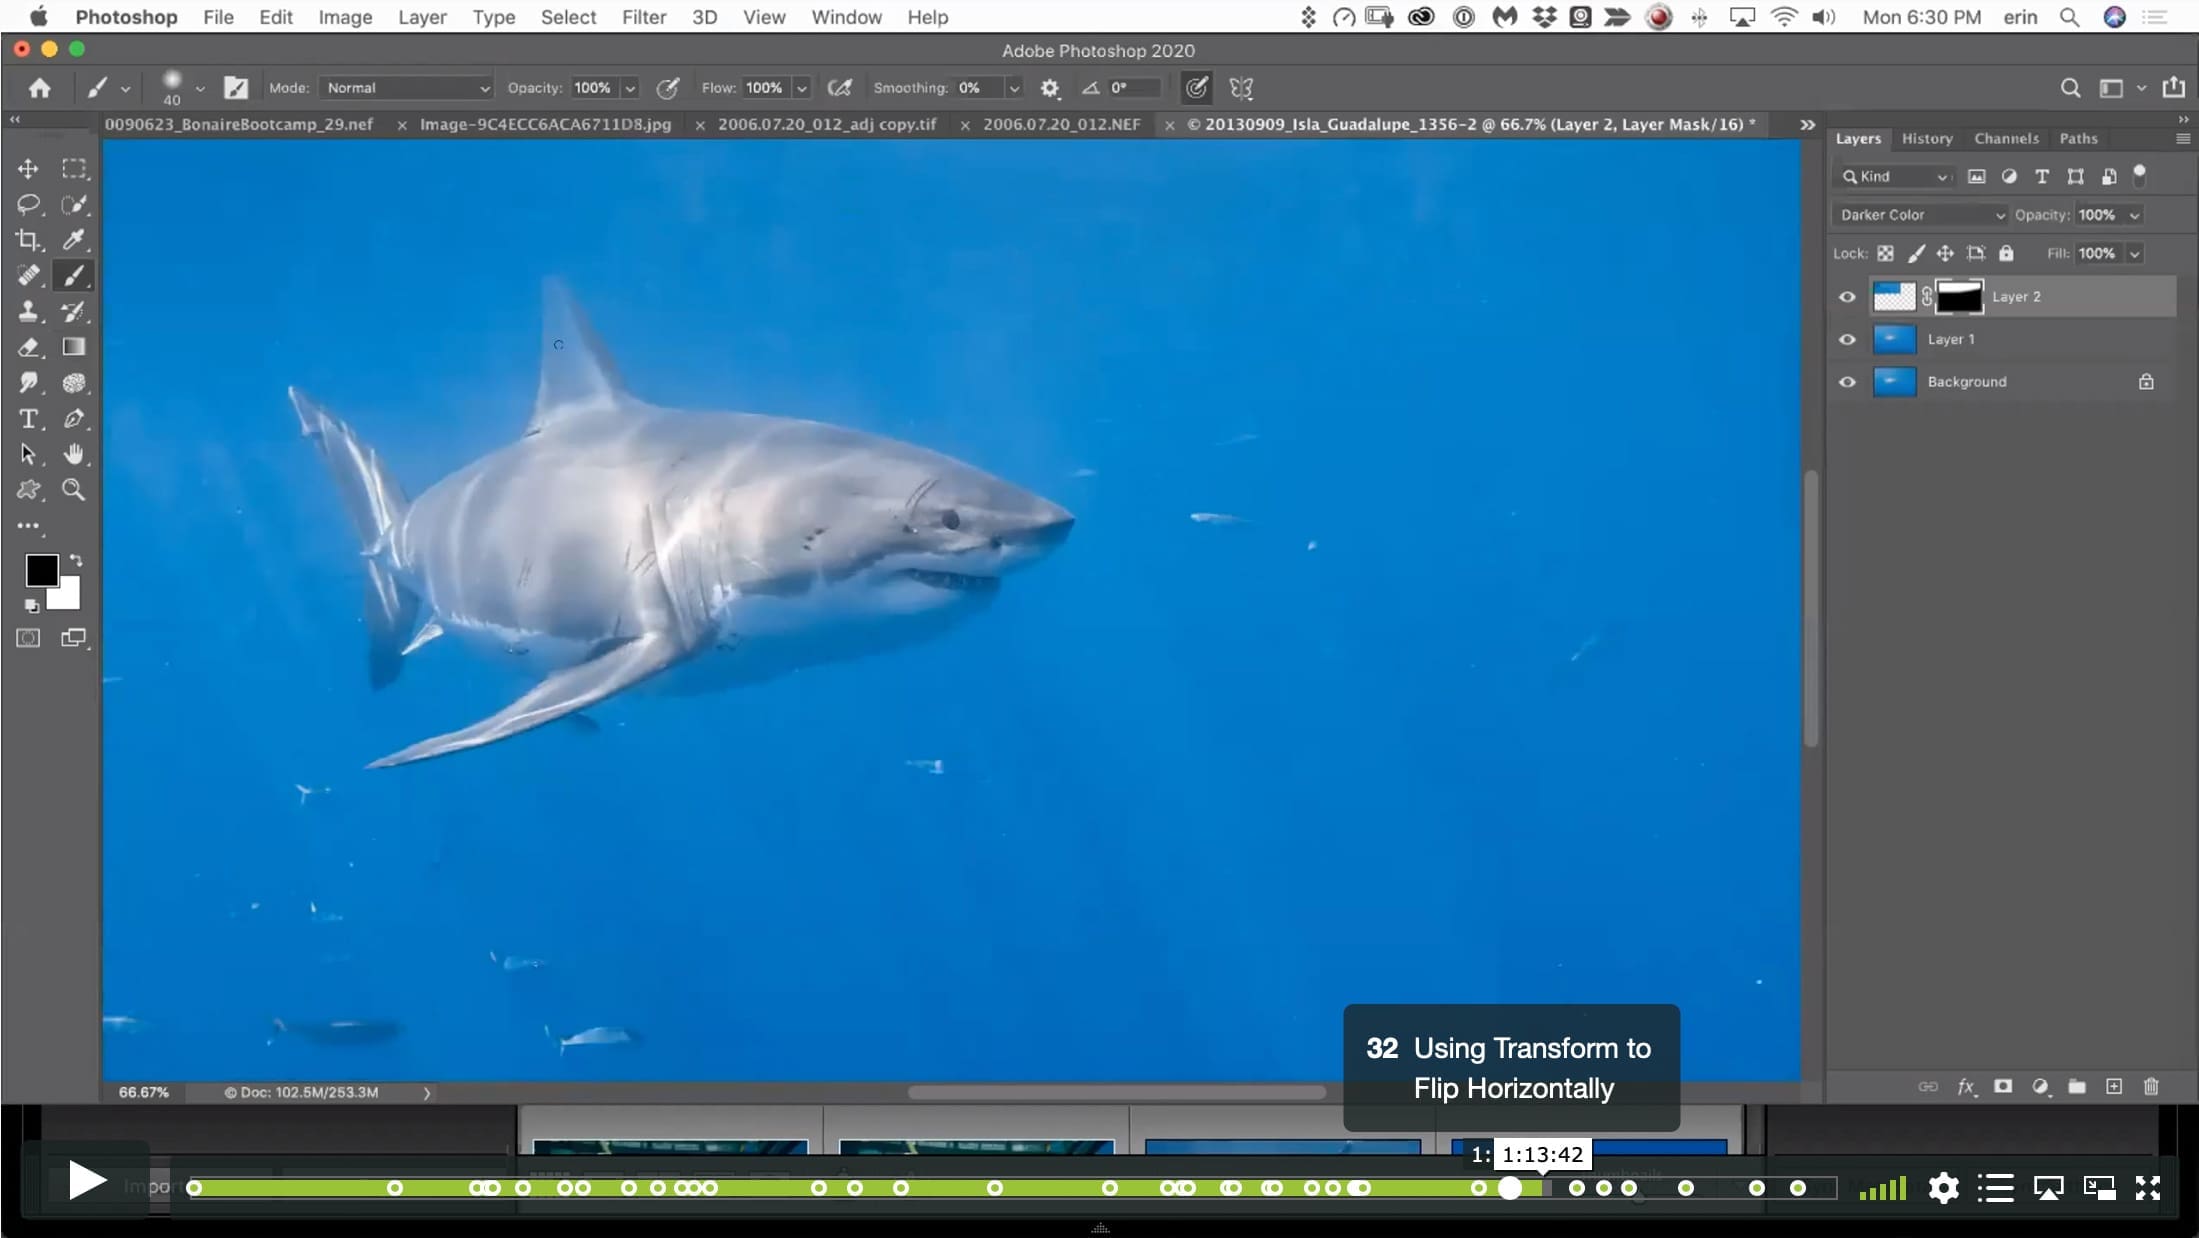
01:11:51 – Using Transform to Flip Horizontally
01:15:30 – Removing Glow
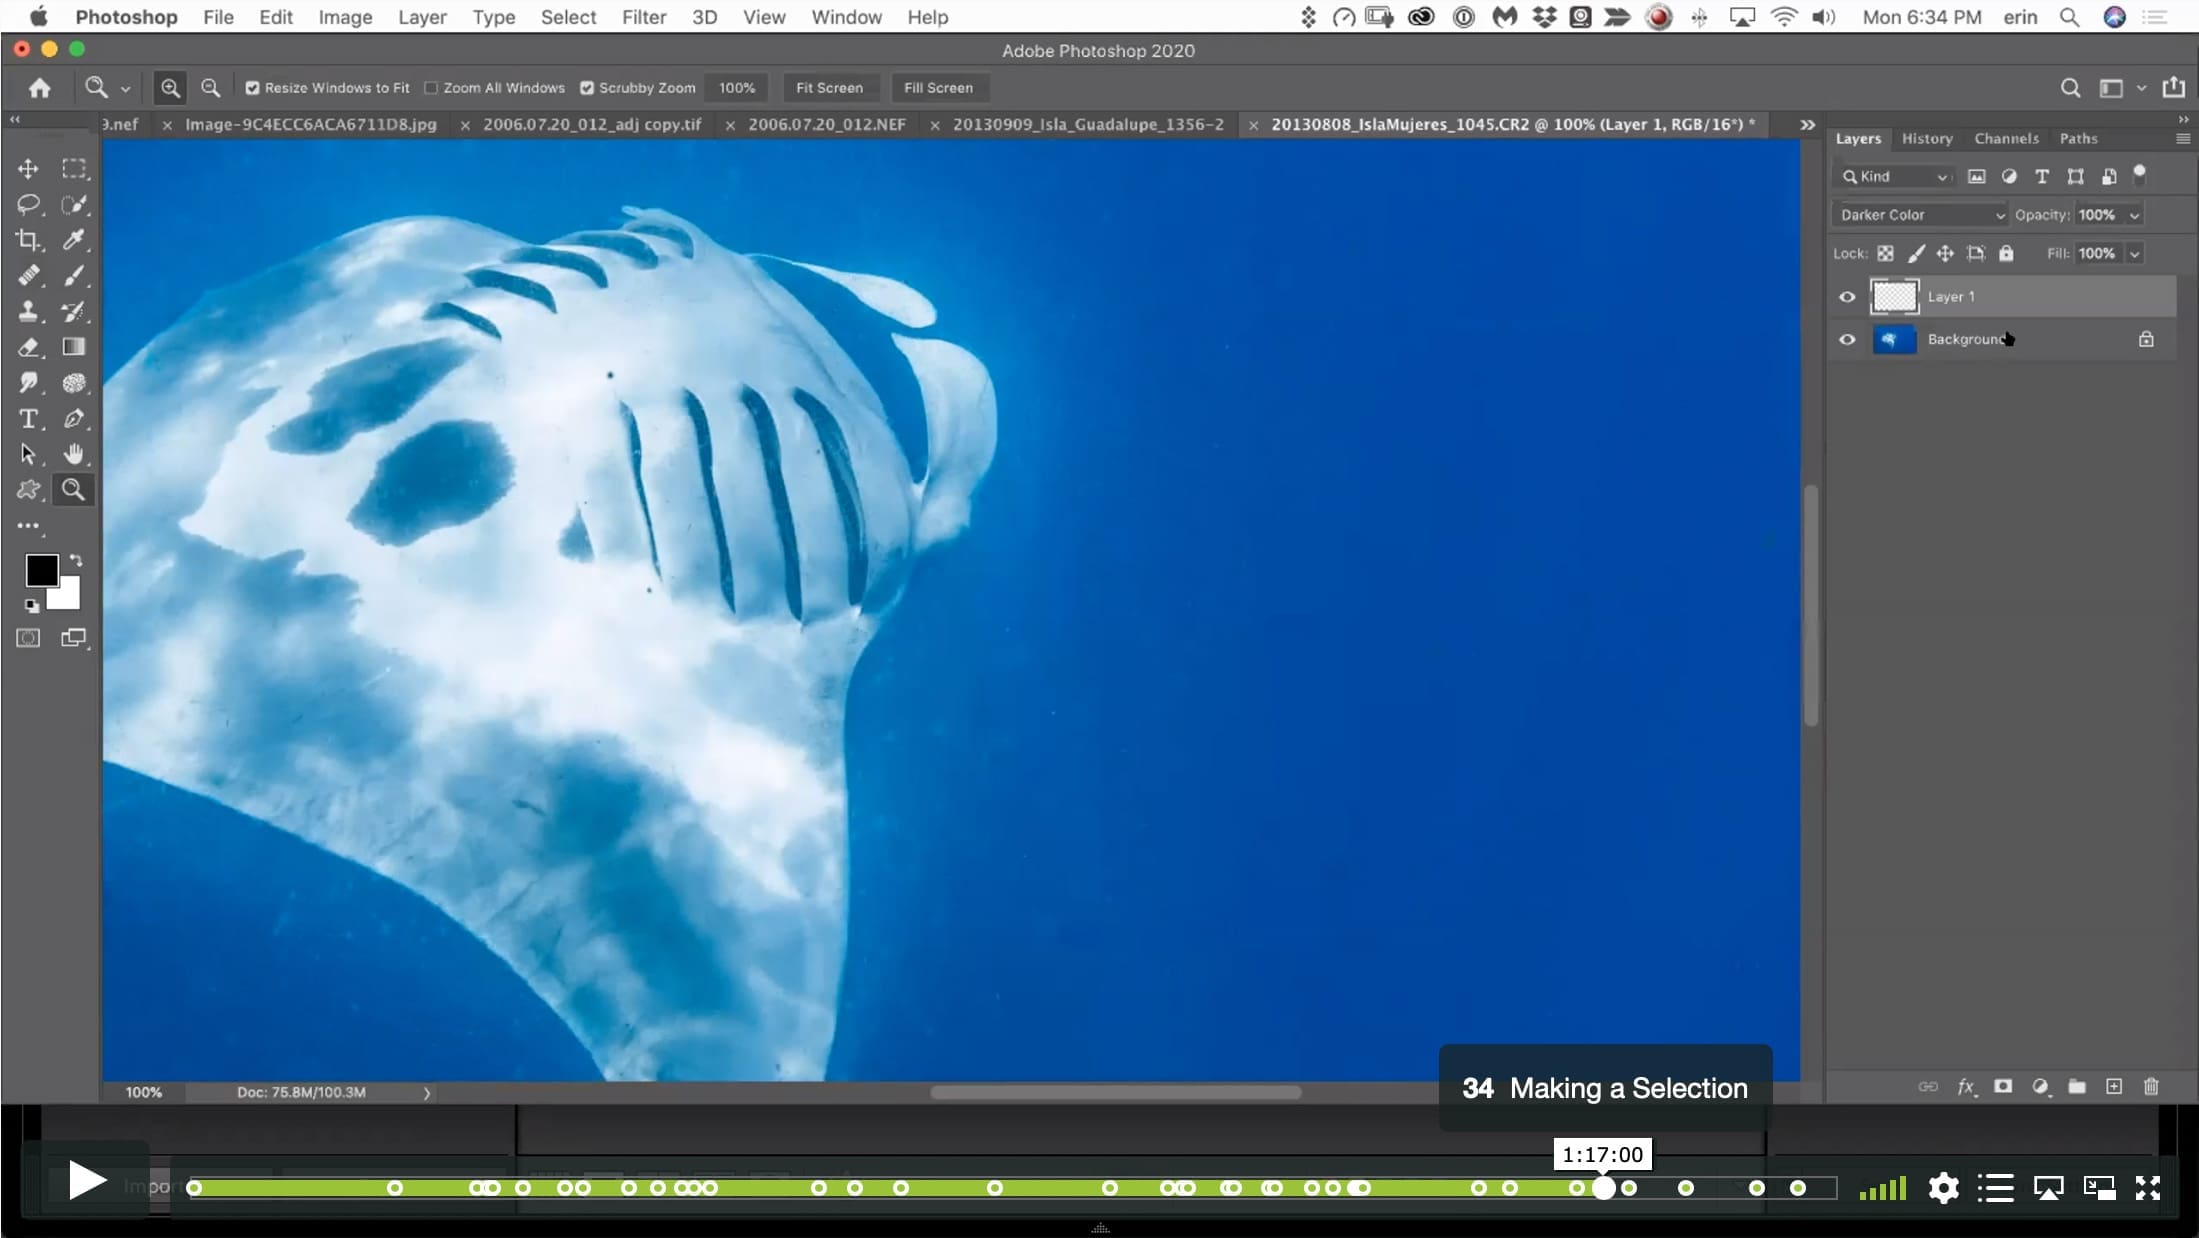
01:17:00 – Making a Selection
01:18:20 – Inverting a Selection
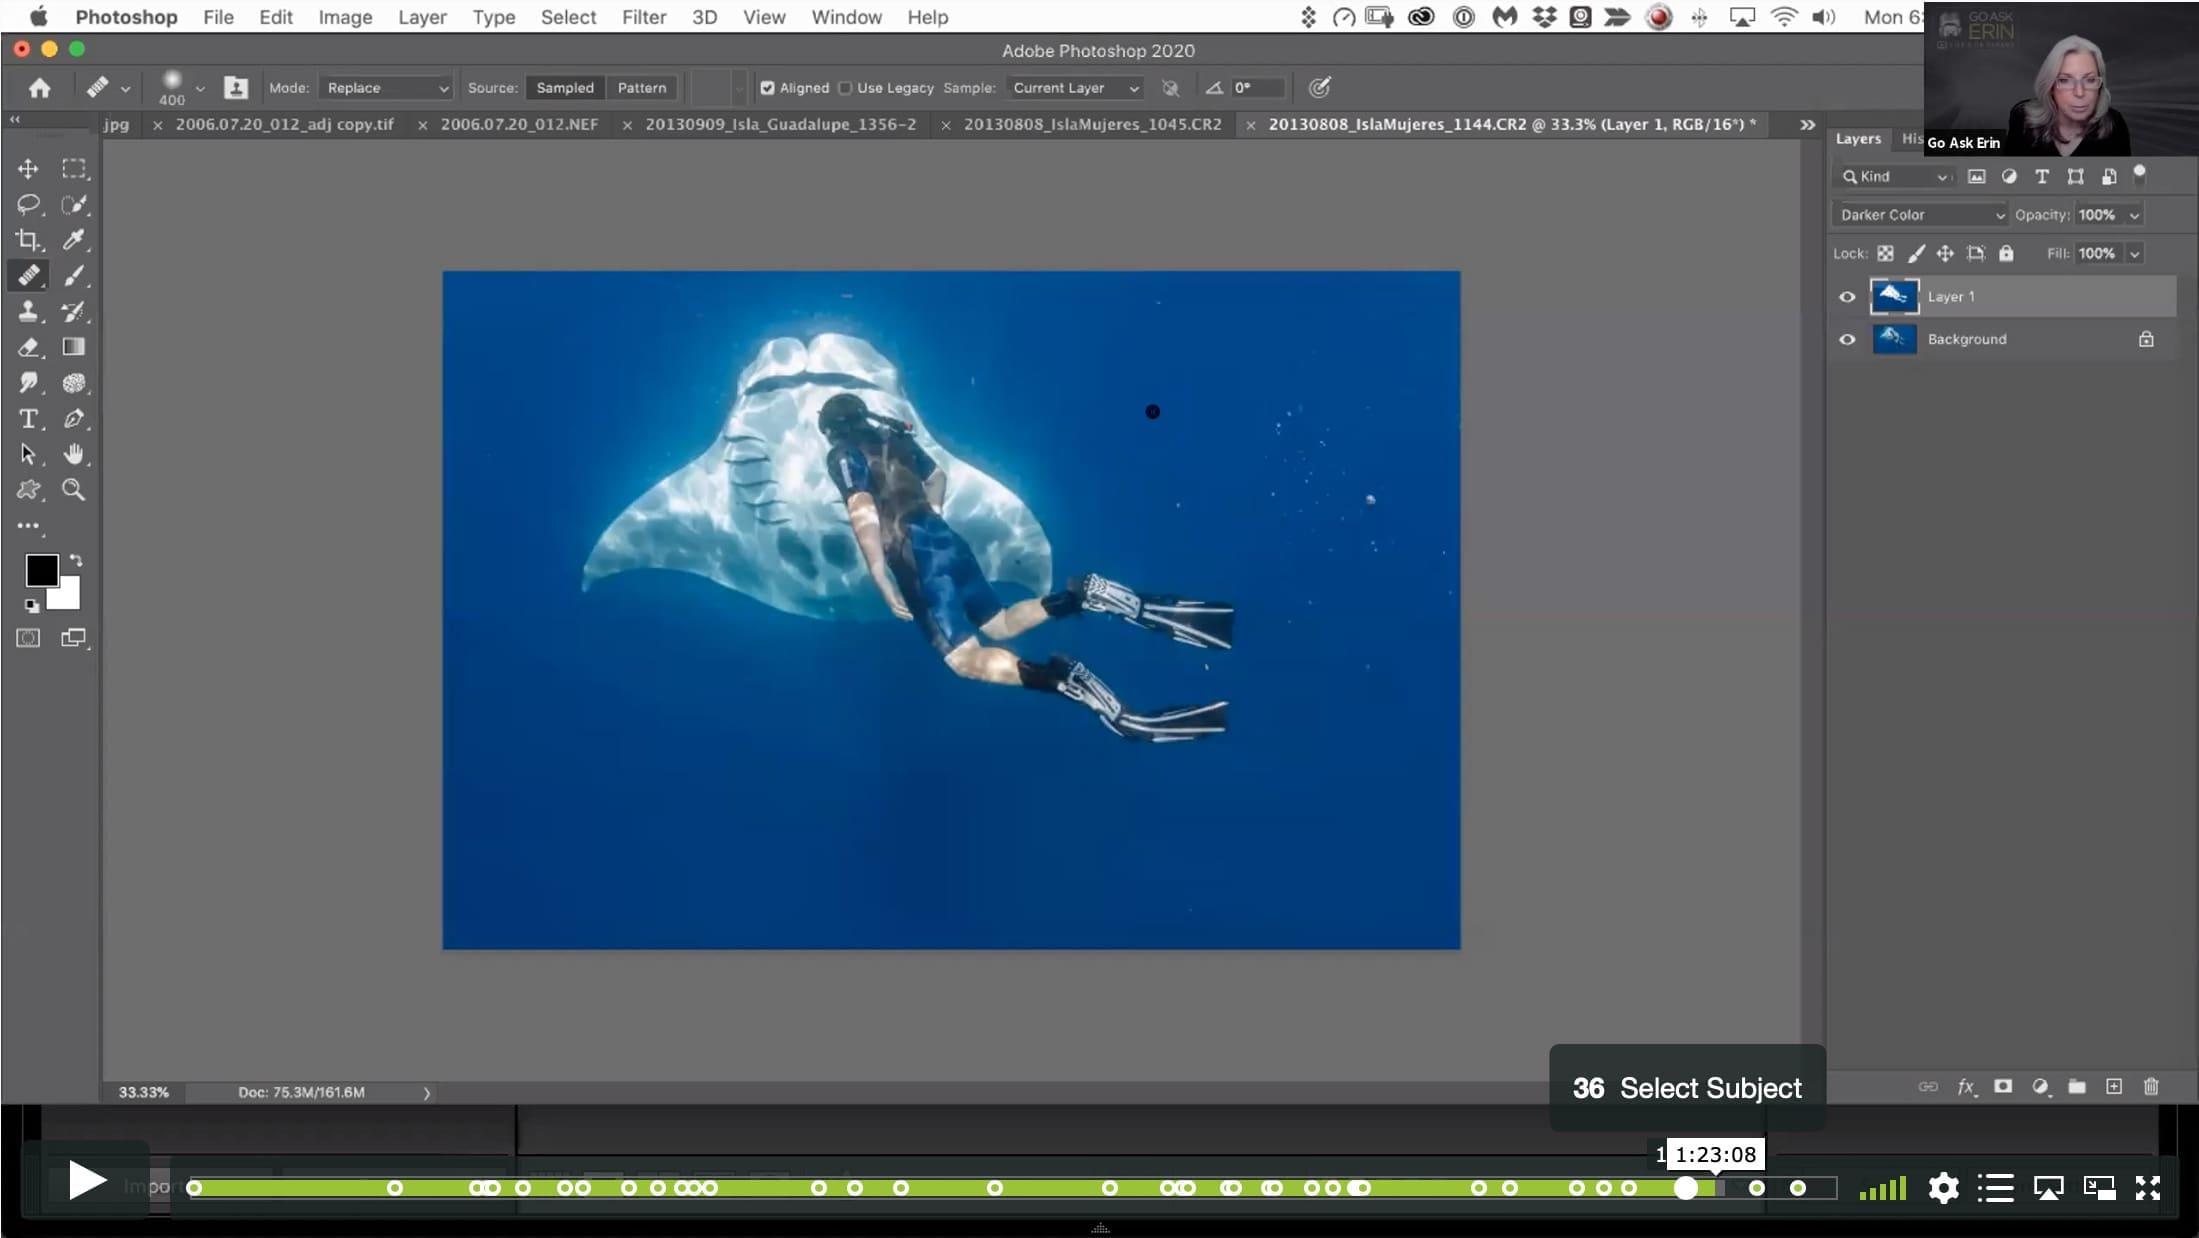
01:21:28 – Select Subject
01:25:21 – Filling the Frame
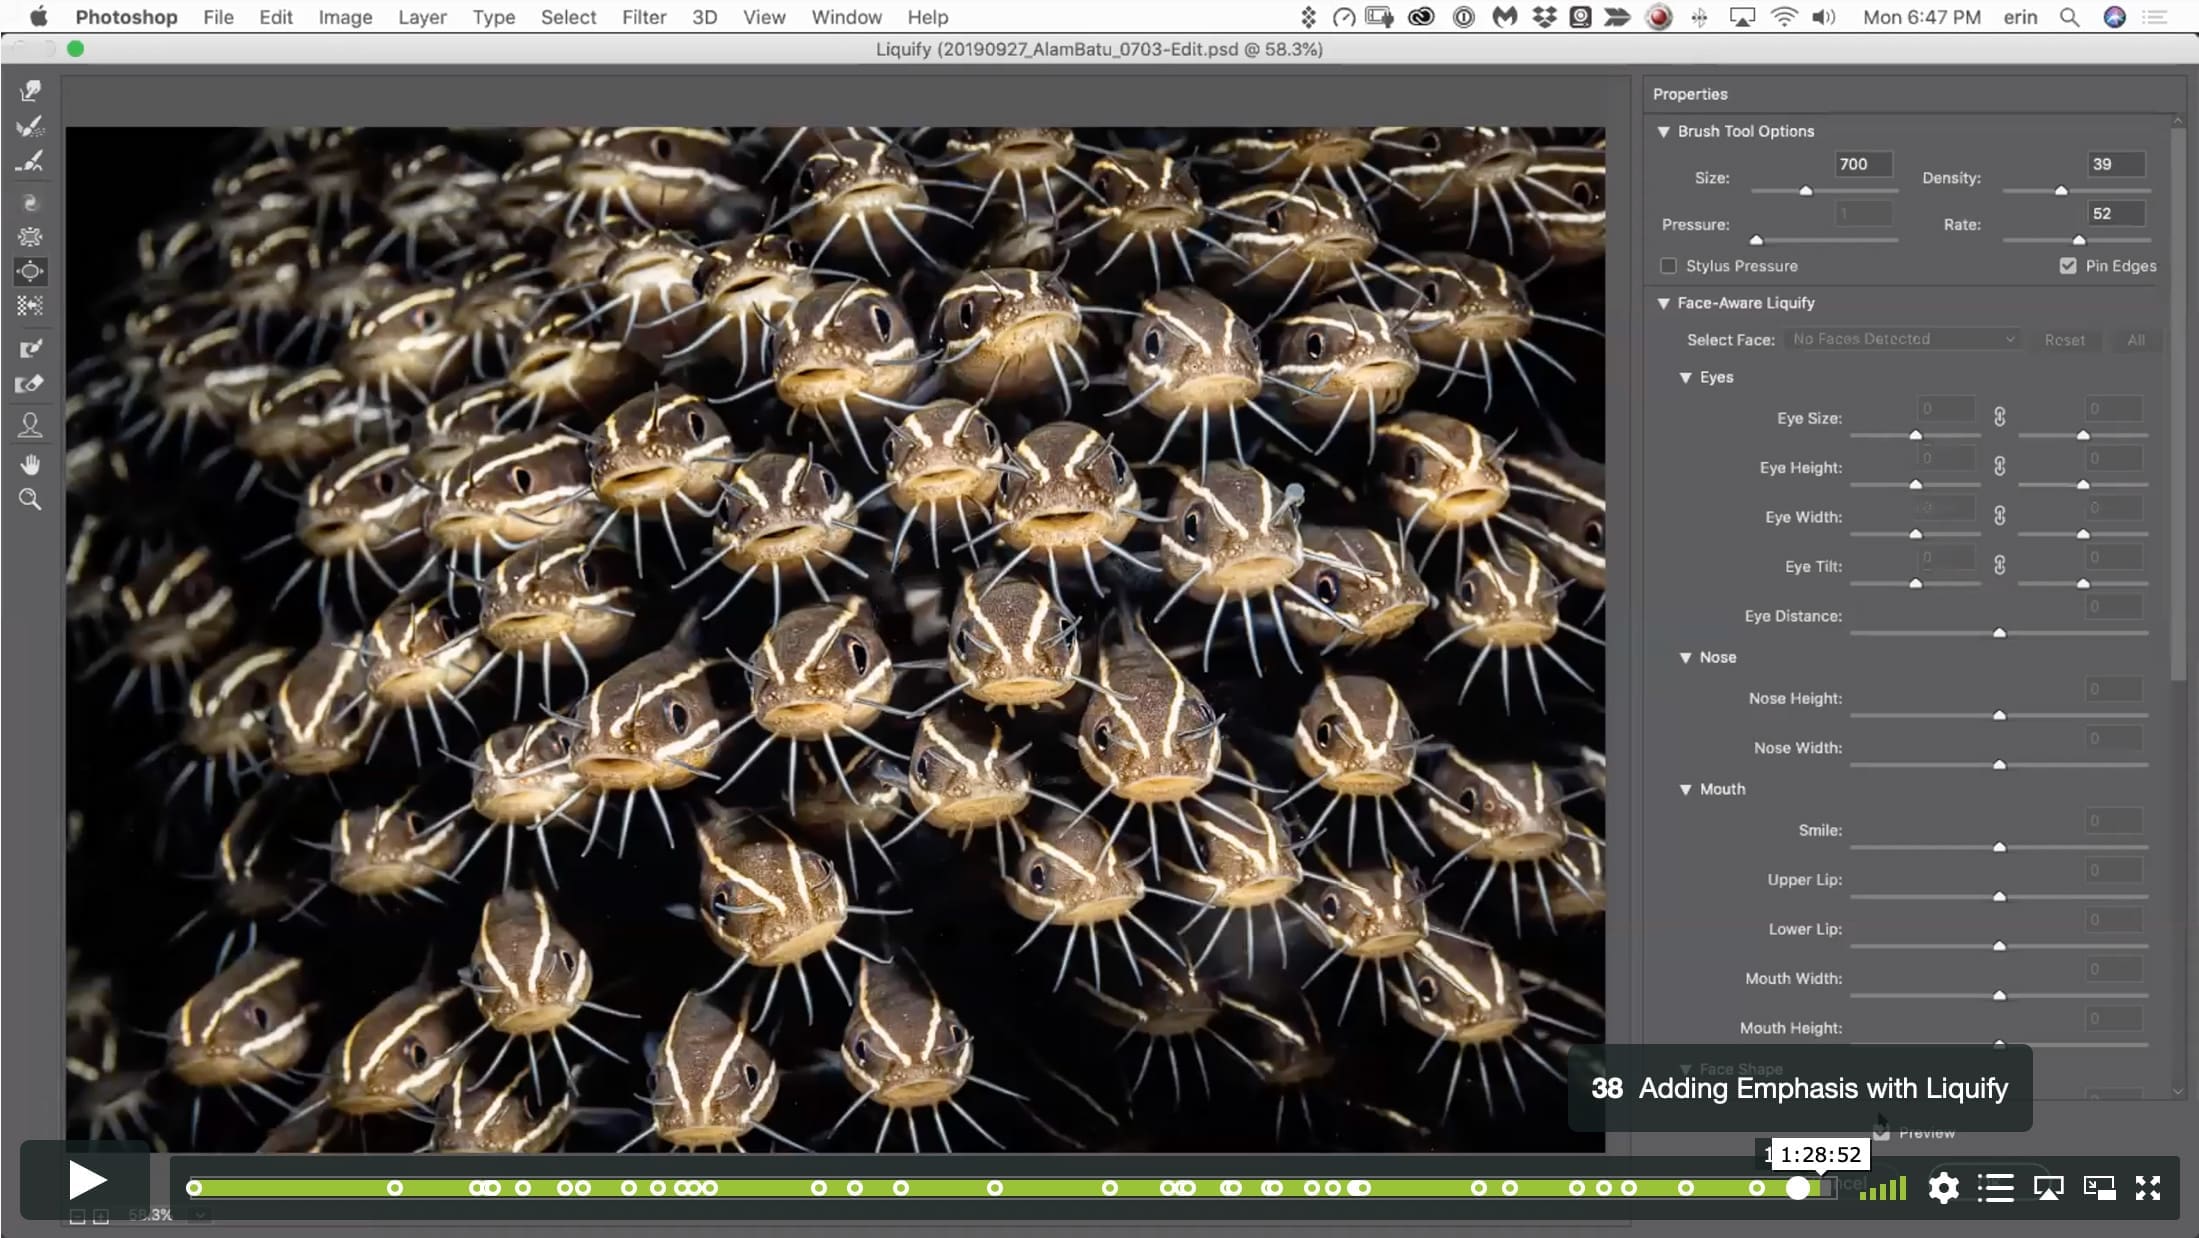
01:27:35 – Adding Emphasis with Liquify
© Go Ask Erin / Newmediasoup, LLC
Description
CLASS DETAILS
Runtime: 1 hour 30 minutes | Up to 1440p (2K) Resolution | Speed Control (.5 – 2x) | Interactive Chapter Markers | Bonus Downloadable Practice Files and Resources Included
CLASS OVERVIEW
Make one fish two fish – should you turn a red fish blue fish? Is image editing cheating or artistry? Where do we draw the line? Each time we choose a lens to shoot with, a strobe to light with, or an edit in post, we alter reality. Is one alteration more valid than another? In Dirty Tricks III, we’ll delve into the dark arts with an eye towards both the ethical and aesthetic ramifications of image editing. Although we’ll start with Lightroom, be prepared to get your Photoshop on in a big, witchy way!
 LIGHTROOM CLASSIC VERSION INFO
In Lightroom Classic Version 11 and Later, Adobe introduced a new way to make selections and masks in the Lightroom Develop Module. If you’re using Lightroom Classic 11 or Later, we recommend purchasing New Masking Magic in Lightroom Classic 11 in addition to this product to get up to speed on the new masking tools.
CHAPTERS
00:00:08 – The Ethics of Editing
00:11:04 – Removing Glow from Corners
00:15:32 – Erasing Part of a Filter
00:16:09 – Adjusting Blue Luminance and Saturation in HSL
00:16:24 – Targeted Adjustment Tool
00:18:03 – Chromatic Aberration
00:20:21 – Changing the Color of a White Object
00:21:18 – Quick Selection Tool
00:23:48 – Solid Color Adjustment Layer
00:25:25 – Curves Adjustment Layer
00:26:42 – Creating a Group in the Layers Panel
00:27:23 – Adding a Layer Mask to a Group
00:28:15 – The Hand Tool in Curves
00:36:08 – Blend If in Blending Options
00:38:40 – Removing Edge Glow/Halo
00:43:47 – Color Blending Mode
00:50:03 – Changing the Color of an Object
00:53:14 – Defogging Goggles and Masks
00:53:57 – Convert Layer for Smart Filters
00:54:18 – Camera Raw Filter
00:56:29 – Using a Smart Filter Layer Mask
00:56:50 – Remove Water Droplets
00:58:43 – Color Fill Layer to Desaturate
00:59:02 – Additional Contrast Using Curves
01:01:05 – Burn and Dodge with Soft Light Blending
01:03:25 – Create Composite Top Layer
01:03:36 – Change Layer Opacity
01:03:50 – Adding an Edge Using the Crop Tool
01:10:11 – Replacing Bad Water with Good
01:11:51 – Using Transform to Flip Horizontally
01:15:30 – Removing Glow
01:17:00 – Making a Selection
01:18:20 – Inverting a Selection
01:21:28 – Select Subject
01:25:21 – Filling the Frame
01:27:35 – Adding Emphasis with Liquify
© Go Ask Erin / Newmediasoup, LLC


