Nerd Alert! The Mystery of the Missing HSL Panel SOLVED!
Nerd Alert! The Mystery of the Missing HSL Panel SOLVED!

Nerd Alert! The Mystery of the Missing HSL Panel SOLVED!

Some exciting news from Adobe! Lightroom version 12.3 drops some new features underwater photographers are going to love!
The first new feature is something many underwater photographers have been asking for. You can now remove noise from your high ISO underwater images using Artificial Intelligence!

A killer keyboard shortcut for going from the Lightroom Classic Library Module directly to the Masking Panel in the Develop Module is “Shift-W”.

Yes, the answer is yes. Upgrade your Lightroom Catalog when asked. Every time you upgrade, Lightroom takes the name of your current catalog and appends it with a number.

It’s not possible to permanently trash images while working in a Collection…or is it? By default, images deleted from a Collection are not permanently deleted from the Lightroom Catalog or (more importantly) from your hard drive.

For those of you who aren’t so good at remembering to set the time in your camera to match the time zone you’re shooting in – it’s possible to change the original capture time of your image from within Lightroom Classic, after the fact. Here’s a short tutorial video demonstrating the technique.
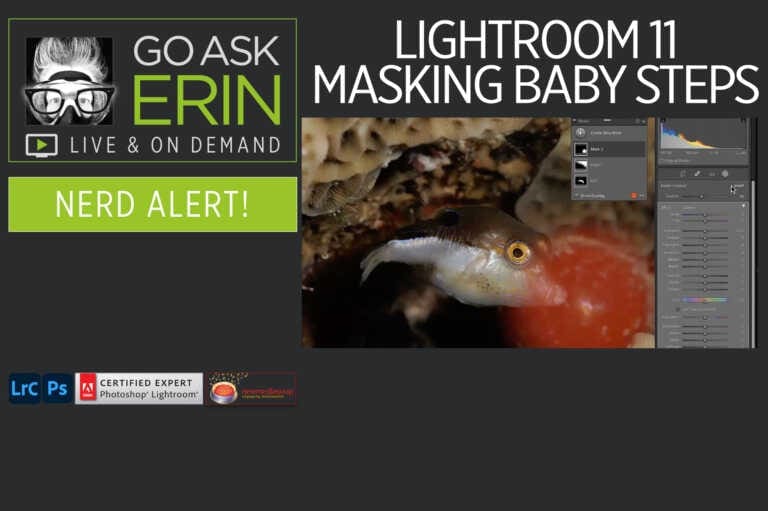
Do the new Lightroom 11 masking tools have you confused and frustrated? Learn how to work the old way by watching our free Lightroom 11 Masking Baby Steps Nerd Alert.

I love Lightroom, but it’s not without a few pitfalls. After years of real-world studio and classroom experience, I’ve identified a bunch of booby traps that consistently derail new and old users alike. Booby Trap: “Default Catalog” at start up When you first launch Lightroom, a new “default” catalog (.lrcat file) is created in your…

Do’s and Don’ts of Editing Wreck Photos Whether moody or magnificent, wreck shots can be a real challenge to edit. Typically taken in less-than-optimal conditions, most wreck photos need help in post to achieve maximum impact. Lightroom and Photoshop offer an impressive array of tools to tease out texture and contrast, but missing the target…

There’s nothing worse than discovering you’re missing a critical piece of gear on a long-awaited dive adventure. Most underwater photographers stress out before a trip, checking and re-checking their camera and dive equipment to make sure all the required bits and pieces are packed and in working order, but they often forget to prepare their…
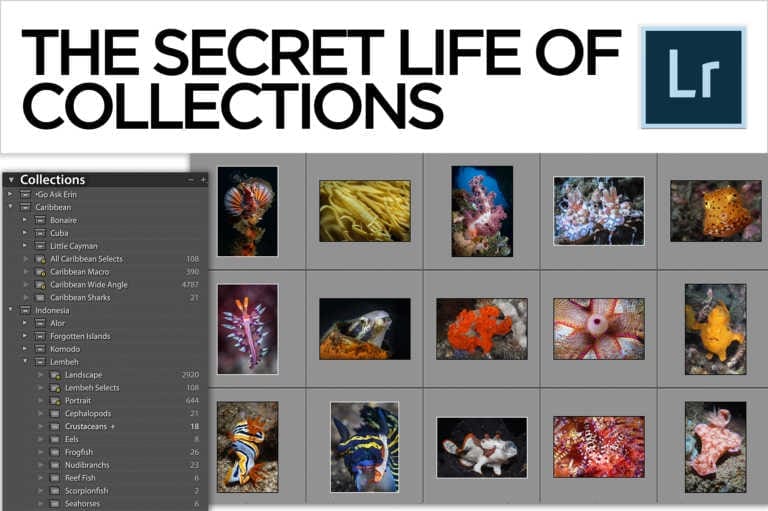
Many people get off on the wrong foot with Lightroom. They jump straight into the Develop Module, hoping to attain instant editing wizardry. They suffer through the drudgery of folder organization at the most superficial level possible, and only then because it’s required to reliably locate and manage images. But in giving the Library module…

Finding the Perfect Punch for Your Pictures I simultaneously love and fear the addition of any significant new feature in Lightroom or Photoshop. Love, because it potentially enriches my editing bag of tricks. Fear, because for a time after its initial introduction it’s used to excess by pros and enthusiastic amateurs alike, resulting in a…

There’s a yin-yang involved with post-production in Lightroom. In the Library Module, building an asset management strategy often seems more like a chore than a creative endeavor, while editing in the Develop Module requires creativity and artistic vision. Despite their differences, both sides of the Lightroom coin are essential to provide the best environment for…
I don’t know a single Lightroom user (me included) who hasn’t noticed alarming exclamation point or question mark icons sullying their Lightroom Library. It can be downright scary to get a warning message on the screen that files are offline or missing, but the truth of the matter is usually no cause for panic. The…

As a frequent judge of underwater photo competitions, I’m tasked to evaluate thousands of competing images. It’s rare that the technical merits of an image, though critically important, are the only criteria by which contest winners are ultimately chosen. Sometimes the difference between being a winner or loser simply comes down to the judges’ taste,…
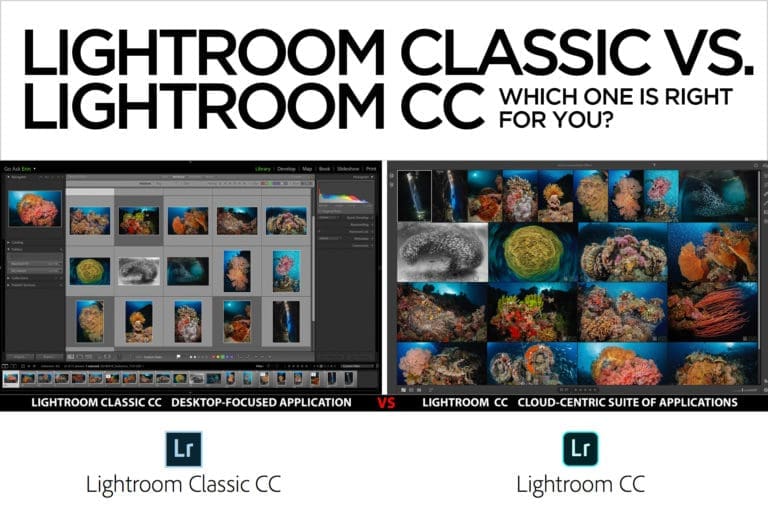
Lightroom is Adobe’s professional level one-stop-shop for organizing, editing, and sharing images. It’s the perfect companion to Photoshop, and has been the photo editing industry standard for more than a decade. In October of 2017, Adobe significantly changed the Lightroom lineup, offering multiple versions of its subscription-based Creative Cloud Photography Plan, and effectively discontinuing Lightroom…
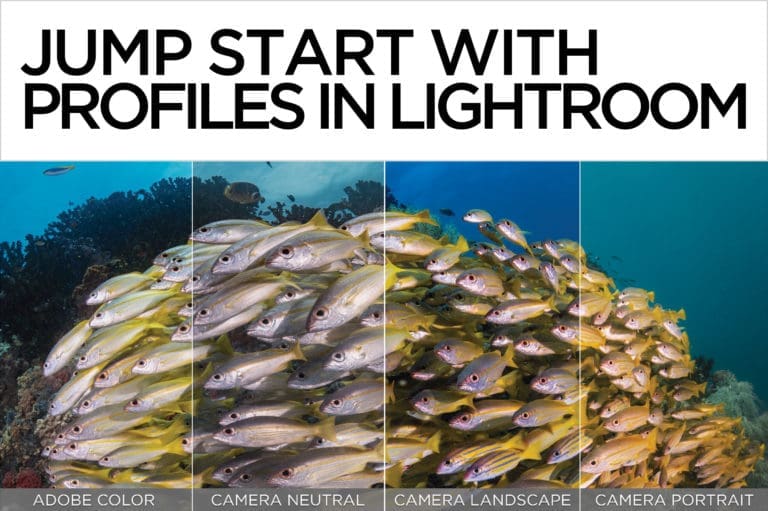
In “What’s Wrong with This Image? Mastering a Develop Module Workflow”, I emphasized the importance of selecting a camera profile early in the editing process. Lightroom has long offered camera profiles to emulate in-camera picture styles, but until recently they were hidden away in the Camera Calibration panel at the bottom of the panel stack….
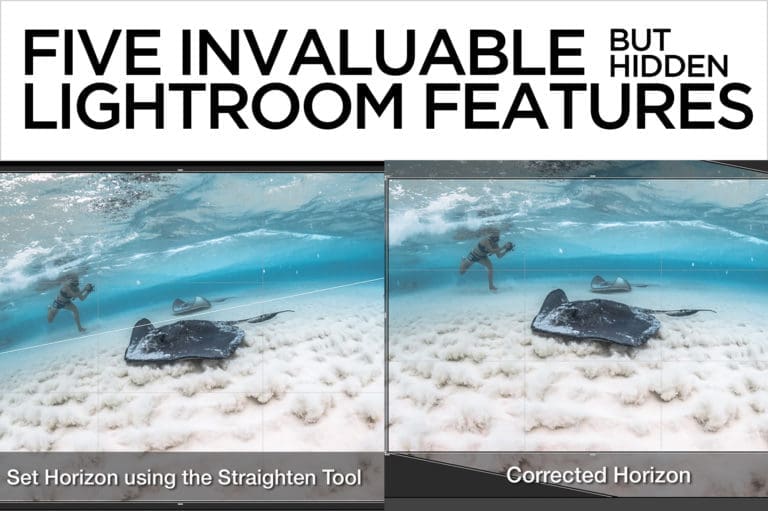
As Lightroom evolves, new functionality is added to what’s already a stunningly deep piece of software. Showy new features get lots of exposure, but subtler components of an update may go unheralded, quickly becoming “hidden” features that only the most avid users are hip to. In addition, common tools in each module often have a…

Mastering Lightroom Classic’s Color and Luminance Range Masking Tools With the addition of Color and Luminance Range Masking to Lightroom Classic, Adobe bestowed new superpowers to the Adjustment Brush, Graduated Filter, and Radial Filter. Range masking tools are a great way to bring pro-level precision to your local adjustments, allowing you to build complex masks…

Don’t wait to get good in Lightroom and Photoshop before learning a few keyboard shortcuts. Learning them is how you get good! Download my Essential Keyboard Shortcuts for Lightroom here, and for Photoshop here.

I love working with wreck photos. They’re rich with all kinds of form, texture and gritty, scratchy detail. They’re dramatic and moody, and hold up surprisingly well in less-than-perfect conditions. Here are 3 tips to help make wreck images pop in post. Do Black and White right. Wreck photos shot with ambient light…
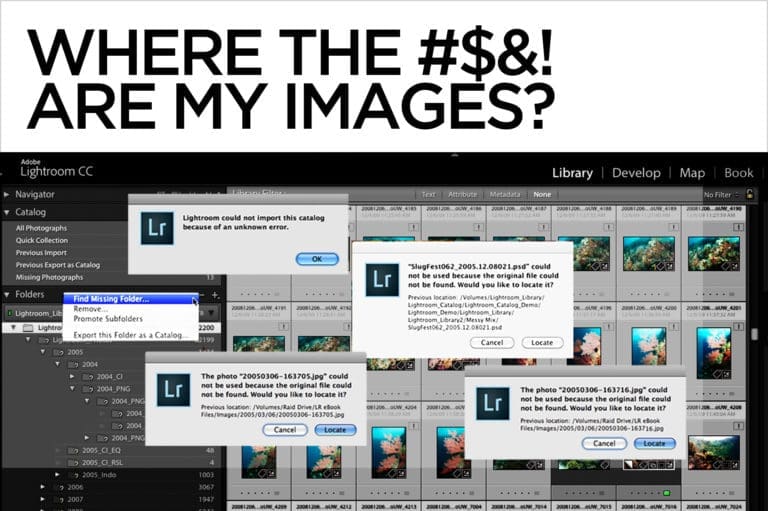
Digital Asset Management 101 for Lightroom The single most common question I’m asked about Lightroom is “Where the #$&! are my images?”. Understanding how Lightroom manages and displays information can help you stay organized and out of DAM (Digital Asset Management) trouble. The Lightroom Catalog The Lightroom Catalog is an immensely powerful database that…

I wish I had a magic bullet for backscatter removal, but the truth of the matter is that to get spots out of your shots, you’ve got to master more than one technique. The Lightroom Spot Removal Tool In Lightroom, you’re limited to a single, rather clumsy Spot Removal tool. Click once on a piece…
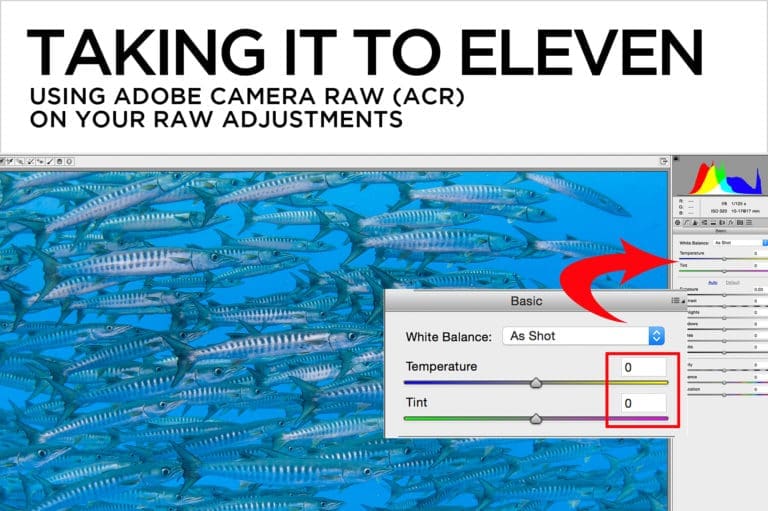
Why take your RAW adjustments to eleven? Because it’s one louder than ten, as Spinal Tap’s Nigel Tufnel so aptly puts it. The expression “taking it to eleven” refers to the act of taking something to an extreme, and although I usually don’t recommend taking post-processing to an extreme, there are times when a little…
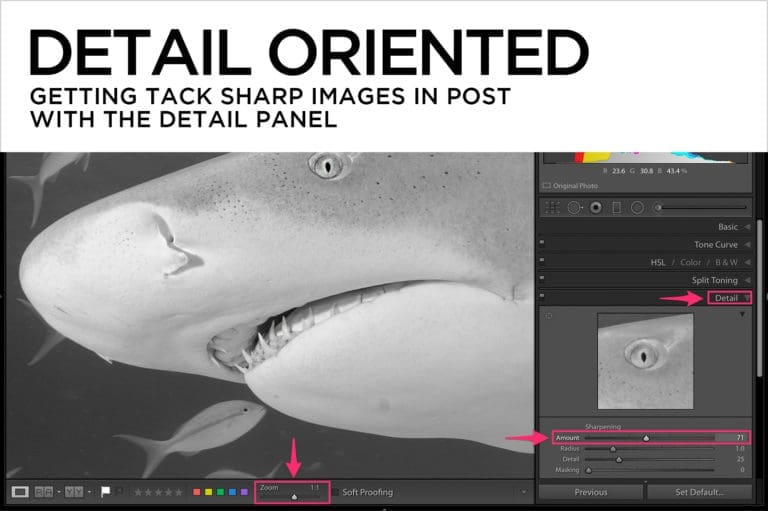
Don’t get too excited. The techniques in this article won’t rescue your out-of-focus images. Out-of-focus photos can’t be recovered in post, but you can (and should) enhance the sharpness of properly focused pictures to maximize their potential. What is Sharpness? Without getting too technical, you might say that sharpness is edge contrast. Sharp edges have…
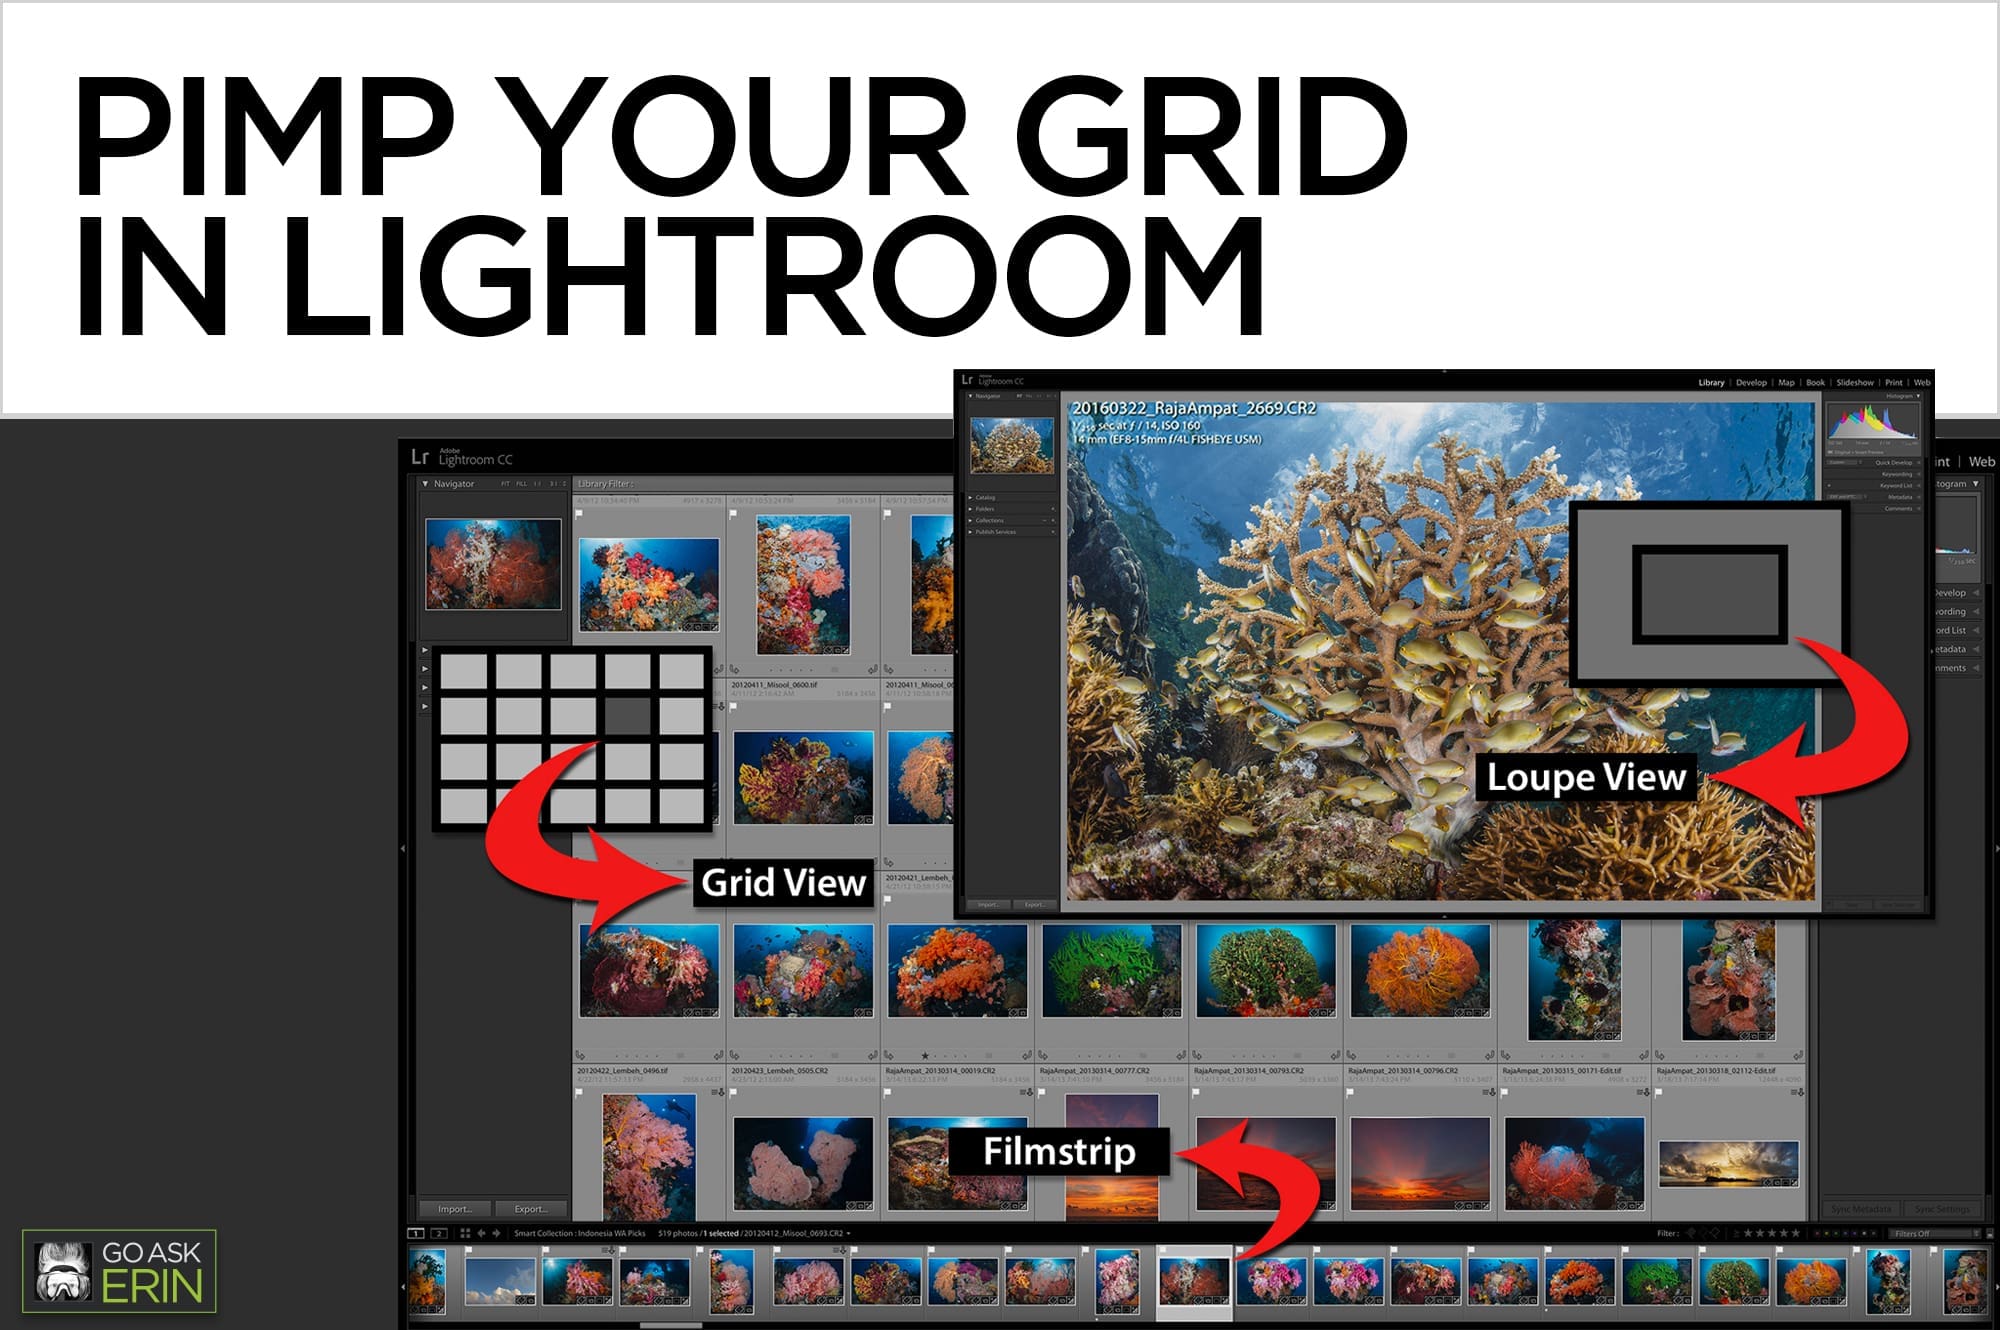
It’s easy to customize the Lightroom Library’s Grid and Loupe Views to display useful information. Searching, sorting, and rating are much easier when you can see specific metadata right on the image thumbnail, and being able to toggle through additional information like camera settings helps when analyzing your photos in Loupe (single image) View. By…
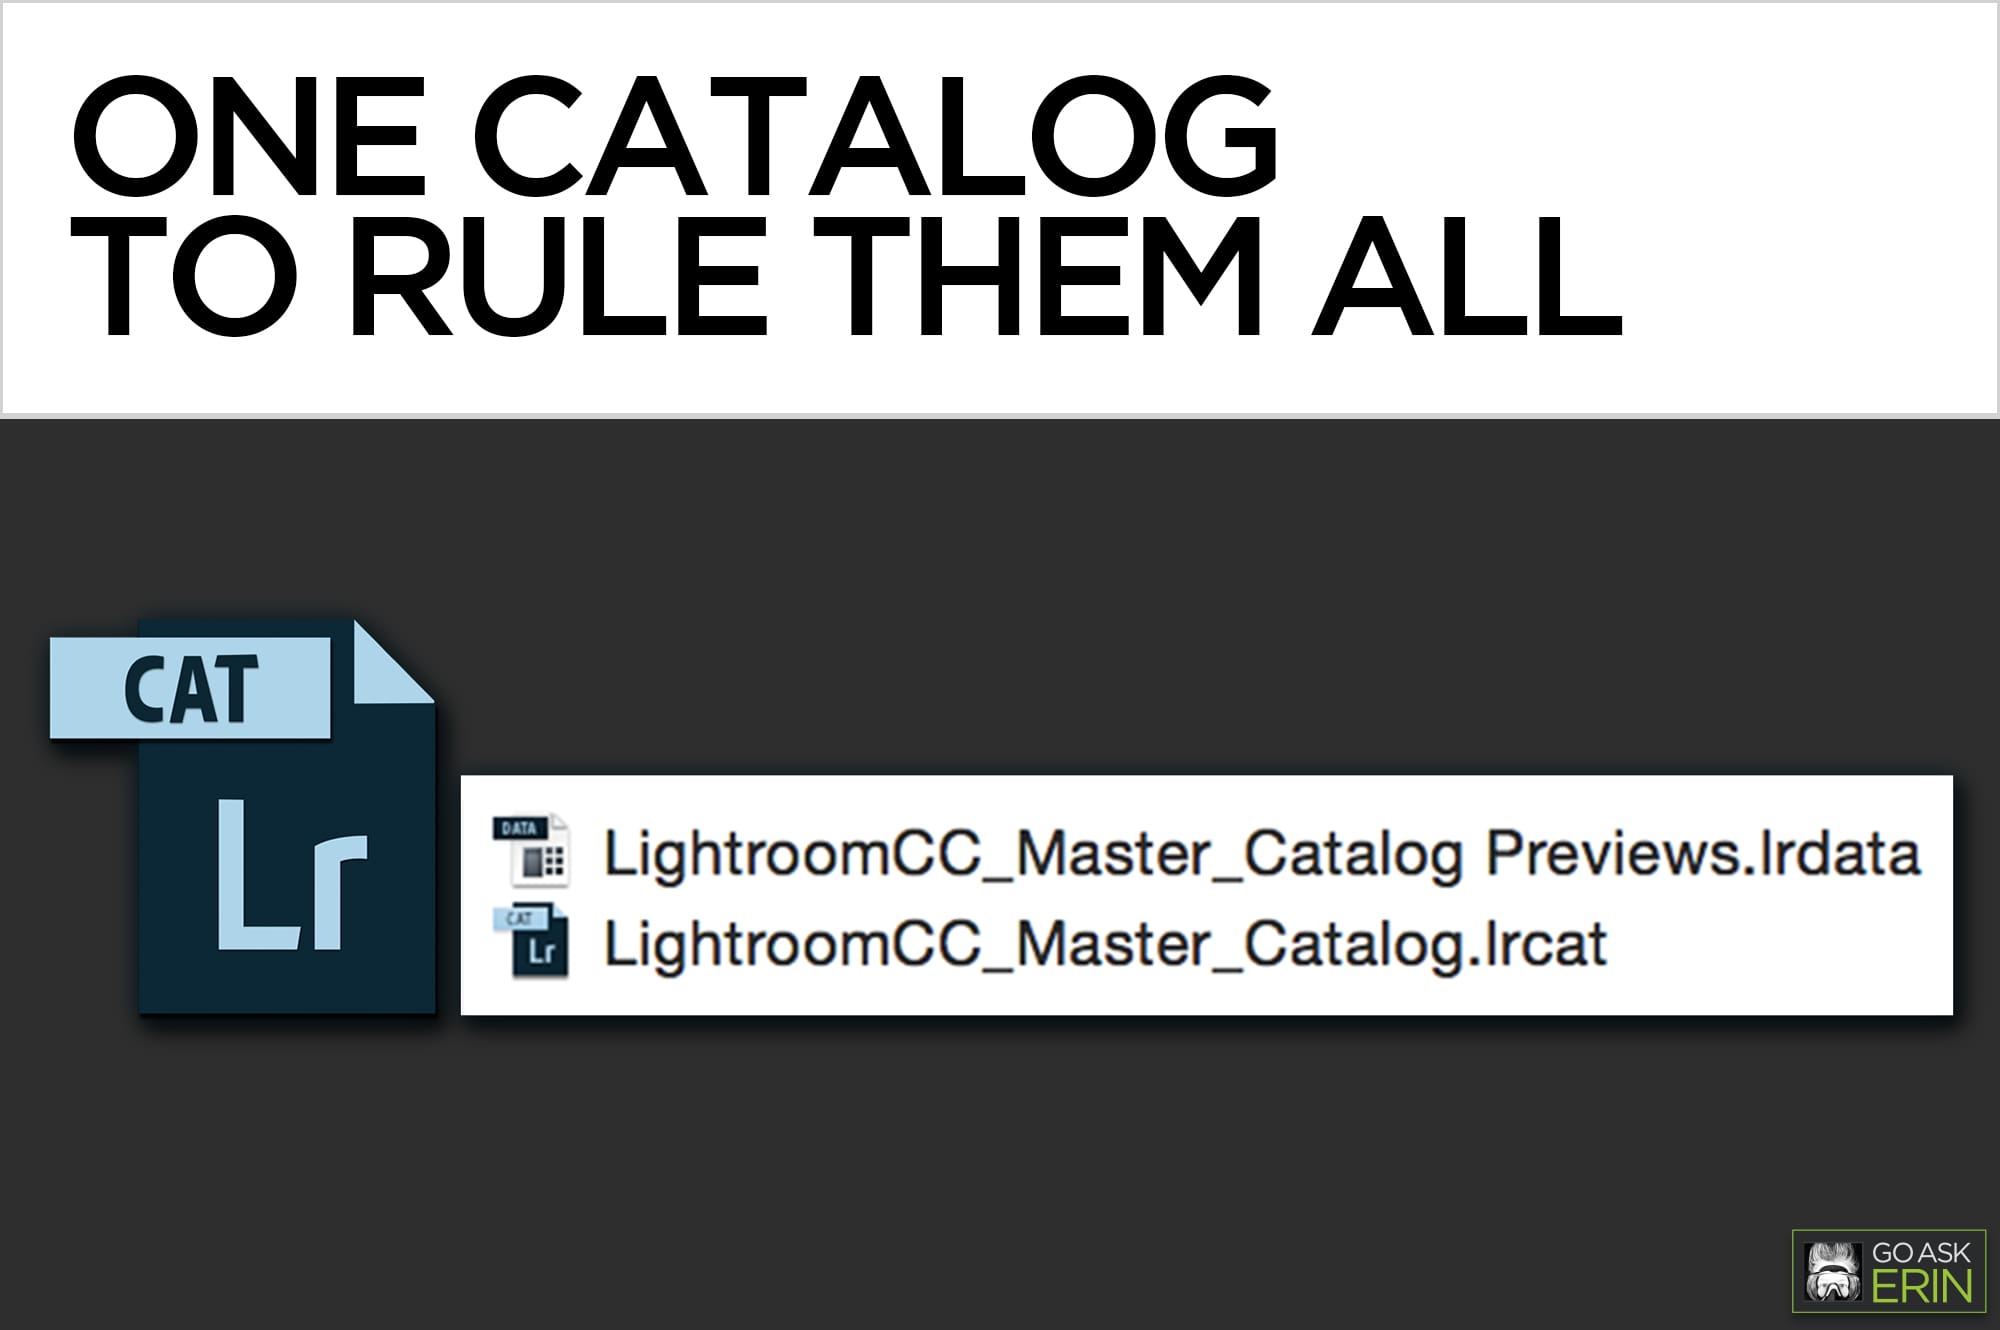
Using a single catalog makes the most of Lightroom’s superpowers A Lightroom catalog is much like an old-school card catalog in a brick-and-mortar library. It contains all kinds of information (metadata) about your images — their physical location on a drive, keywords, ratings and even Develop Module changes, but it does not contain the actual…
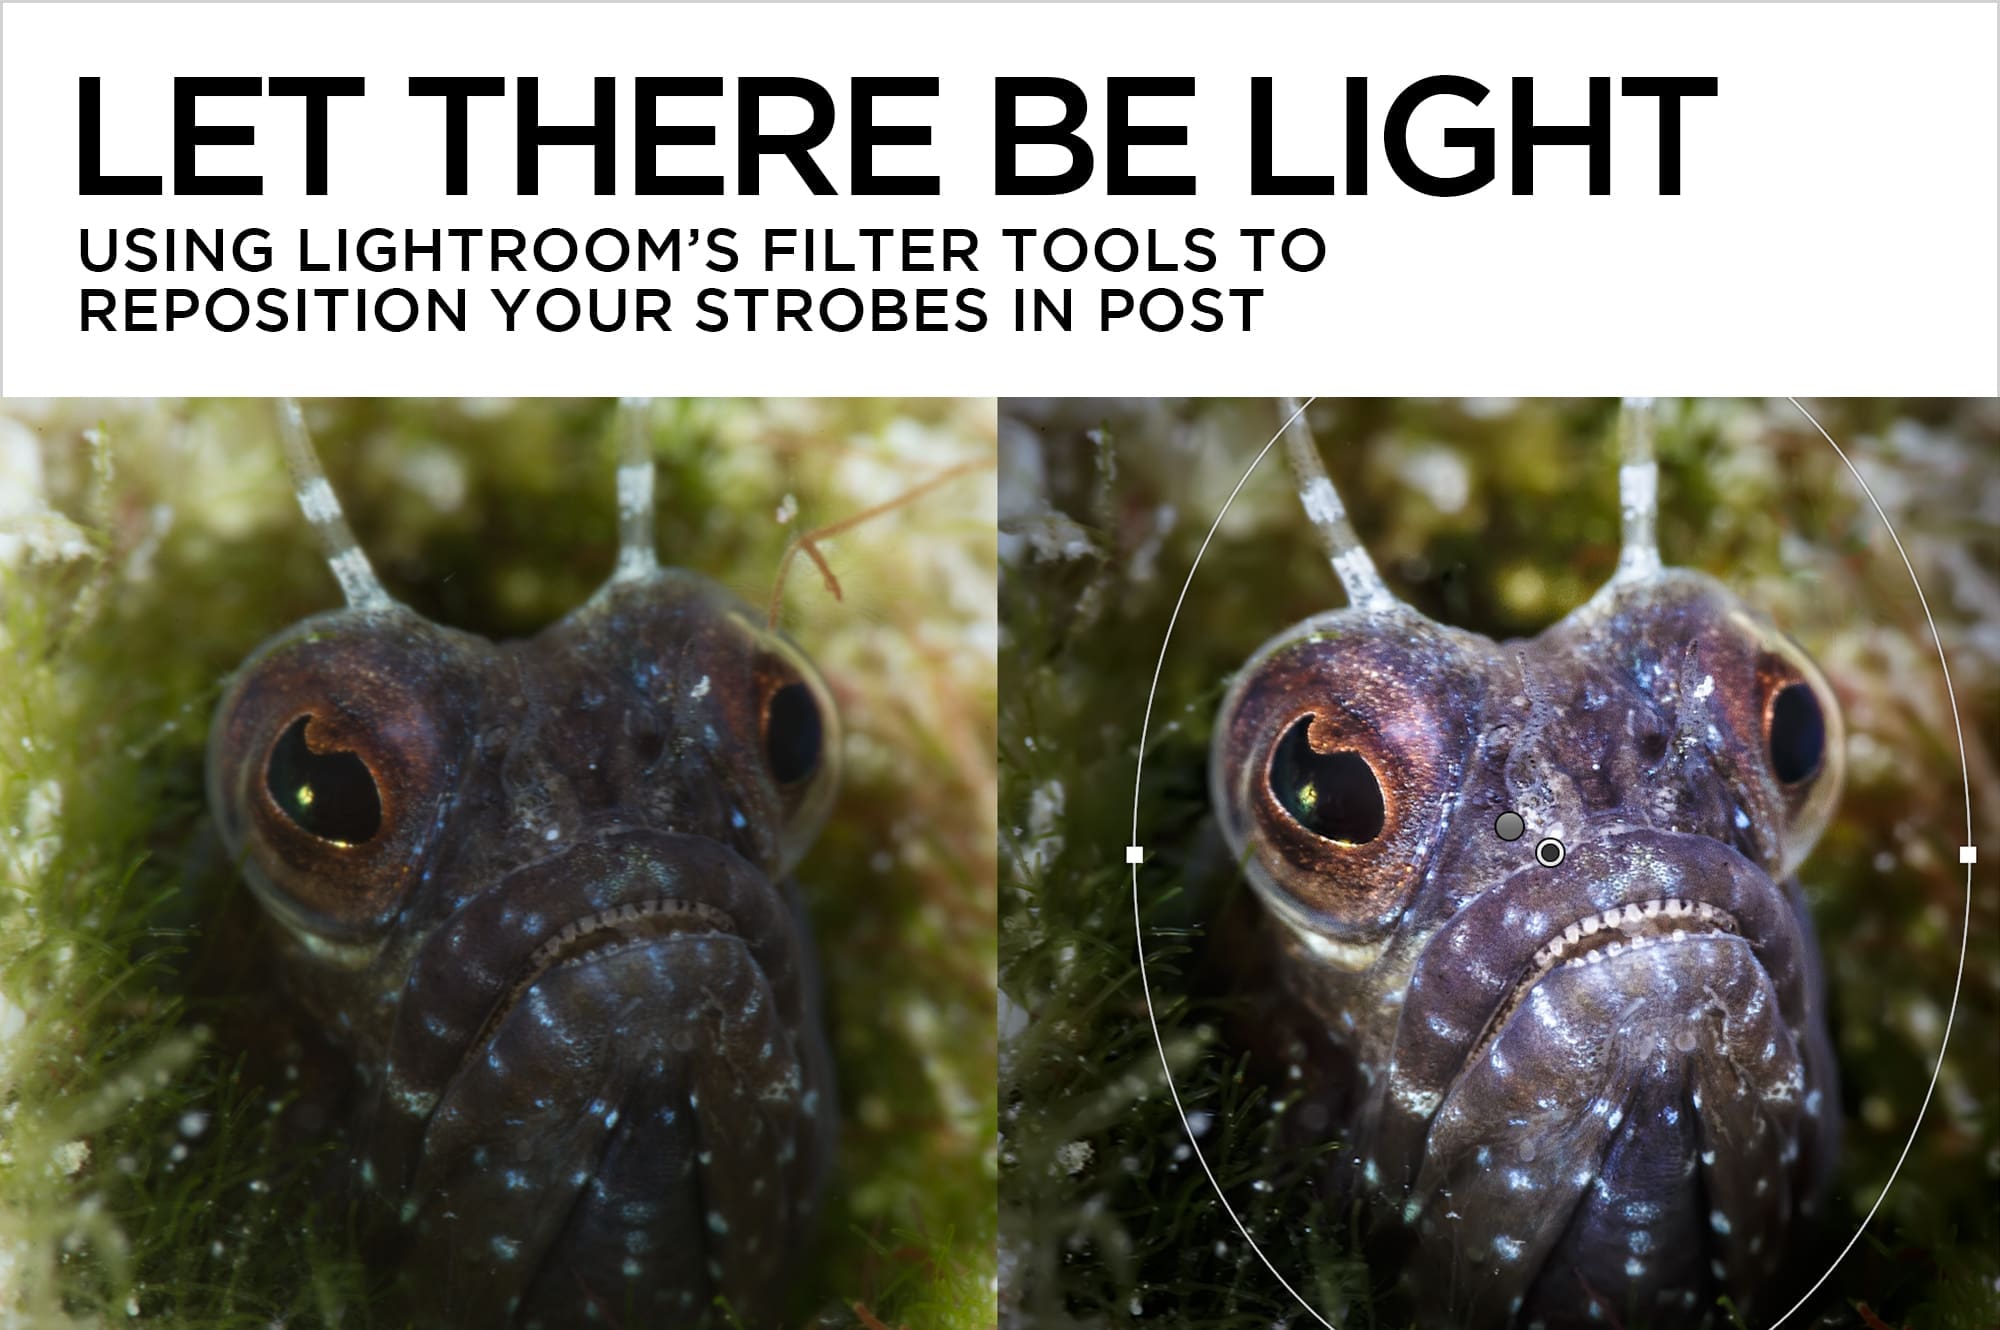
Using Lightroom’s filter tools to reposition your strobes in post One of the most difficult skills to master in underwater photography is lighting. While it’s always best to get it right in camera, Lightroom provides powerful local tools to help finesse your lighting after the fact. My favorites are Lightroom’s Graduated and Radial Filter tools….
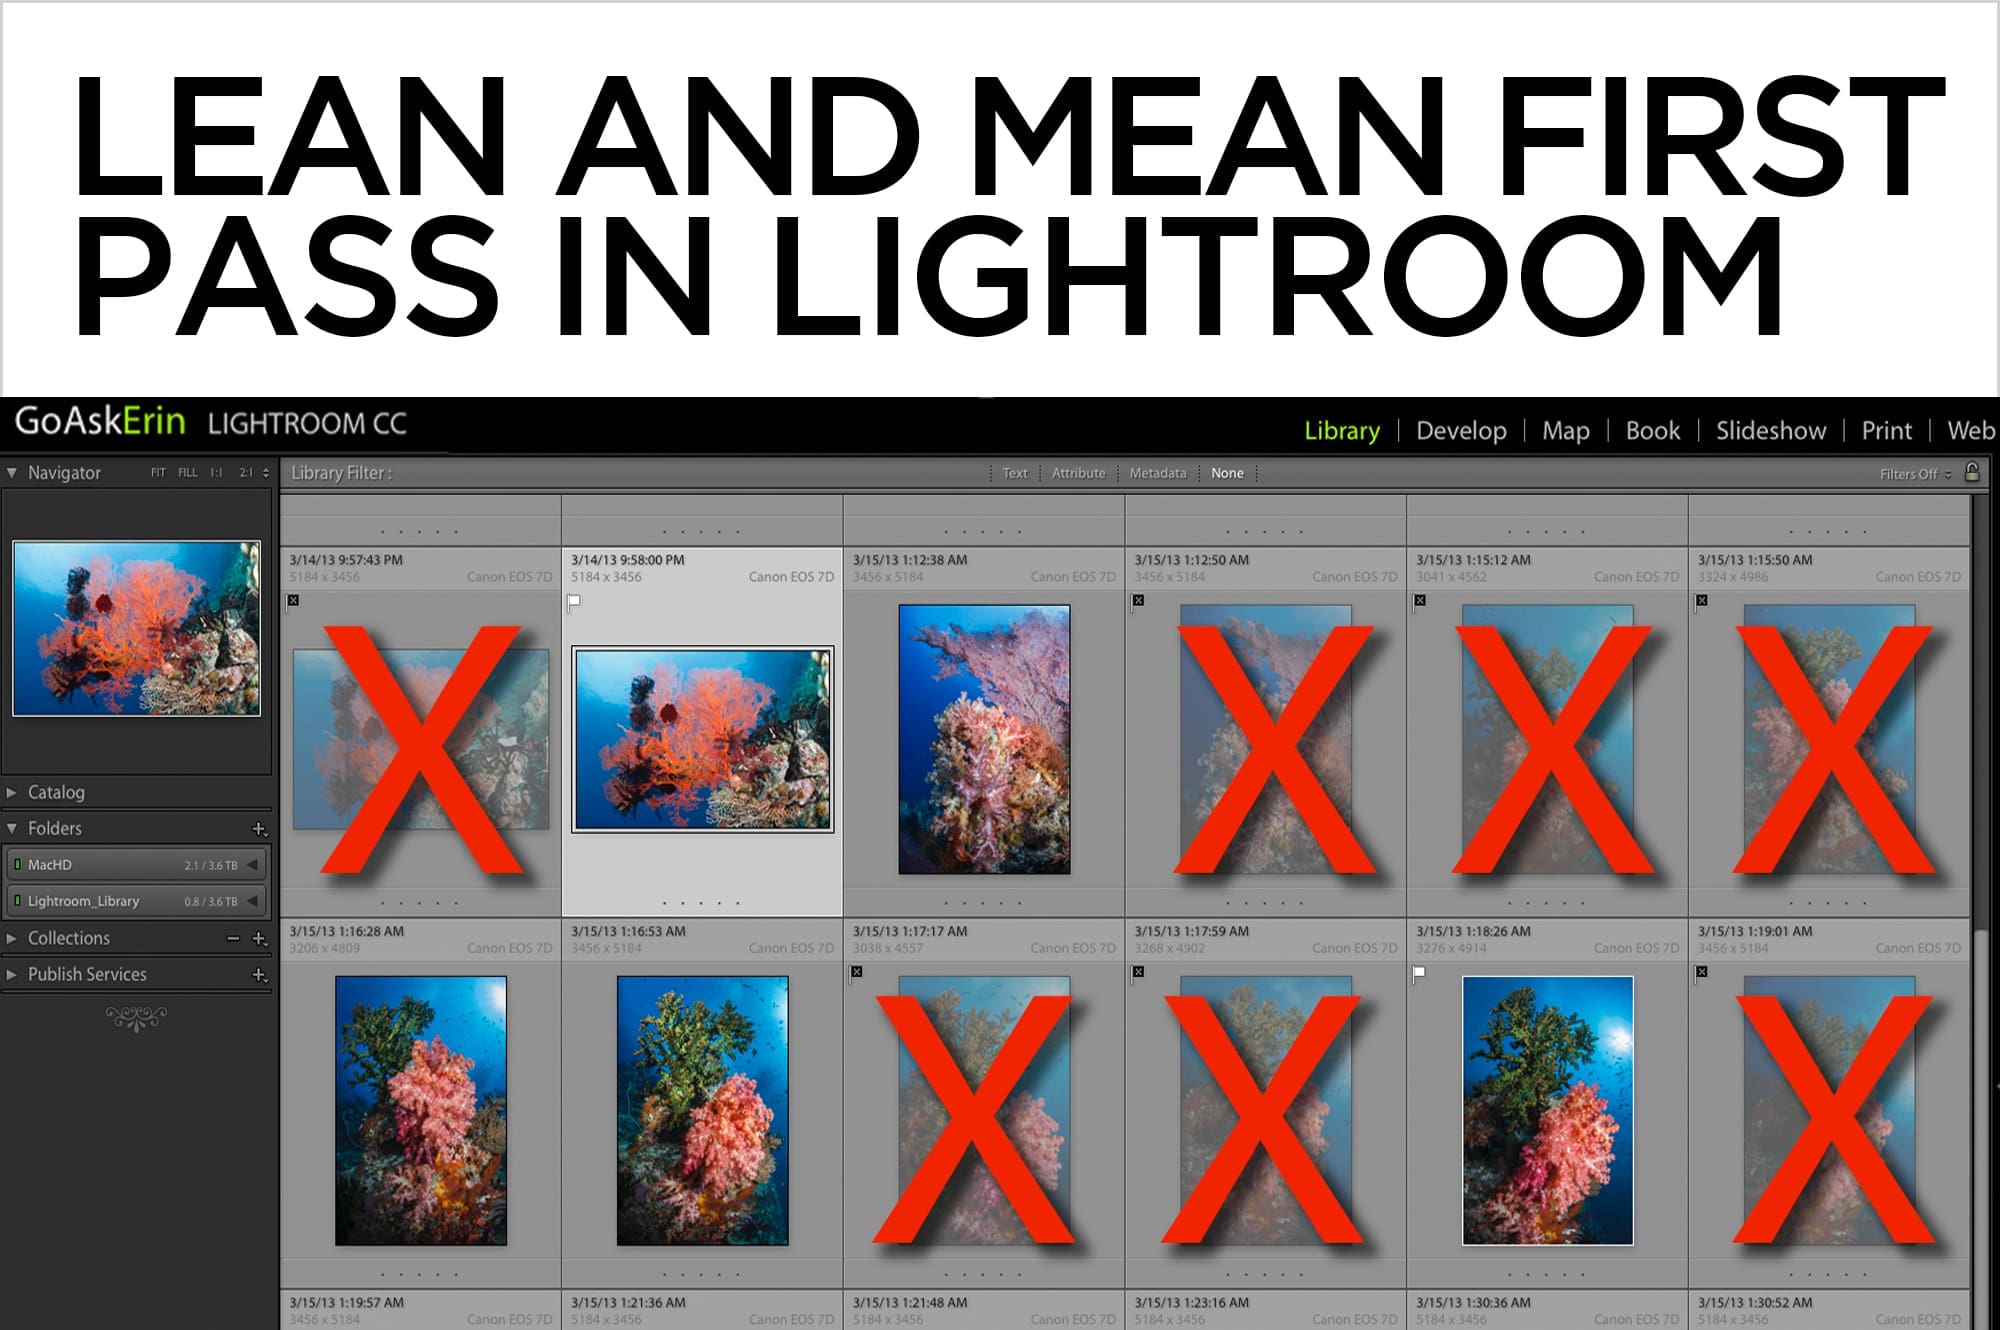
Not all photos are contest winners. Cut down on the under-achievers in your image library by flagging keepers and clunkers right off the bat as Lightroom imports them. You only need to remember three letters on your keyboard – “P” for Pick, “X” for Reject, and “U” for Unflag. Getting in the habit of…

Sharks are a favorite photographic subject of mine. Over the years, I’ve developed a few post-production techniques that help to mitigate common problems and emphasize desirable details in shark images. Desaturate with an Adjustment Brush to remove unwanted cyan color on your shark. In the Develop module of Lightroom, click on the Adjustment…
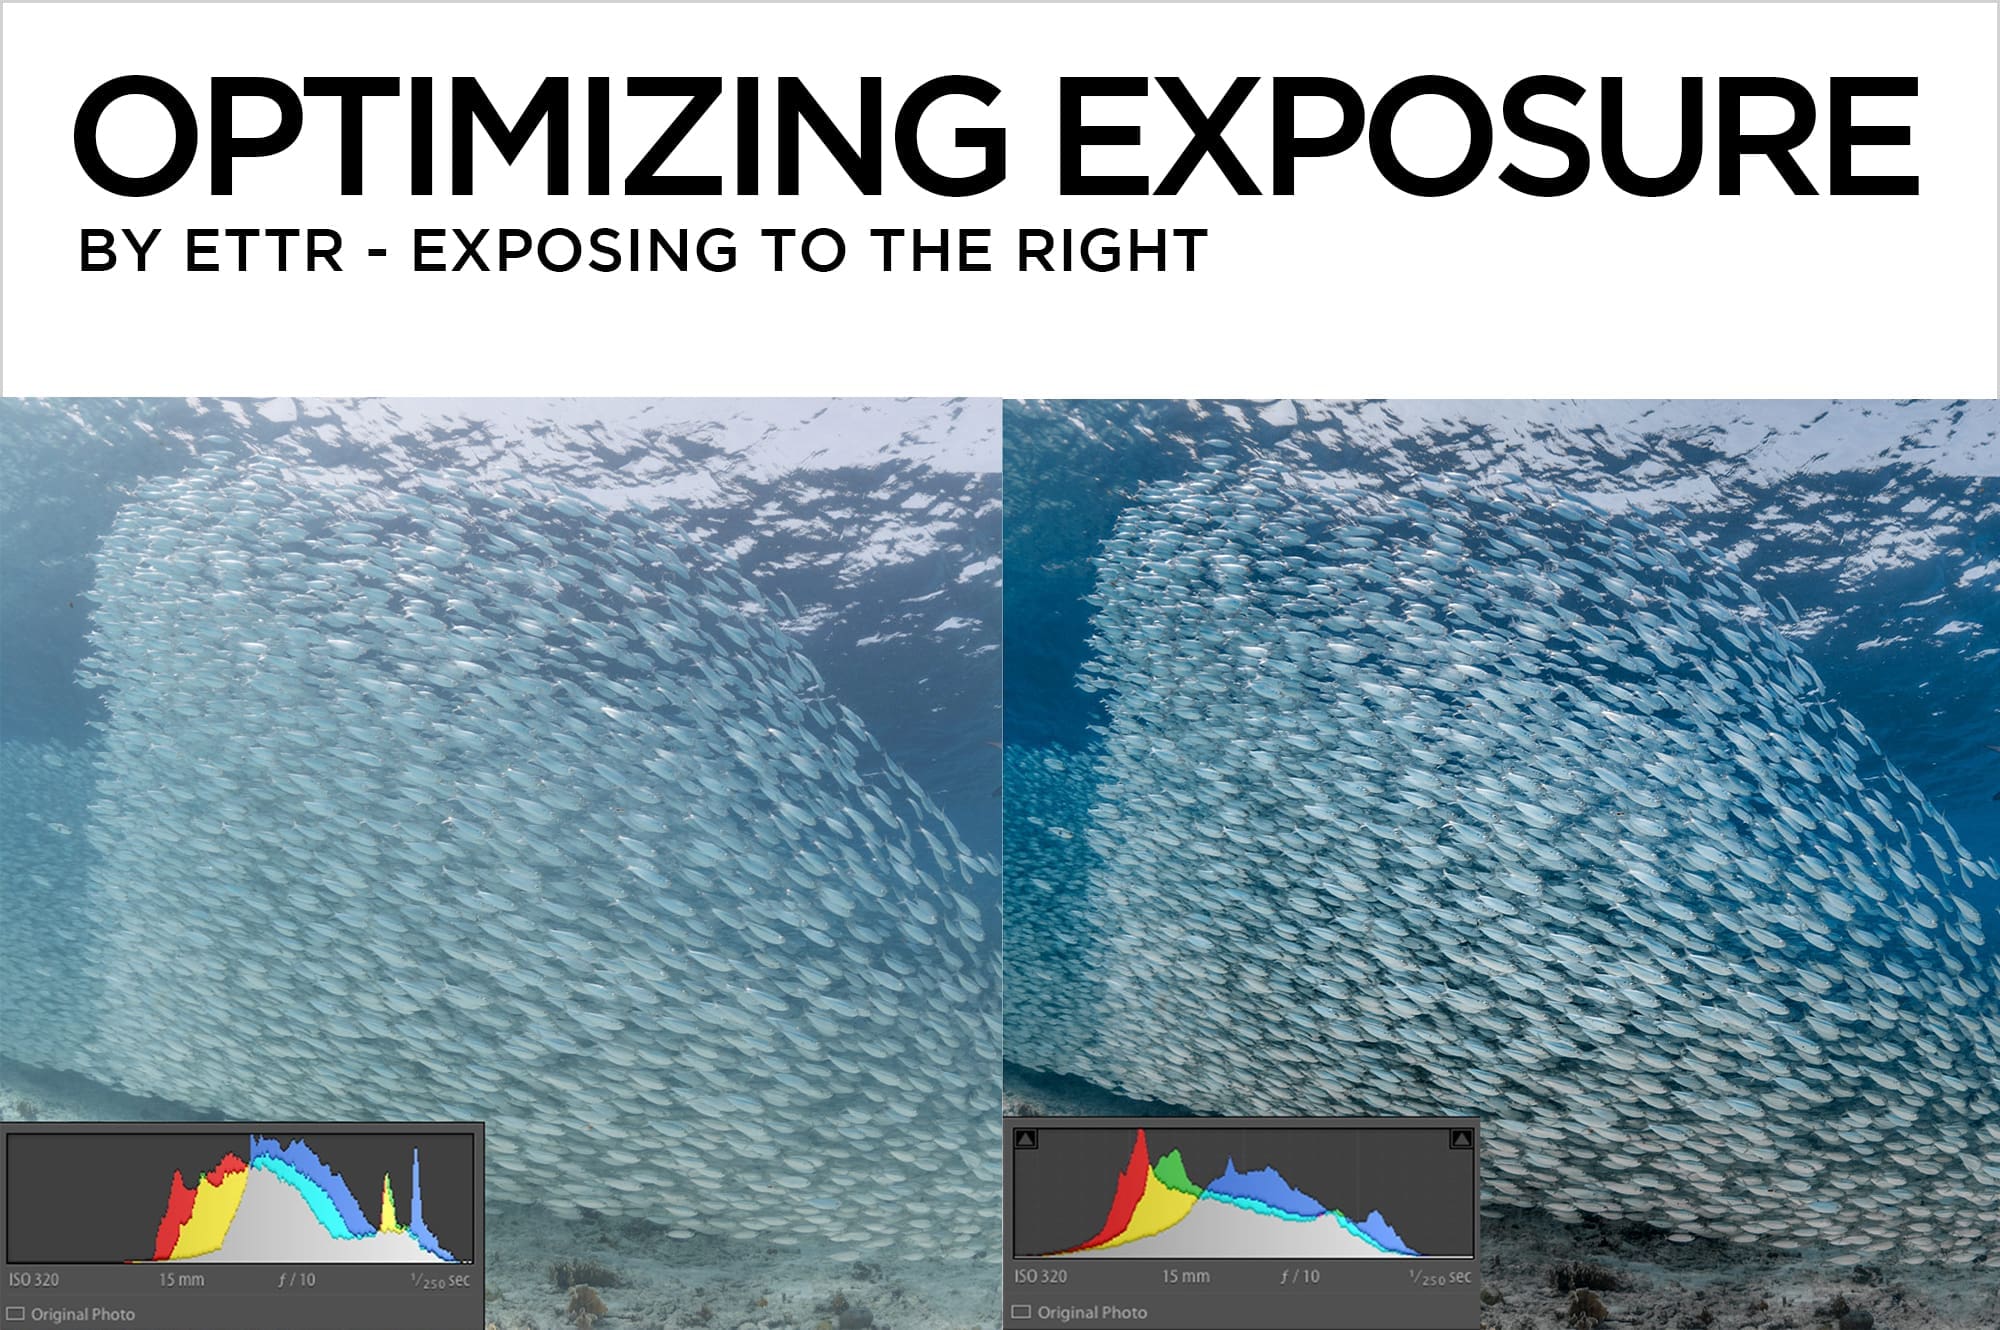
If you’re not already shooting with the help of your camera’s histogram, it’s time to start. A histogram is a graph that shows the distribution of tonal values from black to white in your image, and it’s a very accurate indicator of overall exposure. By not checking out the histogram as you shoot, your exposures…
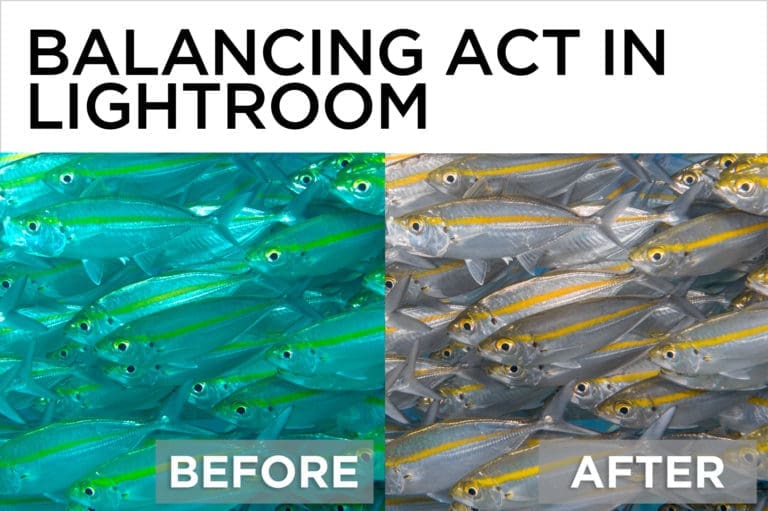
The right white balance can make or break an underwater photo. Some shots need just a single click with the White Balance eyedropper in Lightroom or Adobe Camera Raw to restore color and knock out unwanted ambient light. Others, in which the white balance isn’t the same across the entire image, require more specific editing….

How to make Sexy B&W Conversions in Lightroom The first step to making a good black and white image is implicit in its name.You’ve got to have clean black and real white somewhere in your photo. For the best black and white conversion, you should shoot in RAW, which delivers up to 65,536 shades of…

Lightroom is a deep program with amazing functionality. Despite (or maybe because of) the enormous amount of documentation available online and elsewhere, it can be tough to unearth some often overlooked but otherwise useful features. Here are ten of my favorites. Library Module Secrets Do you know where your images are? Select “All Photographs”…
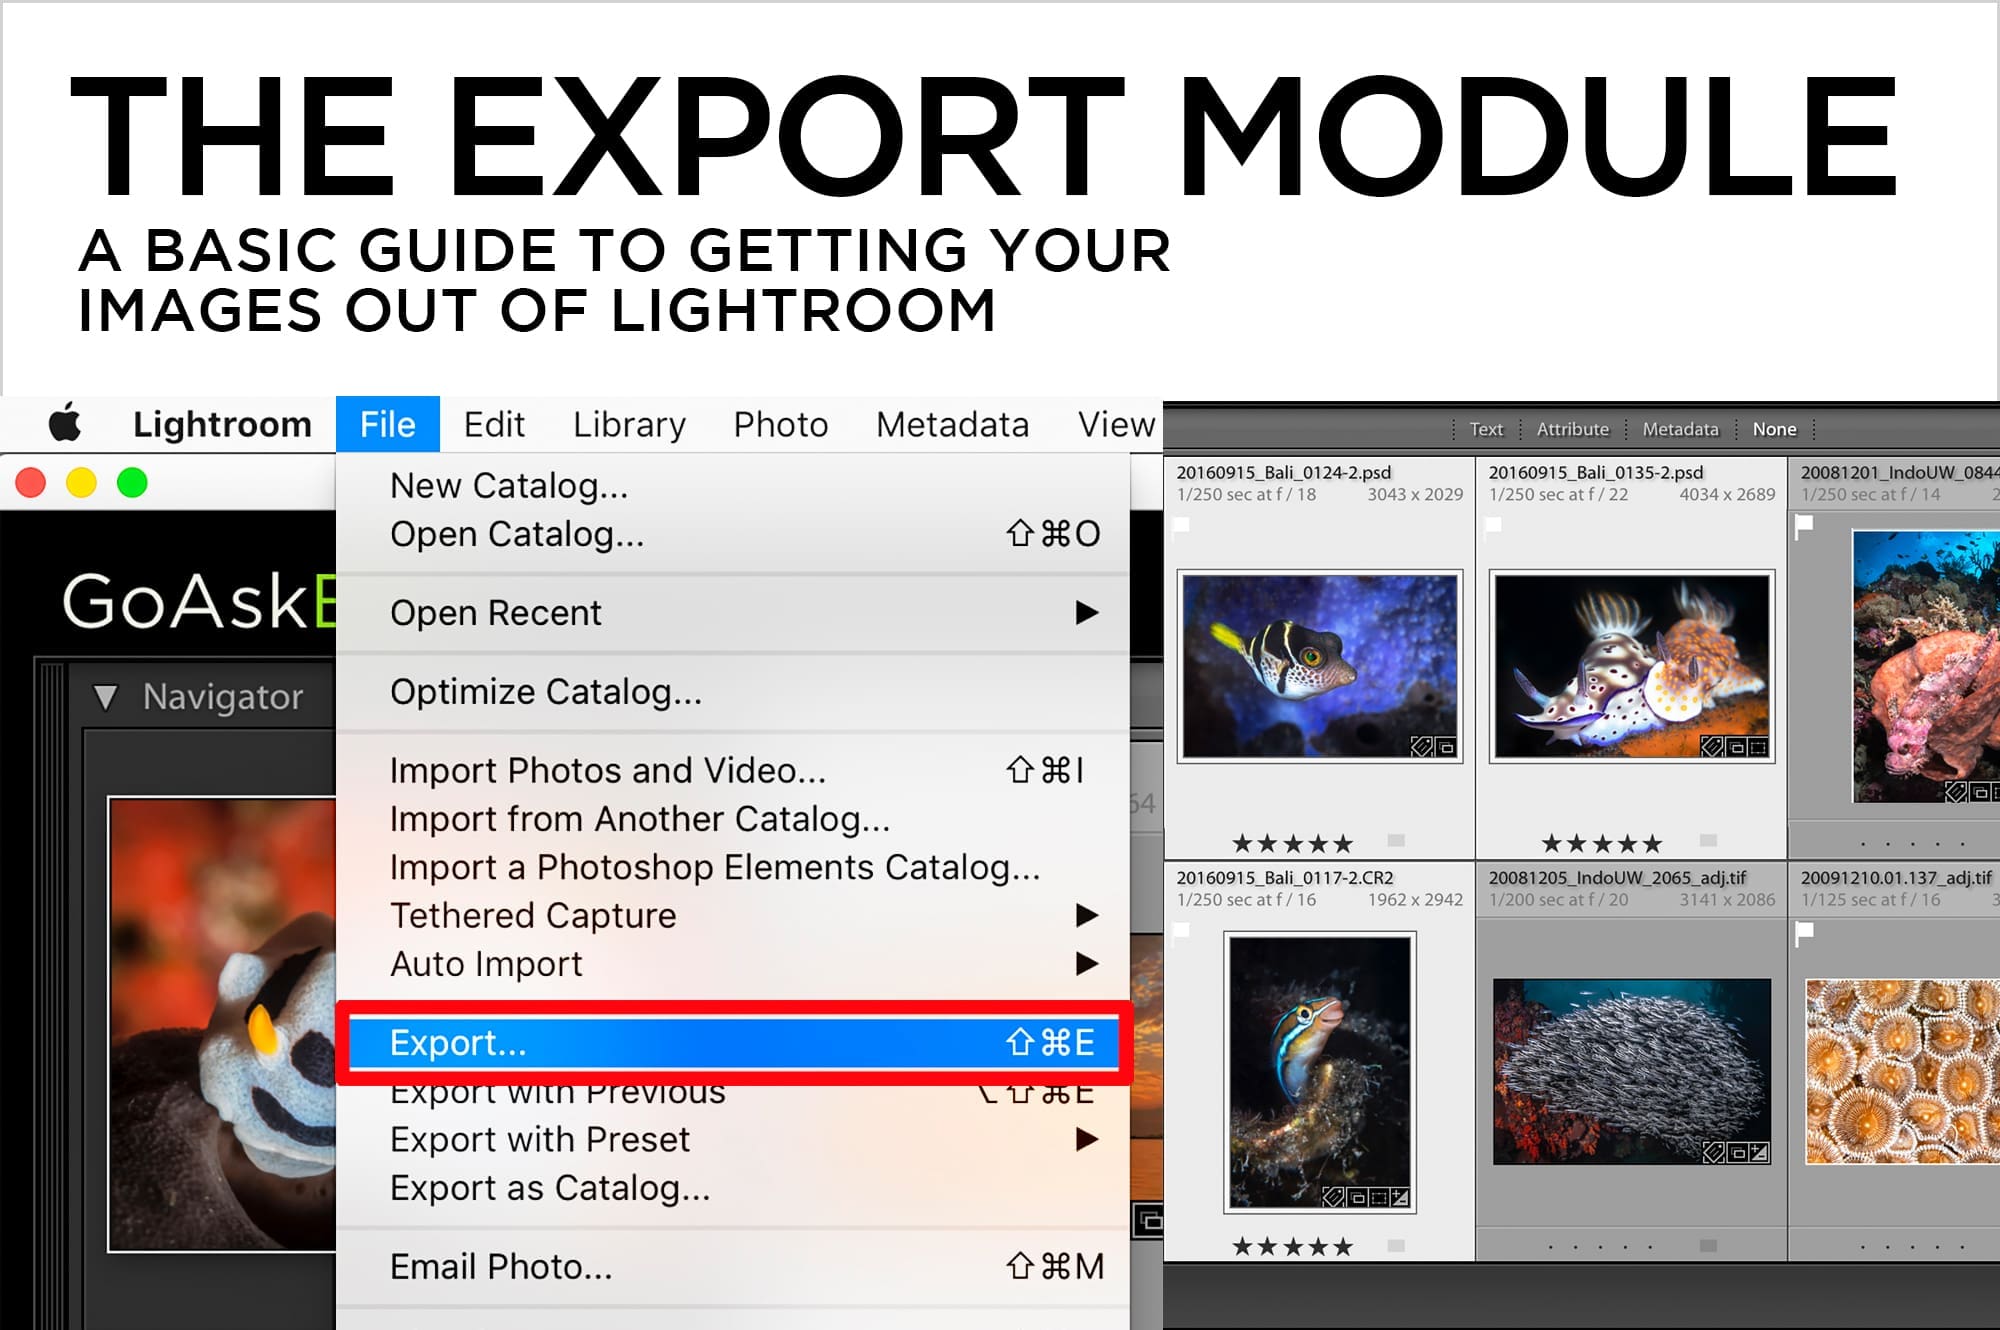
Lightroom is a near-magical piece of software. It’s both librarian and technician for your digital images, and unlike Photoshop, it leaves your original photo untouched throughout the entire editing process. How do you create a version of your image that’s suitable for social media, email, or printing? In Lightroom, you don’t save photos in the…
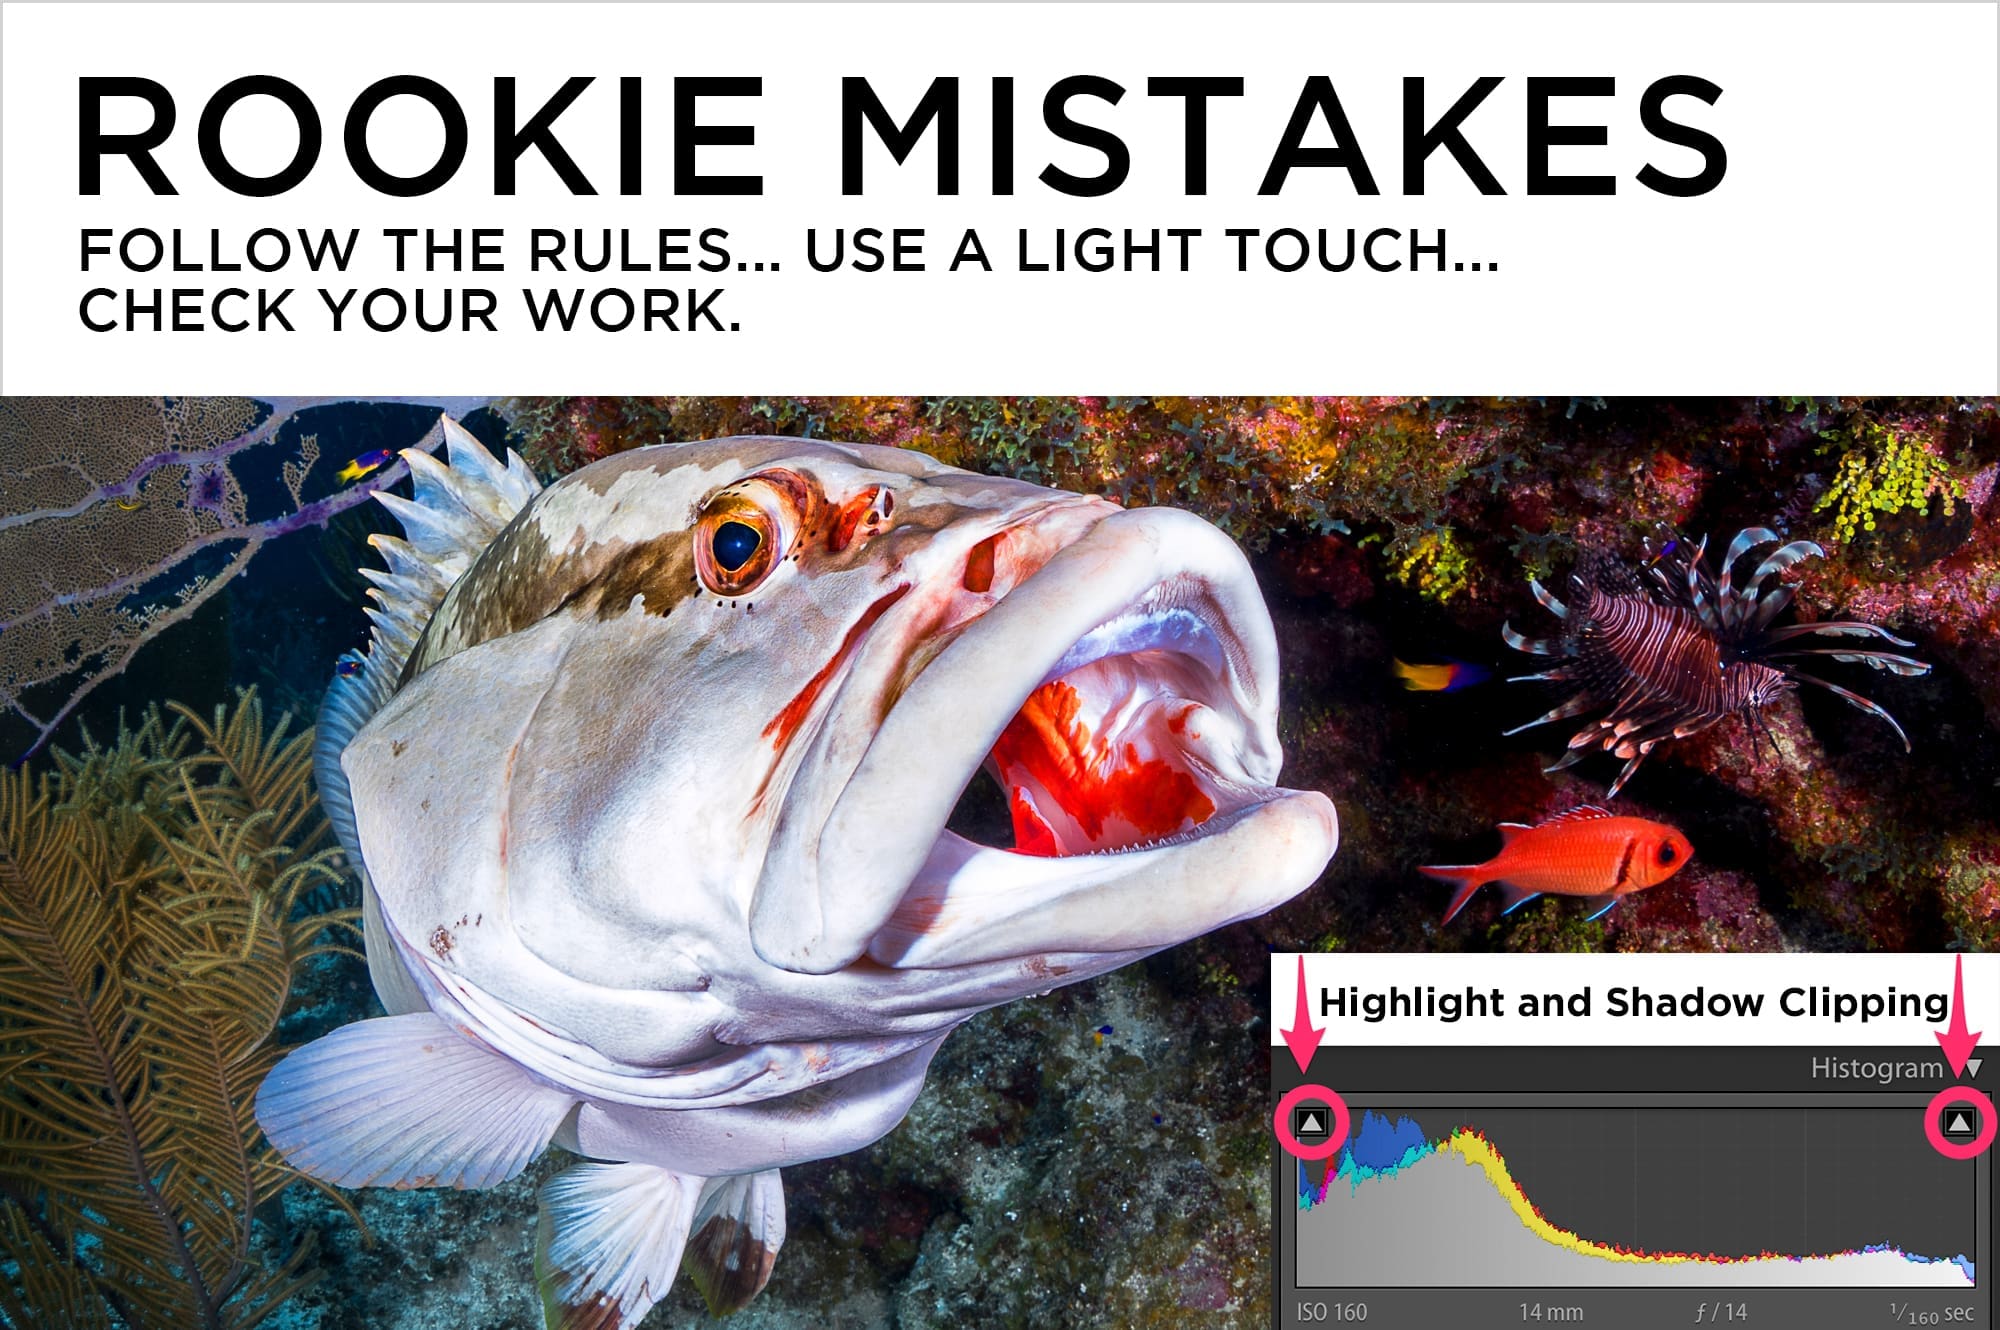
I just finished judging a photo contest, and although the rules were made very clear to the contestants, a few excellent photos were still disqualified because of willful or unintentional violations. Some pictures didn’t make it because of over-zealous editing. It’s a shame to see potentially winning images get booted from a contest, but it…
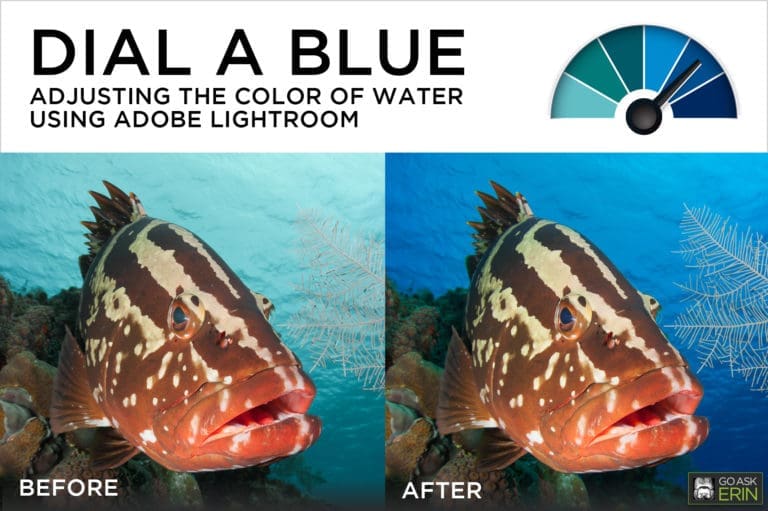
I attribute the phrase “dial-a-blue” to Berkley White, shooter extraordinaire and owner of Backscatter Photo and Video. I first heard Berk use the phrase to describe a specific shooting technique, but I’ve since discovered many cool ways to also dial-a-blue during the editing process. In this tutorial, I make use of the massively powerful Hue…
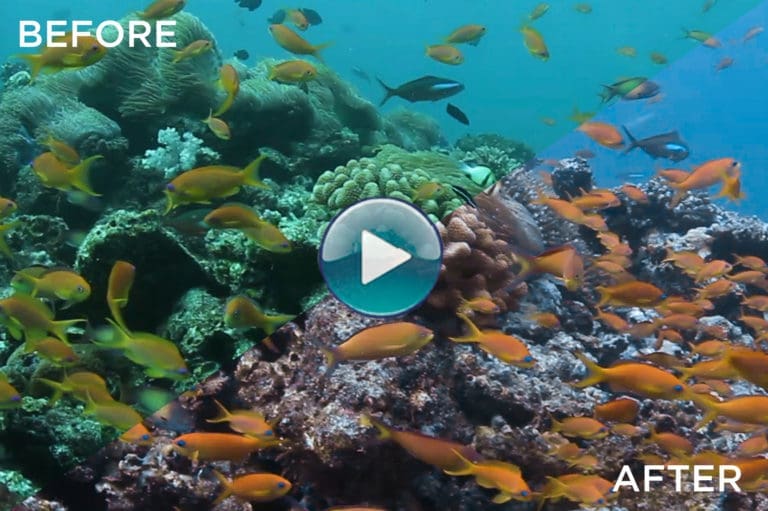
Lightroom is a fantastic jumping off point for video dabblers who don’t want to miss out on all the fun of motion capture, but who are primarily still shooters without the time or ambition to tackle a completely new piece of software. In the Lightroom Library, it’s easy to trim video clips, capture still…

A watermark is a faint logo or words superimposed on top of an image. The idea of placing a watermark on your photos is to prevent others from trying to copy and use the photo without permission. Although a watermark identifies you as the creator of your photo, it won’t stop someone from swiping it,…